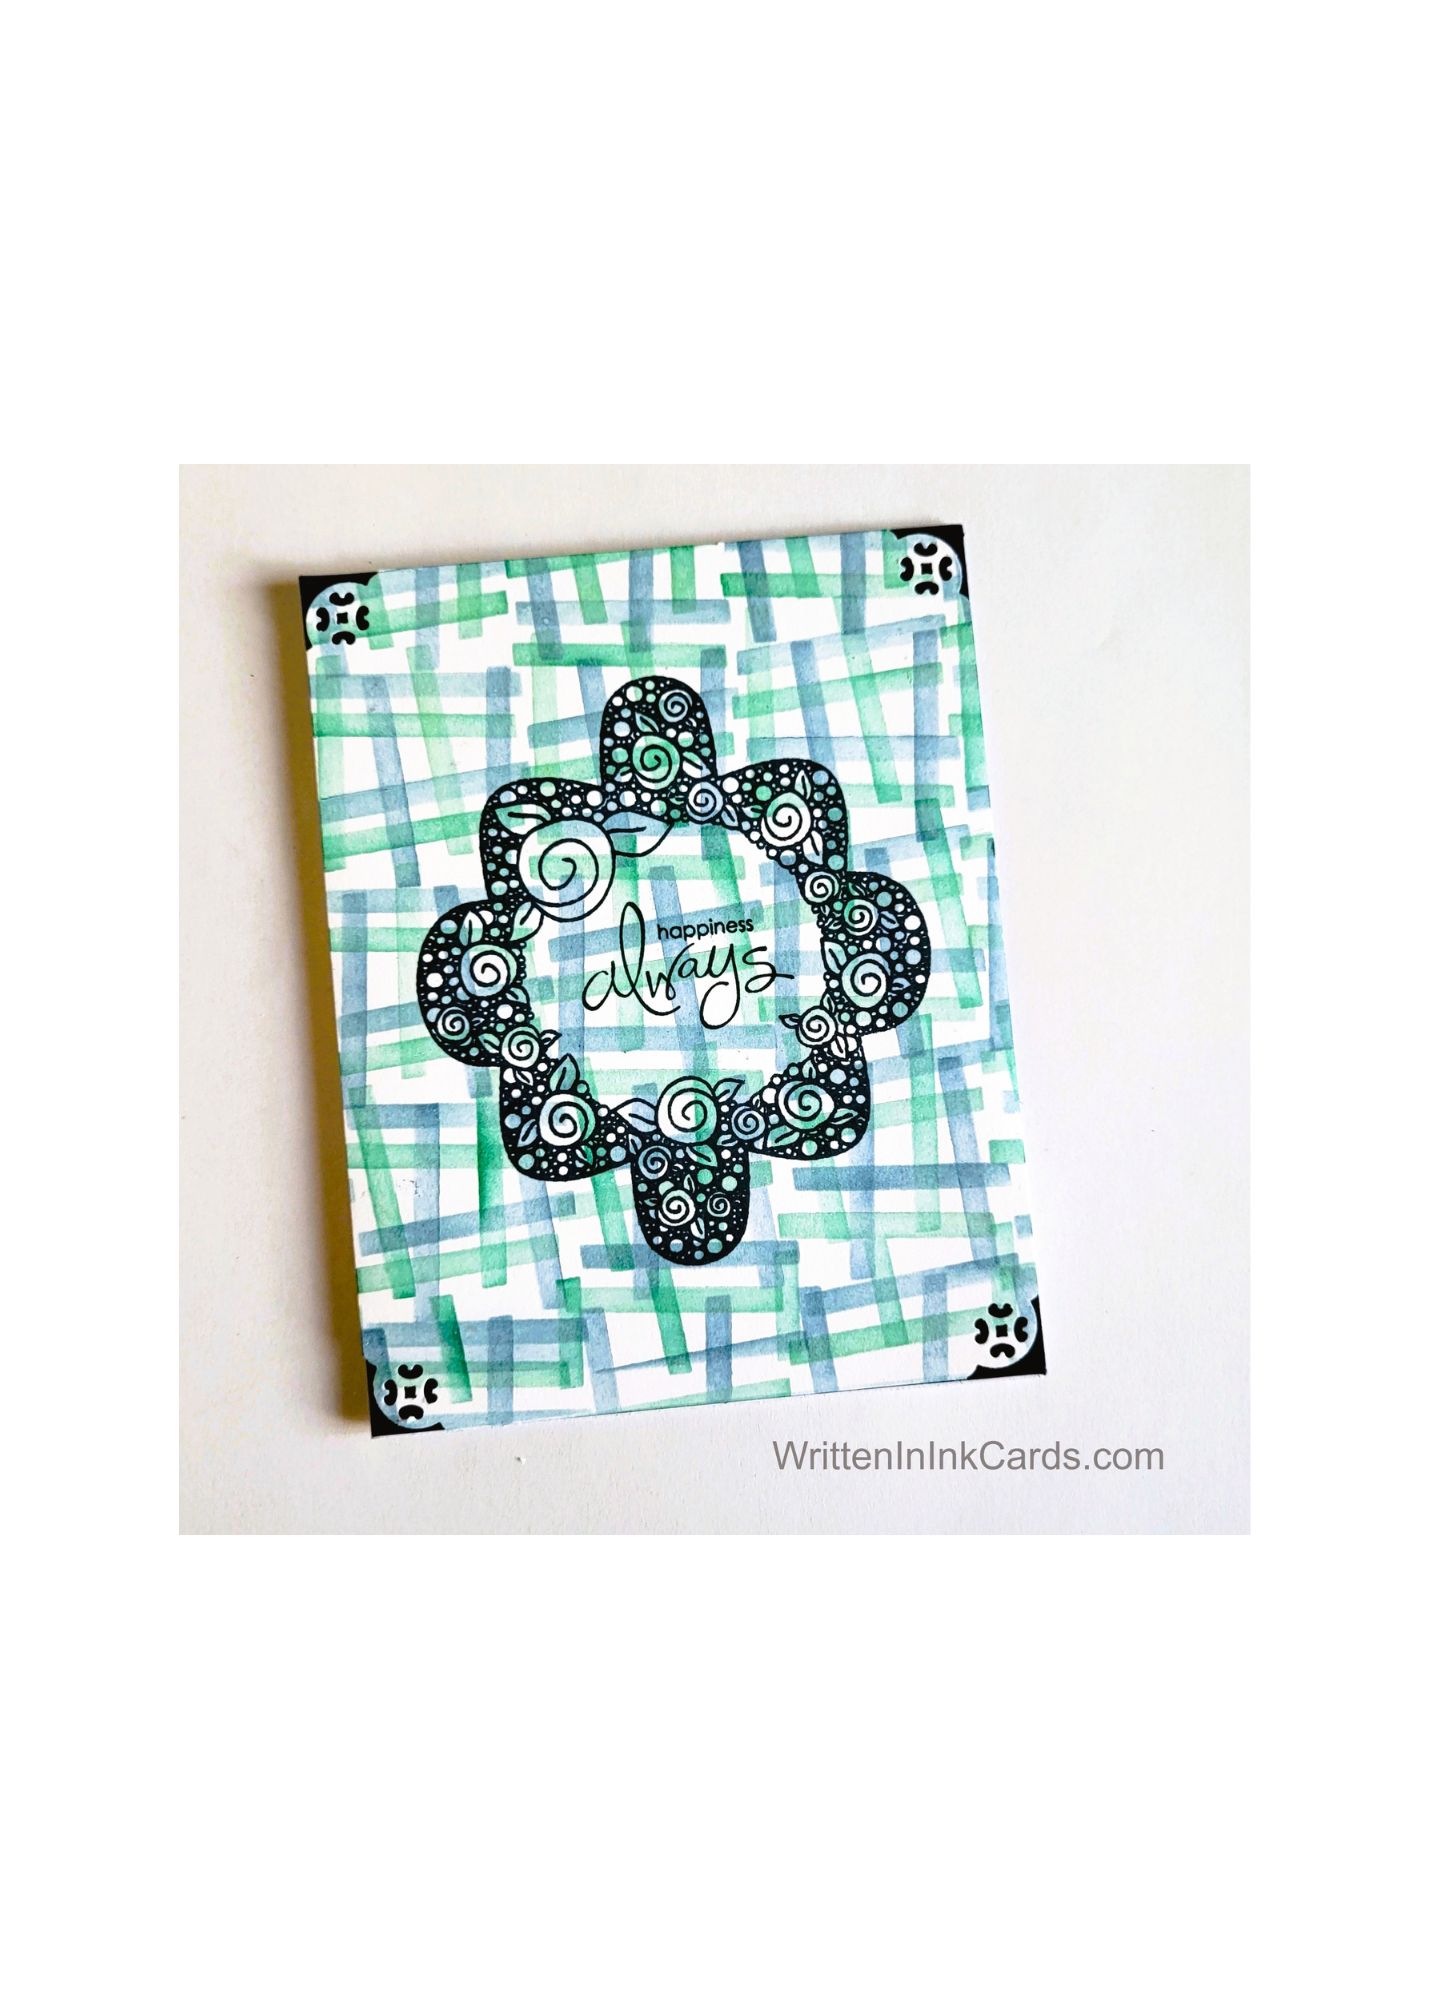

Would you like to experiment with a design like this? You’ll find a supply list below, including a link to the stencil I used from A Colorful Life Designs. Follow the link and use the discount code ChrisFan10 to save 10% on your entire order! (Master Creator Bundles are excluded as they already have a 20% discount built in.)
Let’s get Started:
Card Base: 5.5 x 8.5, scored and folded at 4.25
Border Layer: 5.5 x 4.25
Card Face: 5.5 x 4.25
Card Face:
- I laid the card face down on my grip mat and positioned the stencil. I used light green ink across the exposed areas.
- After wiping the surface of the stencil to remove stray ink, I shifted the stencil slightly down and to the right and applied light blue ink across all exposed areas.
- I turned the paper 90 degrees and repeated the steps above, creating a delightfully wonky pattern that isn’t a plaid or a check – but something fun and unique nonetheless.
- I put the card face into my stamp positioner and added the fun border image using Versafine Onyx and stamping a couple of times to get a saturated image.
- I added the sentiment directly to the card face, also using Versafine Onyx.
- I used a punch on each corner to add fun detail.
Assembly
- I glued the black border layer directly to the card base, and added the card face on top of these.
Final Thoughts:
I love the combination of the stencilled background and stamp: they both possess the same sort of whimsy, and have paired perfectly.
Supplies: (and links where possible)
I have listed the products I have used and where they can be purchased. It’s a huge marketplace, and in most instances, there are multiple sources and many alternatives to choose from.
Stencil:Rungs, A Colorful Life Designs
Stamps: Deco Rose Burst, Creative Expressions, Ecstasy Crafts
Ink: Stampin’ Up!
Blending Brushes: Stampin’ Up!
Versafine Onyx, Simon Says Stamp
Adhesive: Tombow Aqua, Michaels
Card Base & Card Face: Accent 100 lb., Amazon
Do you have any comments or thoughts on this design? Drop me a line in the Comments Section below – I’d love to hear from you!
You can also use the Comments Section to be notified when I release new work.
Rungs
