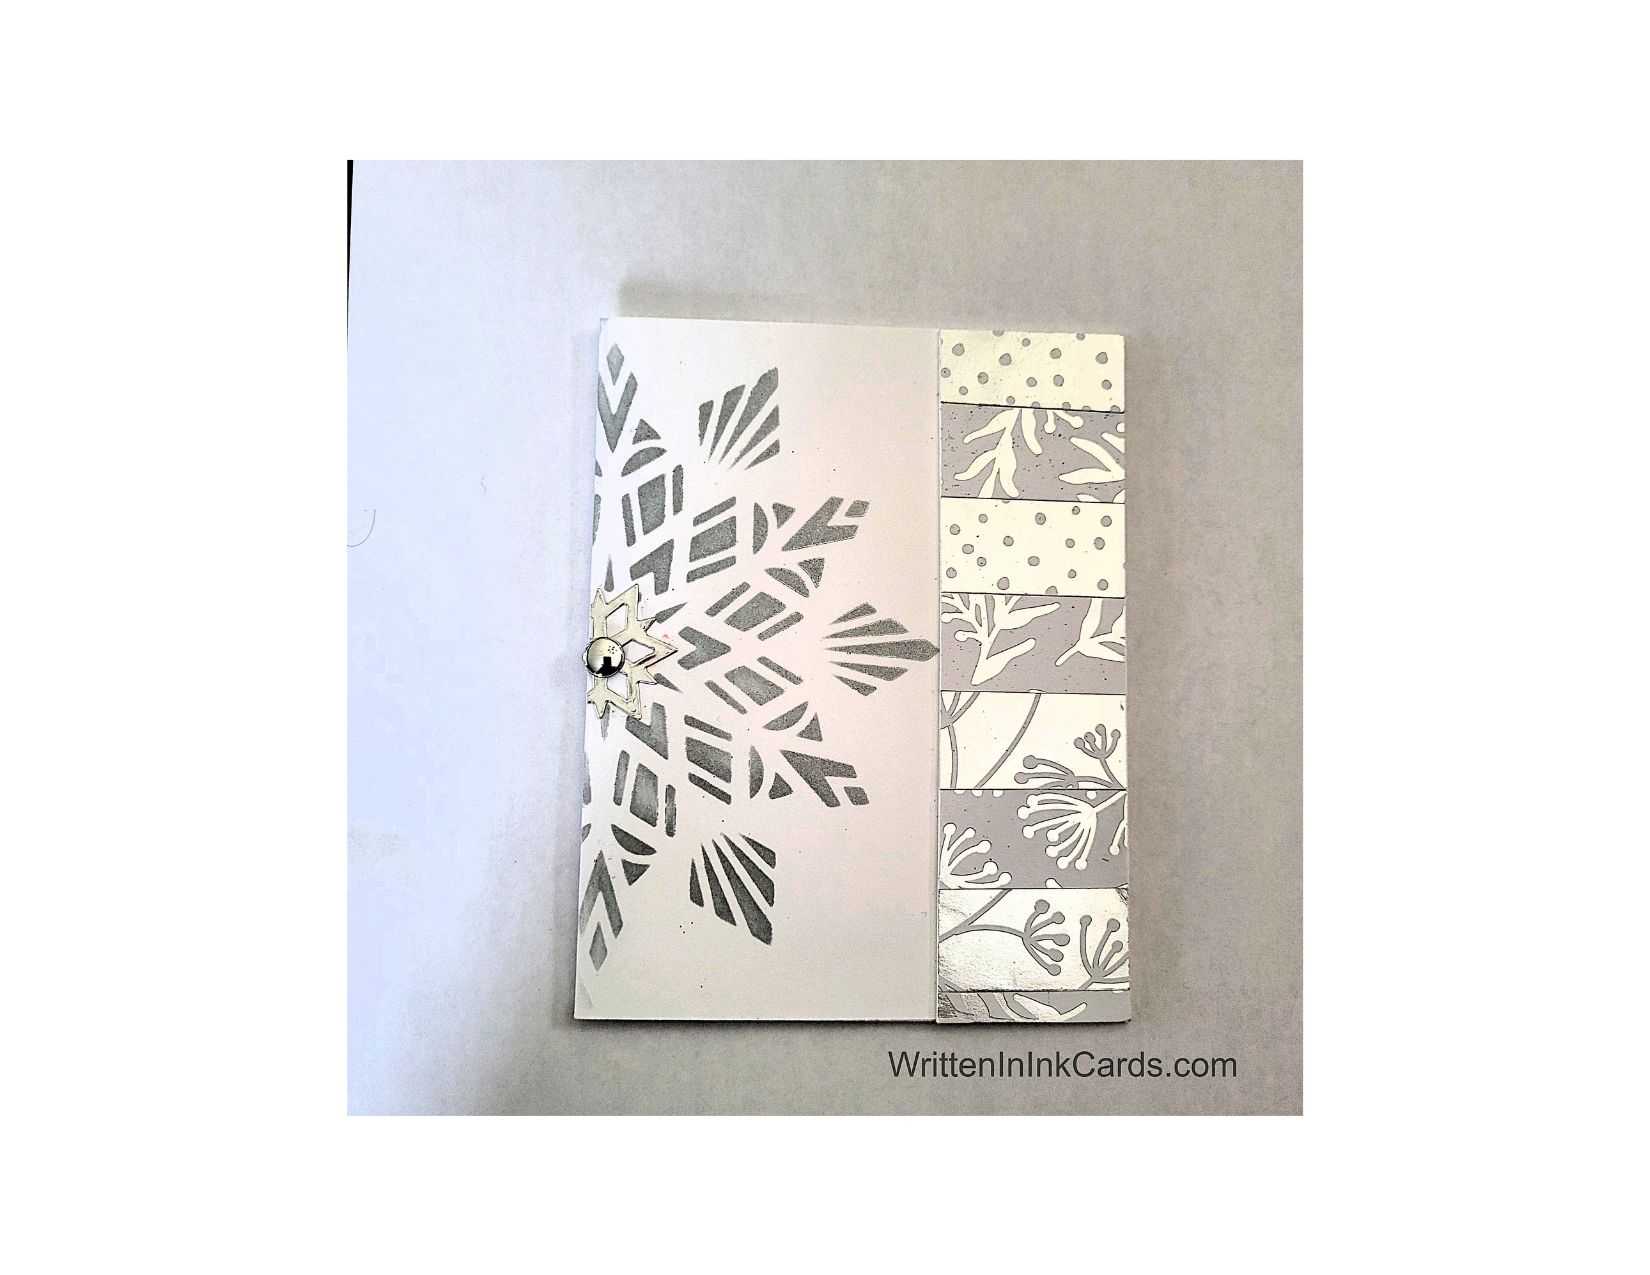

Would you like to experiment with a design like this? You’ll find a supply list below, including a link to the stencil I used from A Colorful Life Designs. Follow the link and use the discount code ChrisFan10 to save 10% on your entire order! (Master Creator Bundles are excluded as they already have a 20% discount built in.)
Let’s get Started:
Card Base: 5.5 x 8.5, scored and folded at 4.25
Card Face: 5.5 x 4.25
Card Face:
- I placed the card face on my grip mat and positioned the stencil so that just over half of it was on the paper.
- I inked the exposed areas with metallic silver ink.
Other:
- I die-cut a tiny snowflake from silver cardstock.
- I found a narrow piece of cardstock in my stash: I had put it together to use up a few leftover scraps of patterned paper. The common theme in all the papers was white and silver, making it perfect for this project.
Assembly
- I glued the card face to the card base, and then added the narrow strip of leftovers, aligning tightly to the right-hand side.
- I added the die-cut snowflake to the center of the stencilled snowflake, cutting it off where it hung over on the left-hand side.
- I added a small silver disc to the center of the die-cut snowflake.
Final Thoughts:
I’m so pleased with how these individual parts came together. It’s an elegant, contemporary card.
Supplies: (and links where possible)
I have listed the products I have used and where they can be purchased. It’s a huge marketplace, and in most instances, there are multiple sources and many alternatives to choose from.
Stencil: (see images below)
Split Snowflake, A Colorful Life Designs
Ink: Silver Shine, Lisa Horton
Blending Brushes: Stampin’ Up!
Adhesive: Tombow Aqua, Michaels
Card Base & Card Face: Accent 100 lb., Amazon
Do you have any comments or thoughts on this design? Drop me a line in the Comments Section below – I’d love to hear from you!
You can also use the Comments Section to be notified when I release new work.
Split Snowflake

Leave a Reply