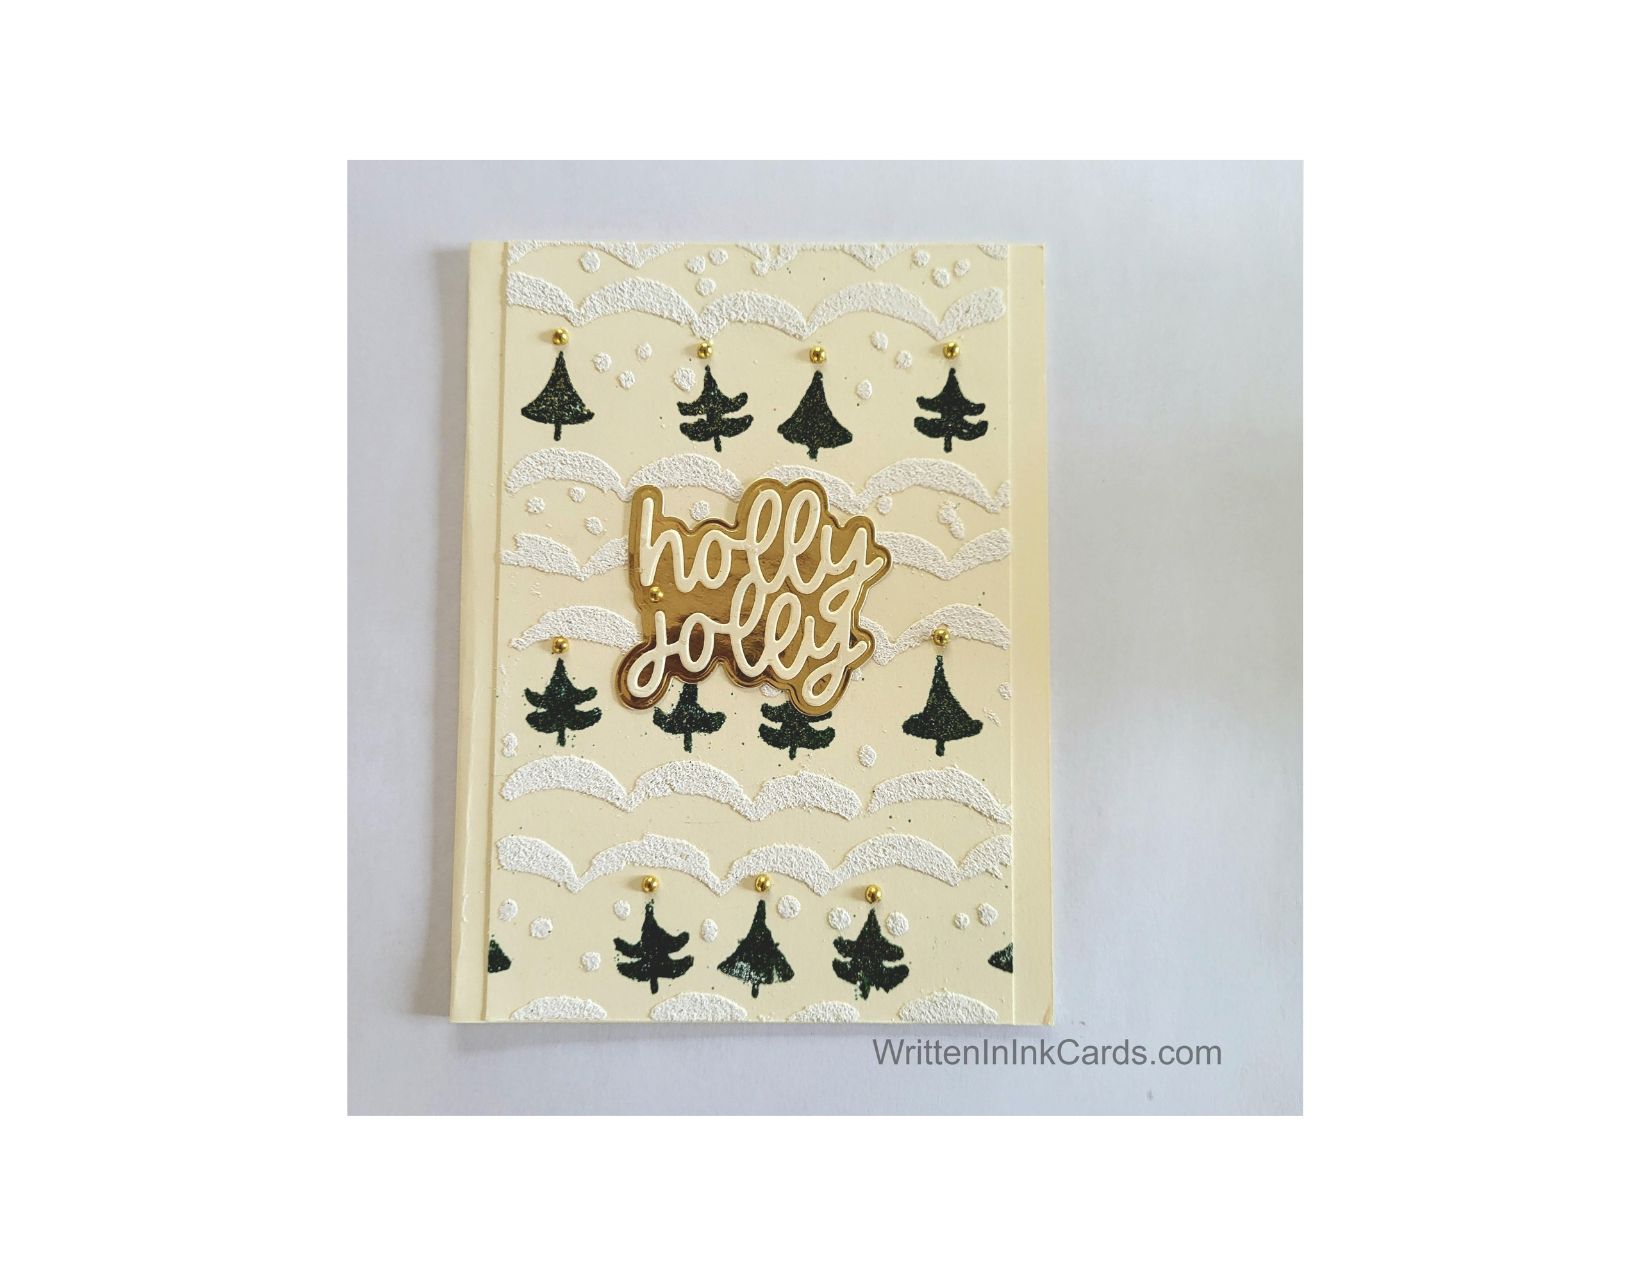

Would you like to experiment with a design like this? You’ll find a supply list below, including a link to the stencil I used from A Colorful Life Designs. Follow the link and use the discount code ChrisFan10 to save 10% on your entire order! (Master Creator Bundles are excluded as they already have a 20% discount built in.)
Let’s get Started:
Card Base: 5.5 x 8.5, scored and folded at 4.25
Card Face: 5.5 x 4
Card Face:
- I laid the card face on a piece of scrap paper, positioned the stencil and secured both with low-tack tape.
- I masked off all areas above and below the first row of trees and then pressed my Versamark embossing pad firmly through the exposed areas in that row.
- Setting the stencil aside, I sprinkled green sparkly embossing powder over the wet ink and set it with my heat gun.
- I repeated this for the other two rows of trees.
- Changing tactics slightly, I masked off the three rows of trees, pressed my ink pad through the remaining openings and sprinkled Marshmallow Fluff embossing powder over the wet ink after removing the stencil. I set the embossing powder with my heat gun.
This embossing powder puffs up slightly with heat, adding a fun, unexpected bit of texture to the card.
- I used my embossing pen on each of the round snowflakes, added holographic embossing powder and set it with my heat gun.
Other:
- I used a scrap of cream cardstock to create the “Holly Jolly” and a scrap of gold for the background layer.
Assembly
- I glued a second layer of cardstock (slightly smaller) under the card face to give subtle separation, and then centered these on the card base.
- I glued the sentiment to its background, then centered it on the card face.
- I added a small metallic gold pearl to the top of each Christmas tree, and one to the top of the “J”.
Final Thoughts:
I was hoping the holographic embossing powder would make the snowflakes stand out from the other white embossing, but sadly, it didn’t.
I brushed away random bits of green embossing powder before heat-setting each time, but I clearly missed some. I was lazy and didn’t use my anti-static powder – lesson learned!
I also managed to get a bit of white embossing powder on one of the trees that had already been done, and didn’t notice it before applying heat. Sigh.
I love using the expanding white embossing powder with this stencilled design; they work well together.
Supplies: (and links where possible)
I have listed the products I have used and where they can be purchased. It’s a huge marketplace, and in most cases, you’ll find multiple sources and many alternatives to choose from.
Stencil: (see images below)
Whimsical Trees, A Colorful Life Designs
Versamark Embossing Ink: R&R Scrapbooking
Marshmallow Fluff Embossing Powder: Brutus Munro, (retired)
Holographic Embossing Powder: Ranger, Amazon
Embossing Pen: Ranger, Amazon
Dies: Scrapbook.com (retired)
Ink: Stampin’ Up!
Adhesive: Tombow Aqua, Michaels
Card Base & Card Face: Accent 100 lb., Amazon
or Recollections 110 lb., Michaels
Do you have any comments or thoughts on this design? Drop me a line in the Comments Section below – I’d love to hear from you!
You can also use the Comments Section to be notified when I release new work.
Whimsical Trees

Leave a Reply