Would you like to experiment with a design like this? You’ll find a supply list below, including a link to the stencils I used from A Colorful Life Designs. Follow the link and use the discount code ChrisFan10 to save 10% on your entire order! (Master Creator Bundles are excluded as they already have a 20% discount built in.)
Let’s get Started:
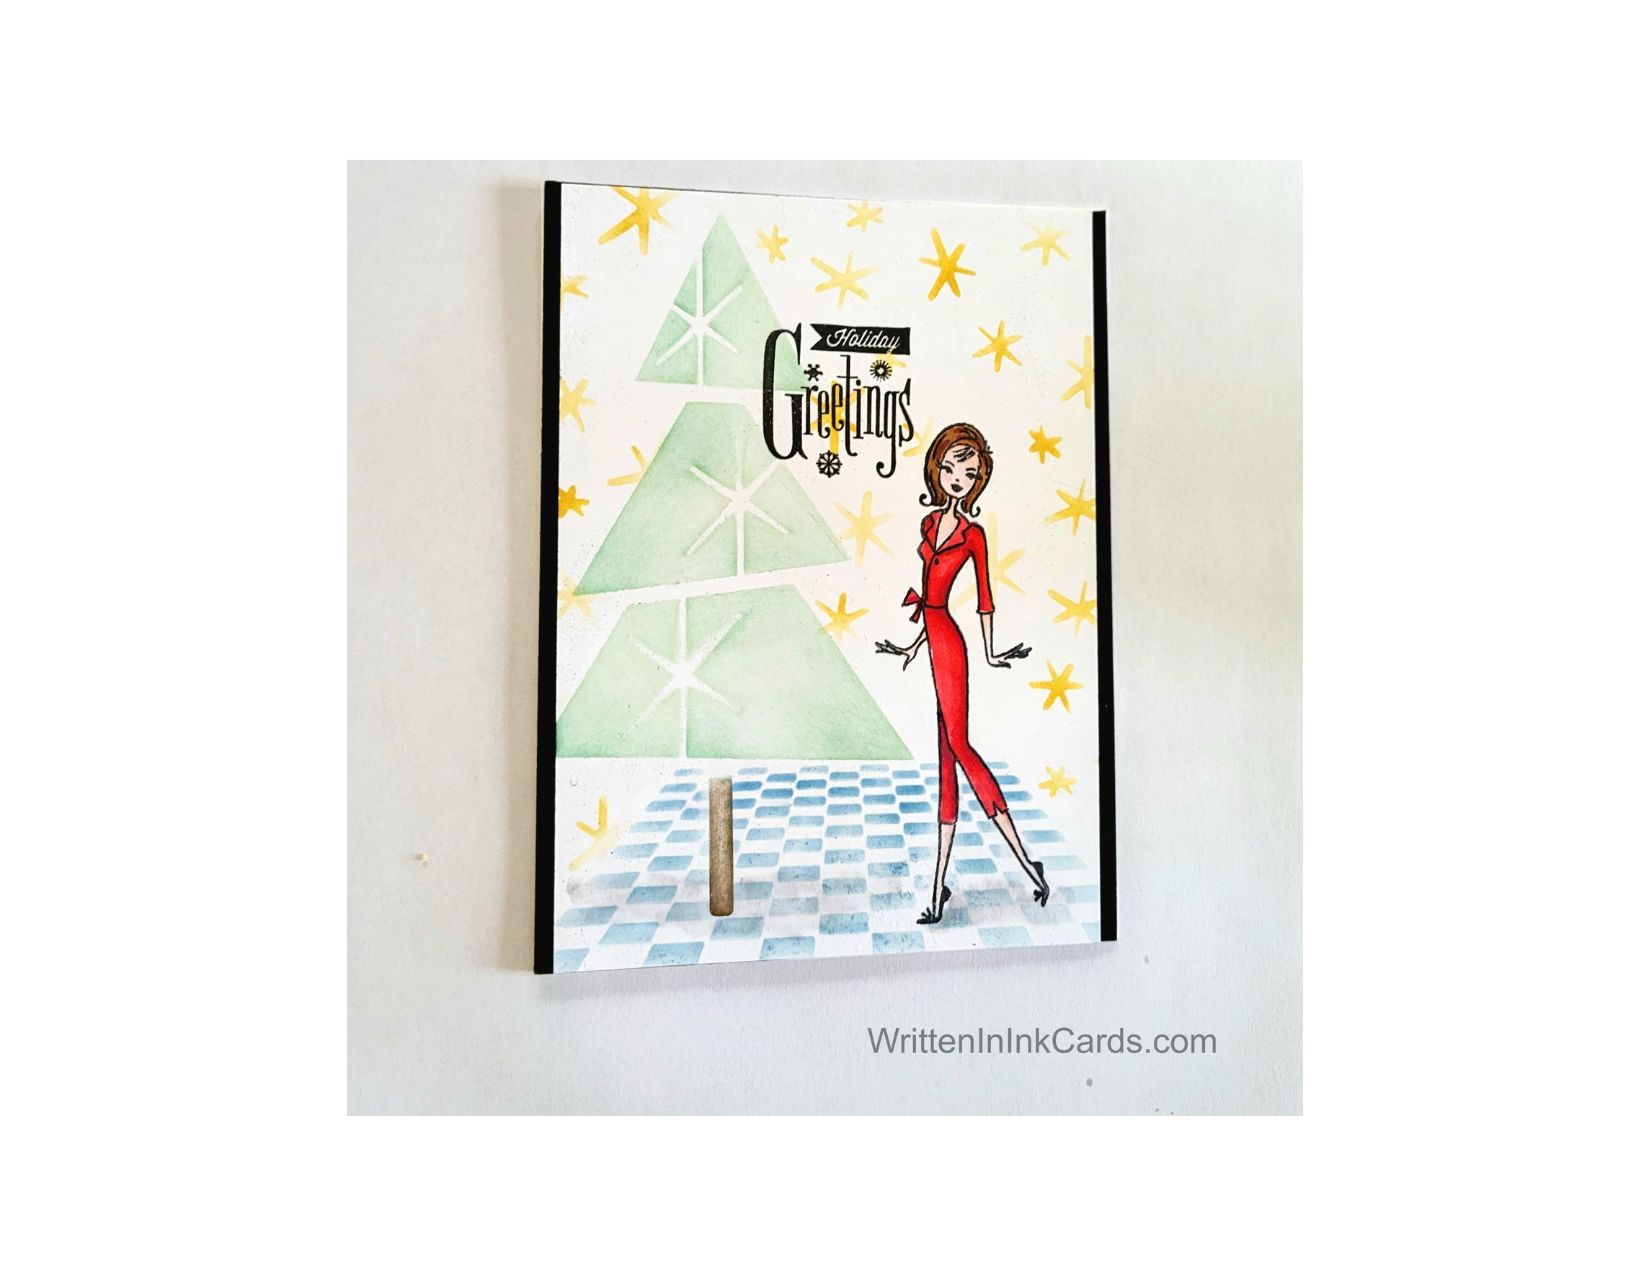
Card Base: 5.5 x 8.5, scored and folded at 4.25
Black Border Layer: 5.5 x 4.25
Card Face: 5.5 x 4
Card Face:
I laid my card face on the grip mat, and then positioned the tree stencil . I masked off the trunk and applied green ink over the exposed areas with a light hand. Then I switched and masked off the bottom of the tree and added brown ink to the trunk.
I put the card face into the stamp positioner and stamped the woman with Memento black ink. I coloured her with alcohol markers.
I positioned the floor stencil and created the pattern with blue ink, using a shading brush to avoid inking the tree or the woman.
I switched to the Sparkles stencil. I added this detail with yellow ink, again using a shading brush to avoid getting yellow ink where I didn’t want it.
I put the card face back in the stamp positioner and added the sentiment with Versafine Onyx, stamping a couple of times to get good saturation..
Assembly
I glued the black border layer to the card base, and then centered the card face on top of this.
Final Thoughts:
I love the way these individual products came together to create this scene. If I recreate this I’ll make the tree a bit darker, but other than that I’m happy with the way this turned out.
Supplies: (and links where possible)
I have listed the products I have used and where they can be purchased. It’s a huge marketplace, and in most instances, there are multiple sources and many alternatives to choose from.
Would you like to experiment with a design like this? You’ll find a supply list below, including a link to the stencil I used from A Colorful Life Designs. Follow the link and use the discount code ChrisFan10 to save 10% on your entire order! (Master Creator Bundles are excluded as they already have a 20% discount built in.)
Let’s get Started:
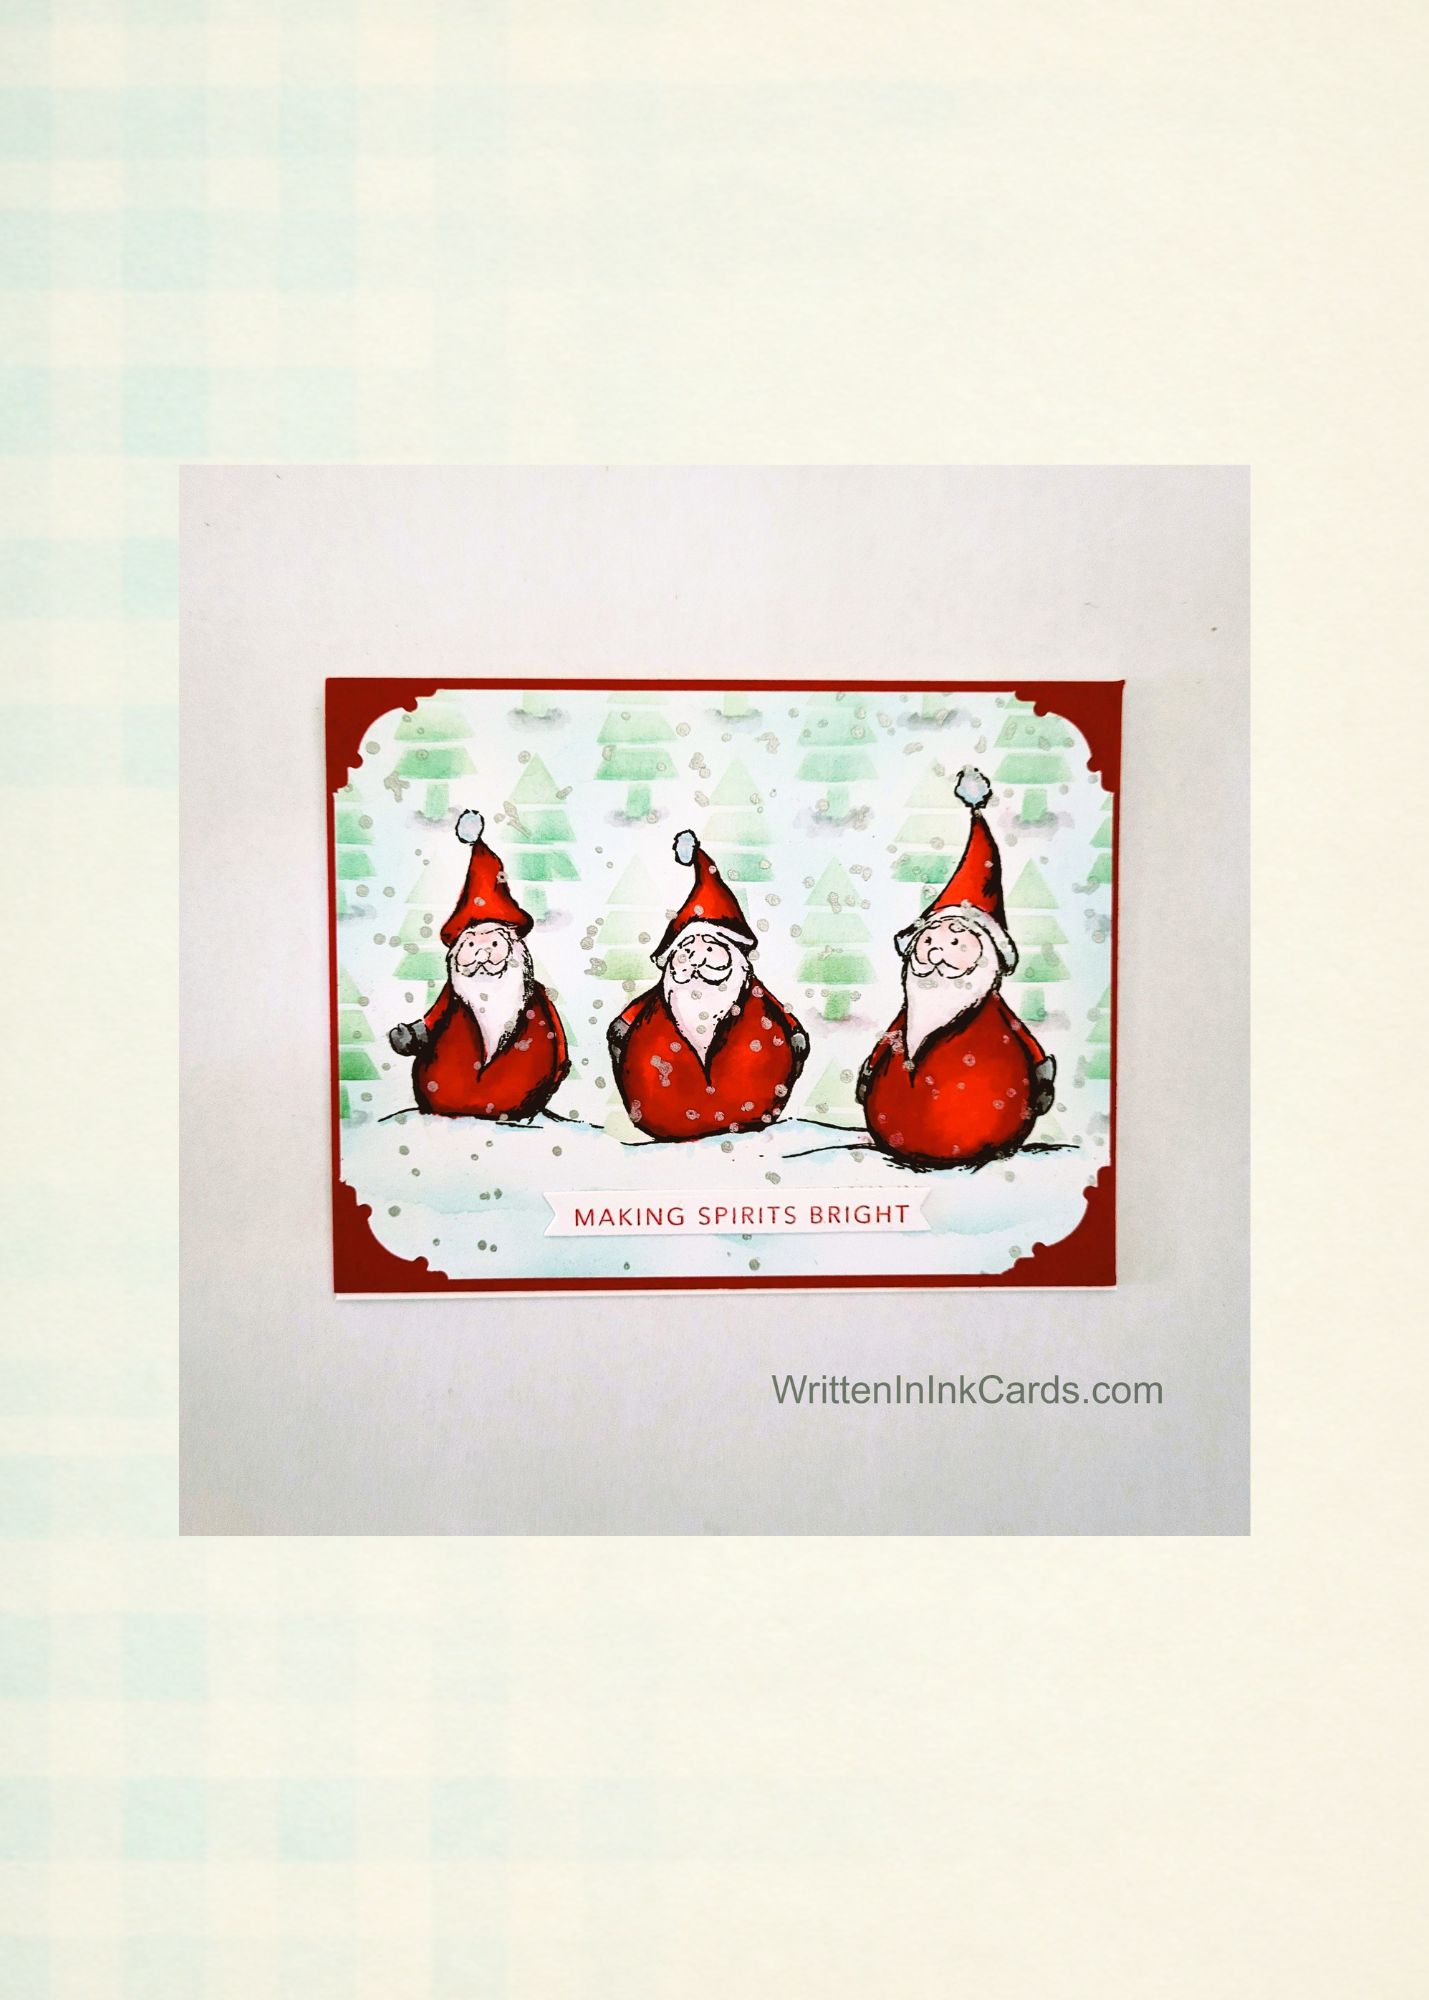
Card Base: 5.5 x 8.5, scored and folded at 4.25
Red Border Layer: 5.5 x 4.25
Card Face: 5 ⅜ x 4 1/8
Card Face:
I placed the card face in the stamp positioner. I added the stamped image with Memento black ink, then coloured the Santas with alcohol markers.
I used a blending brush dedicated to light blue ink on the bottom of the panel, using residual ink on the brush. It’s hard to see in the picture, but I used torn paper to add a bit of detail/shading to the ground.
I laid the card face on the grip mat and positioned the stencil.
I applied grey-green ink over all exposed areas with a light hand, carefully avoiding any overlap on the ground or on the Santas.
I used a shading brush to add blue-green ink to the bottom of each tree.
I used a punch to shape each corner.
I used a silver gel pen to add dots of snow randomly over the card face.
Other:
I looked through my sentiment binder and selected one that worked for the image.
Assembly
I glued the red border layer to the card base.
I centered the card face on top of the bottom layers, and then added the sentiment where shown.
Final Thoughts:
This card is super cute. I love the combination of this stencil with the Santas.
Supplies: (and links where possible)
I have listed the products I have used and where they can be purchased. It’s a huge marketplace, and in most instances, there are multiple sources and many alternatives to choose from.
Would you like to experiment with a design like this? You’ll find a supply list below, including a link to the stencil I used from A Colorful Life Designs. Follow the link and use the discount code ChrisFan10 to save 10% on your entire order! (Master Creator Bundles are excluded as they already have a 20% discount built in.)
Let’s get Started:
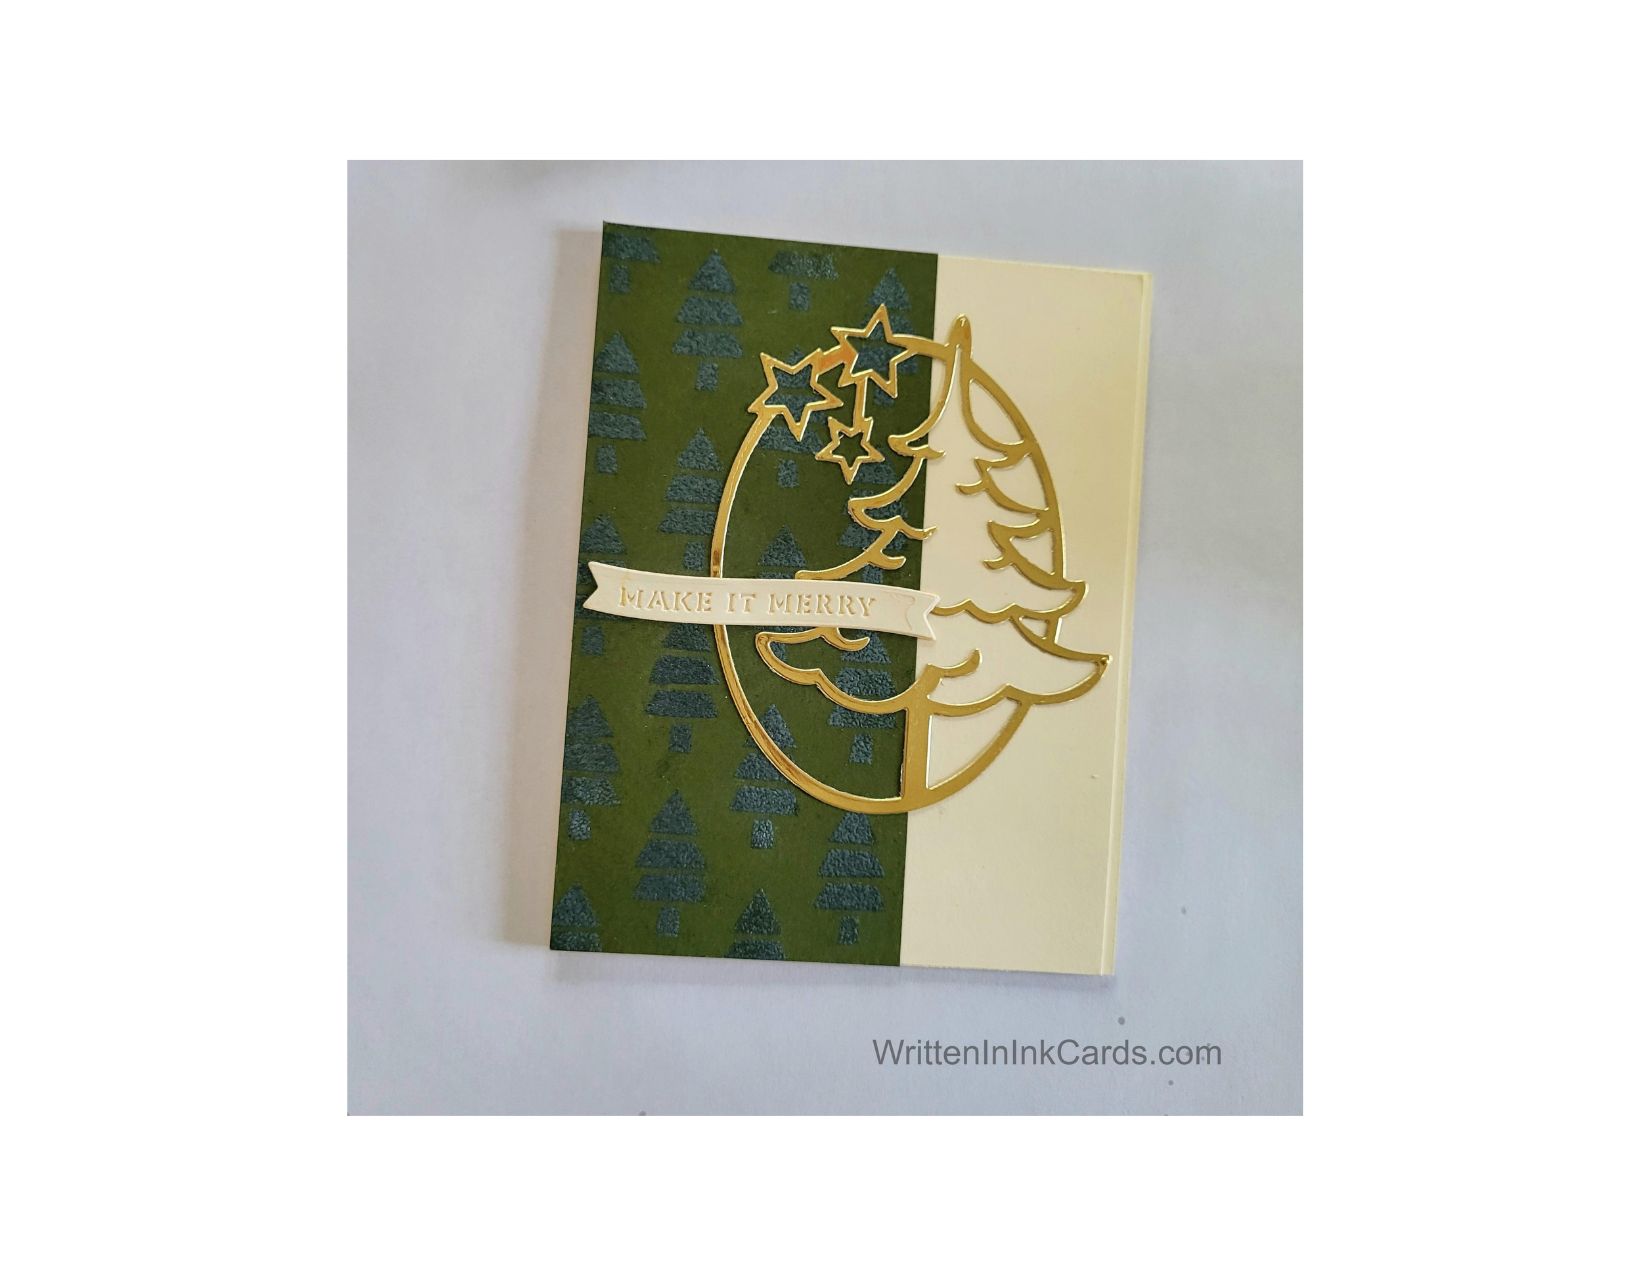
Card Base: 5.5 x 8.5, scored and folded at 4.25
Green Card Face: 5.5 x 2.25
Gold Foil cardstock: 5.25 x 3
Card Face:
I laid the card face on my grip mat and positioned the stencil.
I pressed my embossing ink pad firmly through the openings.
After removing the stencil I sprinkled blue embossing powder over the wet ink, and then set it with my heat gun.
Other:
I secured the die on the gold cardstock and ran it through my Big Shot to create the focal image.
I used a small scrap of cream cardstock and a die to create the sentiment.
Assembly
I glued the cardface to the card base, aligning tightly to the left-hand side.
I glued the focal image on as shown, and then added the sentiment.
Final Thoughts:
This is a very simple card, made fun by the unexpected addition of the blue trees.The Lene die cut is the perfect finishing touch.
Supplies: (and links where possible)
I have listed the products I have used and where they can be purchased. It’s a huge marketplace, and in most instances, there are multiple sources and many alternatives to choose from.
Would you like to experiment with a design like this? You’ll find a supply list below, including a link to the stencil I used from A Colorful Life Designs. Follow the link and use the discount code ChrisFan10 to save 10% on your entire order! (Master Creator Bundles are excluded as they already have a 20% discount built in.)
Let’s get Started:
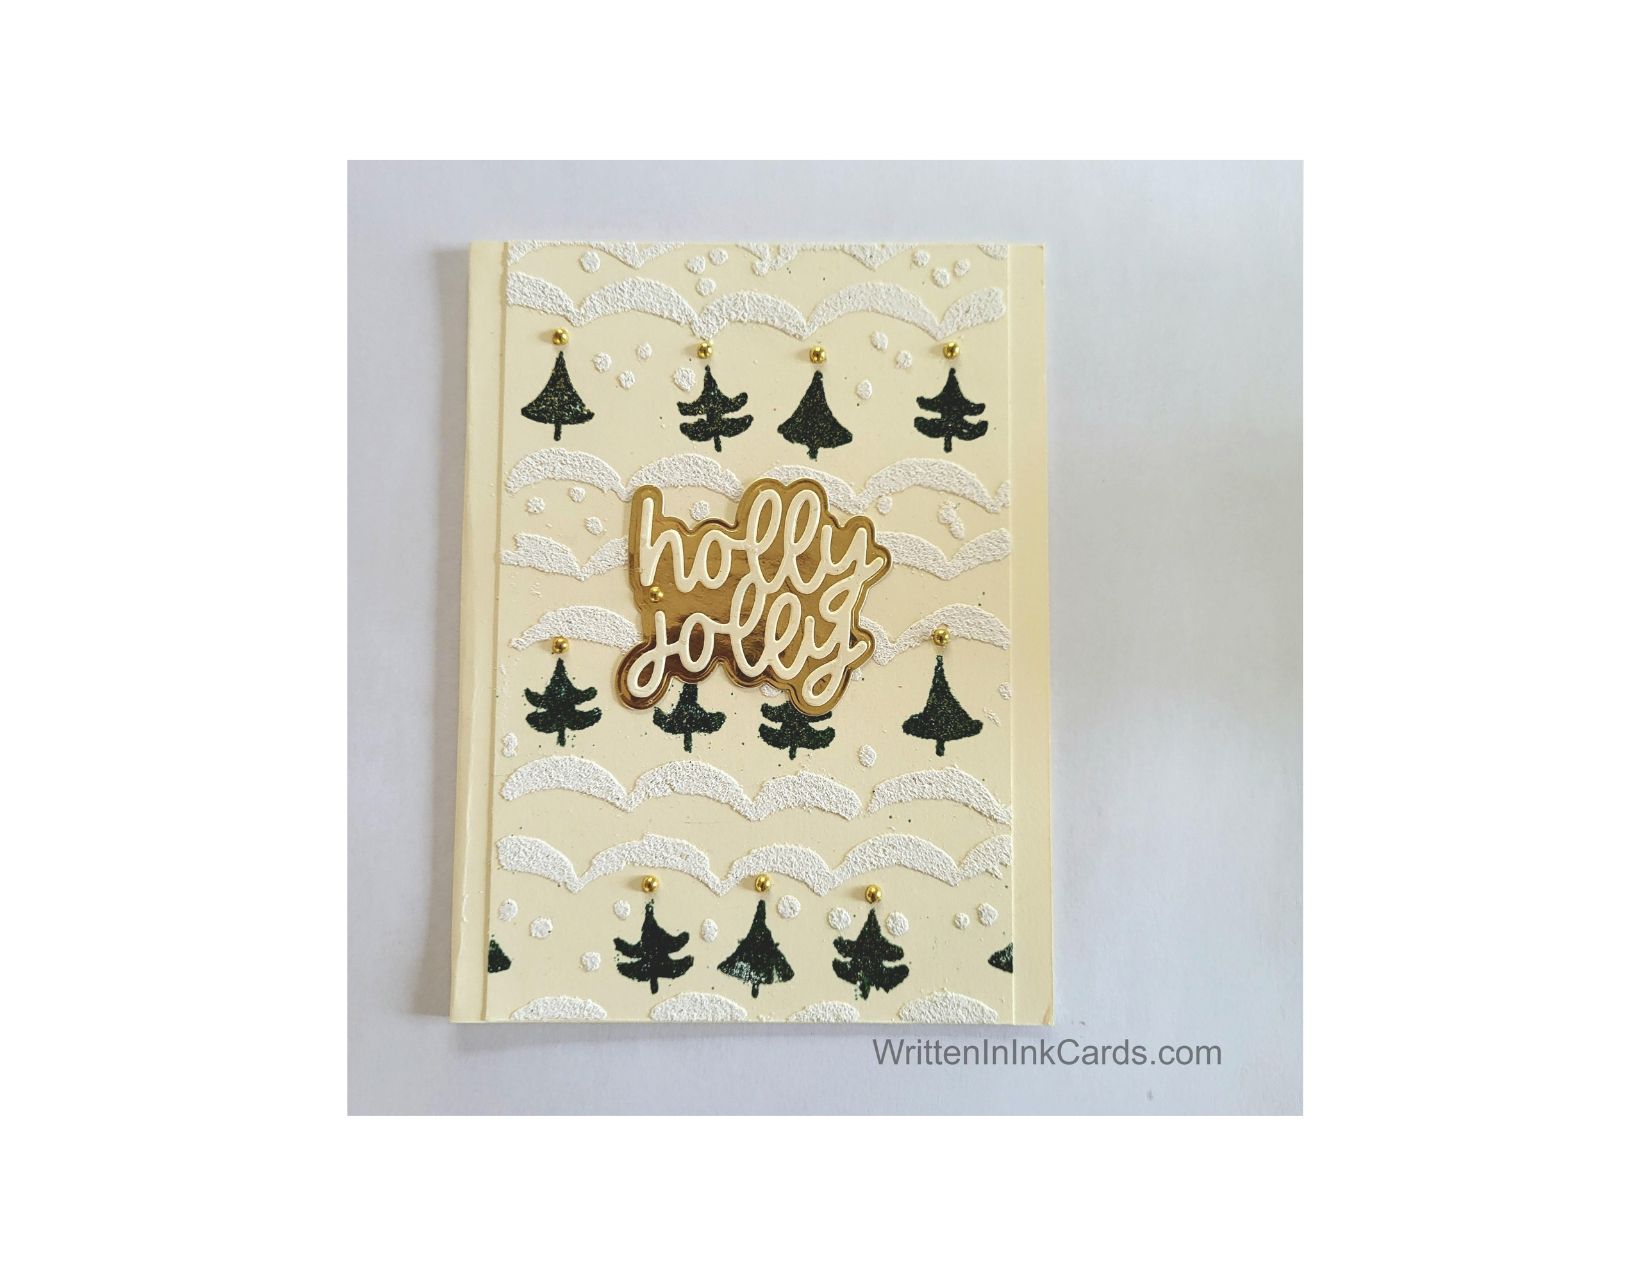
Card Base: 5.5 x 8.5, scored and folded at 4.25
Card Face: 5.5 x 4
Card Face:
I laid the card face on a piece of scrap paper, positioned the stencil and secured both with low-tack tape.
I masked off all areas above and below the first row of trees and then pressed my Versamark embossing pad firmly through the exposed areas in that row.
Setting the stencil aside, I sprinkled green sparkly embossing powder over the wet ink and set it with my heat gun.
I repeated this for the other two rows of trees.
Changing tactics slightly, I masked off the three rows of trees, pressed my ink pad through the remaining openings and sprinkled Marshmallow Fluff embossing powder over the wet ink after removing the stencil. I set the embossing powder with my heat gun.
This embossing powder puffs up slightly with heat, adding a fun, unexpected bit of texture to the card.
I used my embossing pen on each of the round snowflakes, added holographic embossing powder and set it with my heat gun.
Other:
I used a scrap of cream cardstock to create the “Holly Jolly” and a scrap of gold for the background layer.
Assembly
I glued a second layer of cardstock (slightly smaller) under the card face to give subtle separation, and then centered these on the card base.
I glued the sentiment to its background, then centered it on the card face.
I added a small metallic gold pearl to the top of each Christmas tree, and one to the top of the “J”.
Final Thoughts:
I was hoping the holographic embossing powder would make the snowflakes stand out from the other white embossing, but sadly, it didn’t.
I brushed away random bits of green embossing powder before heat-setting each time, but I clearly missed some. I was lazy and didn’t use my anti-static powder – lesson learned!
I also managed to get a bit of white embossing powder on one of the trees that had already been done, and didn’t notice it before applying heat. Sigh.
I love using the expanding white embossing powder with this stencilled design; they work well together.
Supplies: (and links where possible)
I have listed the products I have used and where they can be purchased. It’s a huge marketplace, and in most cases, you’ll find multiple sources and many alternatives to choose from.
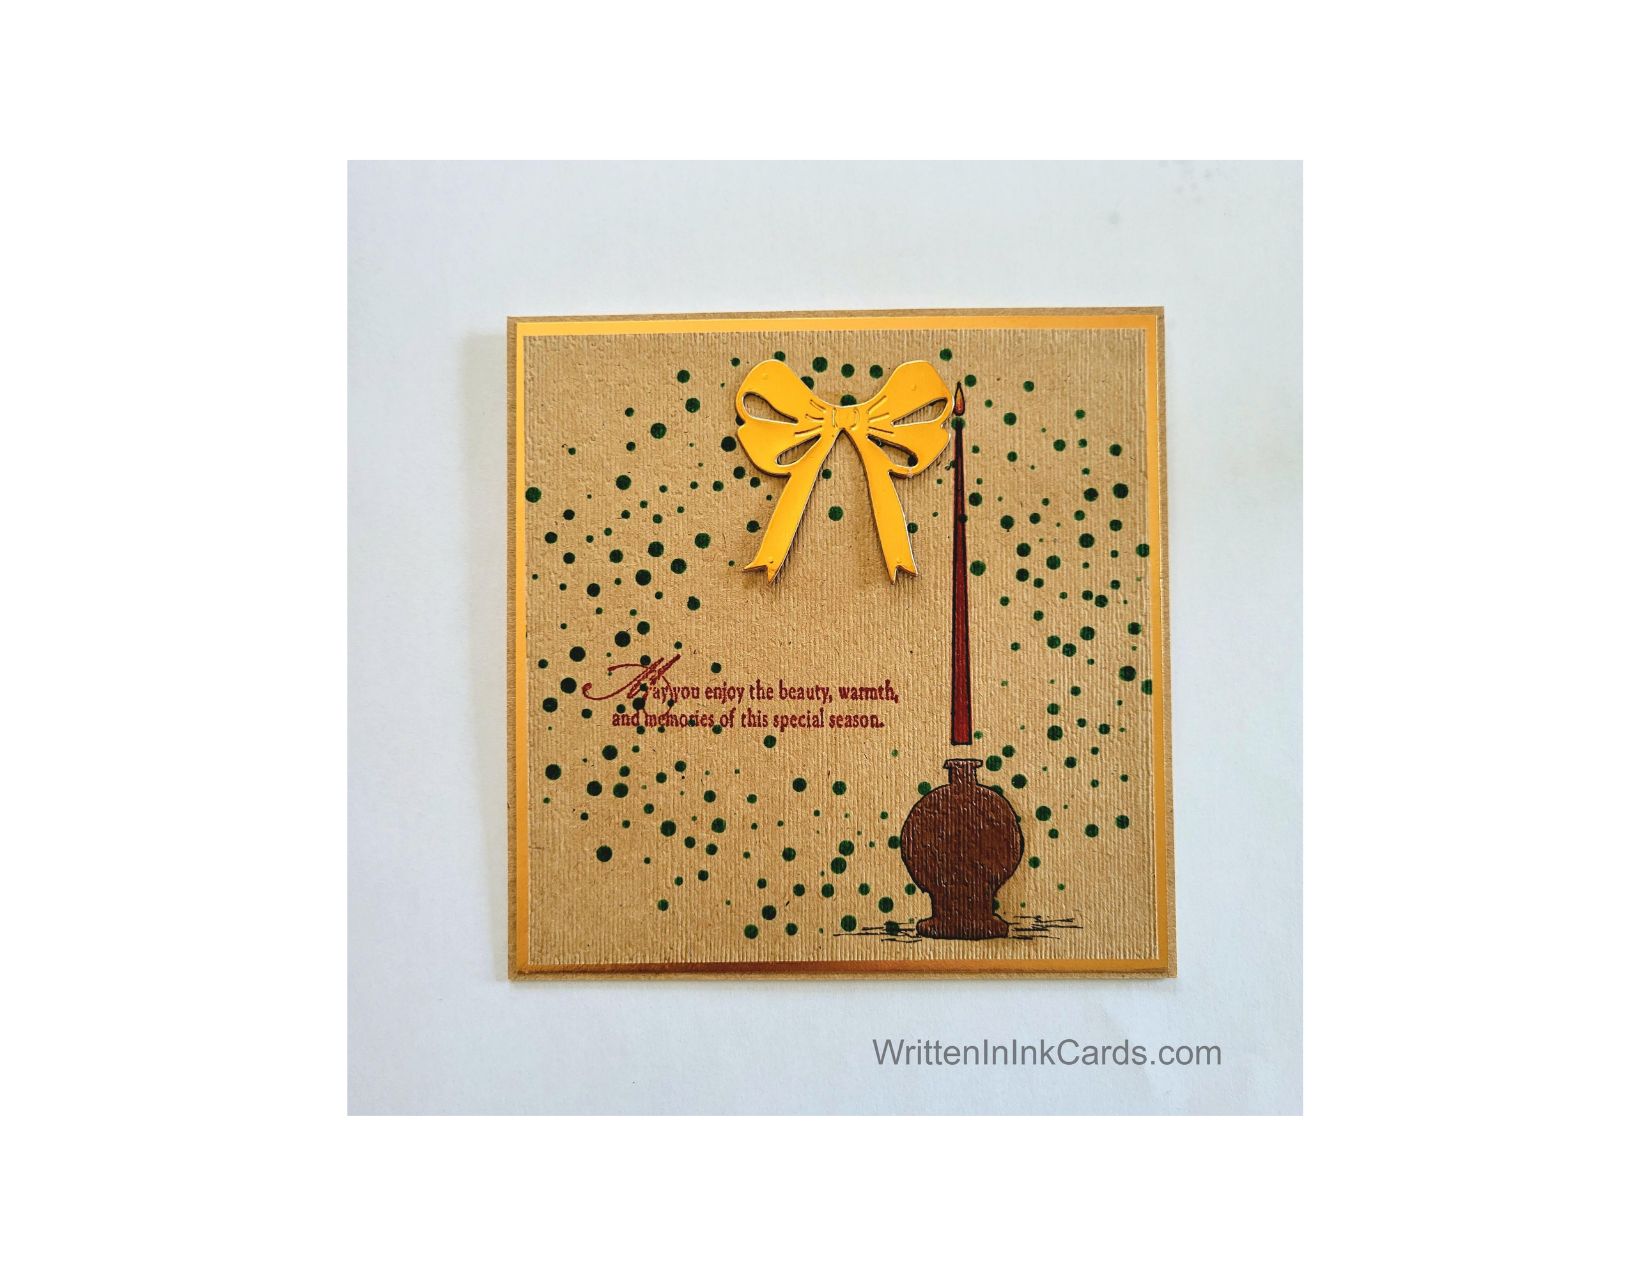
Would you like to experiment with a design like this? You’ll find a supply list below, including a link to the stencils I used from A Colorful Life Designs. Follow the link and use the discount code ChrisFan10 to save 10% on your entire order! (Master Creator Bundles are excluded as they already have a 20% discount built in.)
Let’s get Started:
Card Base: 5.25 x 10.5, scored and folded at 5.25
Kraft Border Layer: 5.25 x 5.25
Gold Border Layer: 5 ⅛ x 5 ⅛
Kraft Card Face: 4 ⅞ x 4 ⅞
Card Face:
I laid the card face on my grip mat and positioned the wreath stencil. I applied green ink across all exposed areas.
I removed the wreath stencil and positioned the Retro Candles stencil so the one I wanted to use was lined up in the lower right of the card face. (There are three candles on this stencil.)
I masked off the candle and then pressed my Versamark ink pad through the opening for the candle holder. I sprinkled gold embossing powder over the wet ink and set it with my heat gun.
After masking off the top of the candle holder and the flame on top of the candle, I applied red ink to the candle itself.
Next, I masked off the top of the candle, used shading brushes to add yellow ink to create the flame, and then added a touch of red at the base.
I traced all parts of the candle and candle stick with a fineliner to provide definition.
I used a light grey alcohol marker to shade the right-hand side of the candle holder, and a black micro liner to add fine black lines to indicate a surface.
I put the card face into my stamp positioner and added the sentiment in the same red as the candle.
I put the card face in an embossing folder and ran it through my Big Shot to add surface texture.
Other:
I used a die and a scrap of gold foil to create the bow.
Assembly
I glued the kraft border layer to the card base.
I centered the gold border layer on top of these, and then the card face on top of all.
I glued the gold bow to the top of the wreath.
Final Thoughts:
This card has a timeless feel, and I love the kraft/gold foil combination.
Supplies: (and links where possible)
I have listed the products I have used and where they can be purchased. It’s a huge marketplace, and in most instances, there are multiple sources and many alternatives to choose from.
Do you have any comments or thoughts on this design? Drop me a line in the Comments Section below – I’d love to hear from you!
You can also use the Comments Section to be notified when I release new work.
Would you like to experiment with a design like this? You’ll find a supply list below, including a link to the stencils I used from A Colorful Life Designs. Follow the link and use the discount code ChrisFan10 to save 10% on your entire order! (Master Creator Bundles are excluded as they already have a 20% discount built in.)
Let’s get Started:
Card Base: 5.25 x 10.5, scored and folded at 5.25
Kraft Border Layer: 5.25 x 5.25
Gold Border Layer: 5 ⅛ x 5 ⅛
Kraft Card Face: 4 ⅞ x 4 ⅞
Card Face:
I laid the card face on my grip mat and positioned the wreath stencil. I applied green ink across all exposed areas.
I removed the wreath stencil and positioned the Retro Candles stencil so the one I wanted to use was lined up in the lower right of the card face. (There are three candles on this stencil.)
I masked off the candle and then pressed my Versamark ink pad through the opening for the candle holder. I sprinkled gold embossing powder over the wet ink and set it with my heat gun.
After masking off the top of the candle holder and the flame on top of the candle, I applied red ink to the candle itself.
Next, I masked off the top of the candle, used shading brushes to add yellow ink to create the flame, and then added a touch of red at the base.
I traced all parts of the candle and candle stick with a fineliner to provide definition.
I used a light grey alcohol marker to shade the right-hand side of the candle holder, and a black micro liner to add fine black lines to indicate a surface.
I put the card face into my stamp positioner and added the sentiment in the same red as the candle.
I put the card face in an embossing folder and ran it through my Big Shot to add surface texture.
Other:
I used a die and a scrap of gold foil to create the bow.
Assembly
I glued the kraft border layer to the card base.
I centered the gold border layer on top of these, and then the card face on top of all.
I glued the gold bow to the top of the wreath.
Final Thoughts:
This card has a timeless feel, and I love the kraft/gold foil combination.
Supplies: (and links where possible)
I have listed the products I have used and where they can be purchased. It’s a huge marketplace, and in most instances, there are multiple sources and many alternatives to choose from.
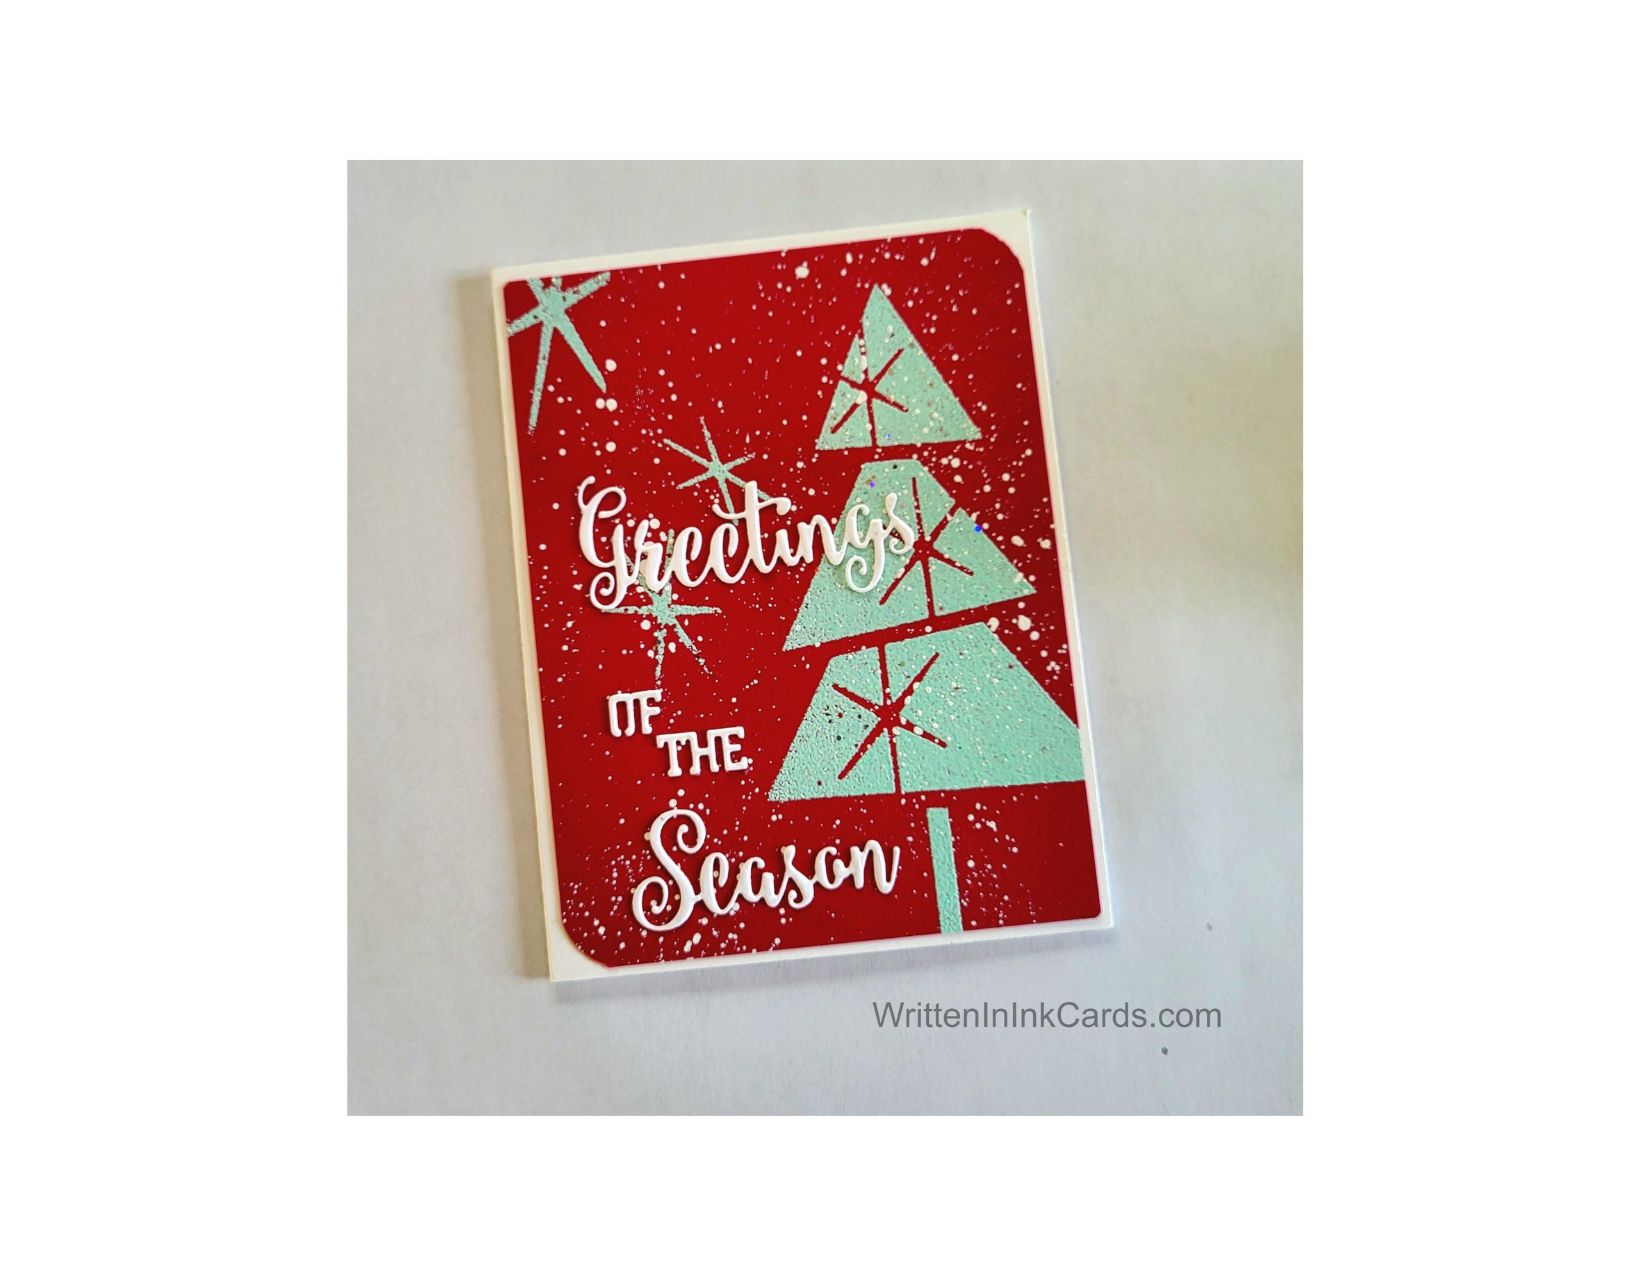
Would you like to experiment with a design like this? You’ll find a supply list below, including a link to the stencil I used from A Colorful Life Designs. Follow the link and use the discount code ChrisFan10 to save 10% on your entire order! (Master Creator Bundles are excluded as they already have a 20% discount built in.)
Let’s get Started:
Card Base: 5.5 x 8.5, scored and folded at 4.25
Red Card Face: 5.25 x 4
Card Face:
I laid the card face down on my grip mat and used a coordinating red ink to slightly darken the edges, leaving the center lighter.
After the ink had dried, I positioned the stencil and masked off the openings for the stars.
I pressed my Versamark embossing ink pad firmly through the openings for the tree.
I sprinkled light green (sparkly) embossing powder over the wet embossing ink and set it with my heat gun.
I repositioned the stencil and repeated the process to add the stars where I wanted them, masking off openings that were too close for comfort each time.
Using white acrylic, I added spatter generously.
I used a punch to round the top-right and bottom-left corners.
Other:
I looked through my Sentiment binder and pulled out this cutie, cut previously and saved for just this purpose.
Assembly
I glued the card face to the card base, centering on all sides.
I added the sentiment as shown.
Final Thoughts:
I love the way this card turned out: the colour combination, the mid-century style, the style of sentiment, and even the spatter – everything played together so well!
Supplies: (and links where possible)
I have listed the products I have used and where they can be purchased. It’s a huge marketplace, and in most instances, there are multiple sources and many alternatives to choose from.
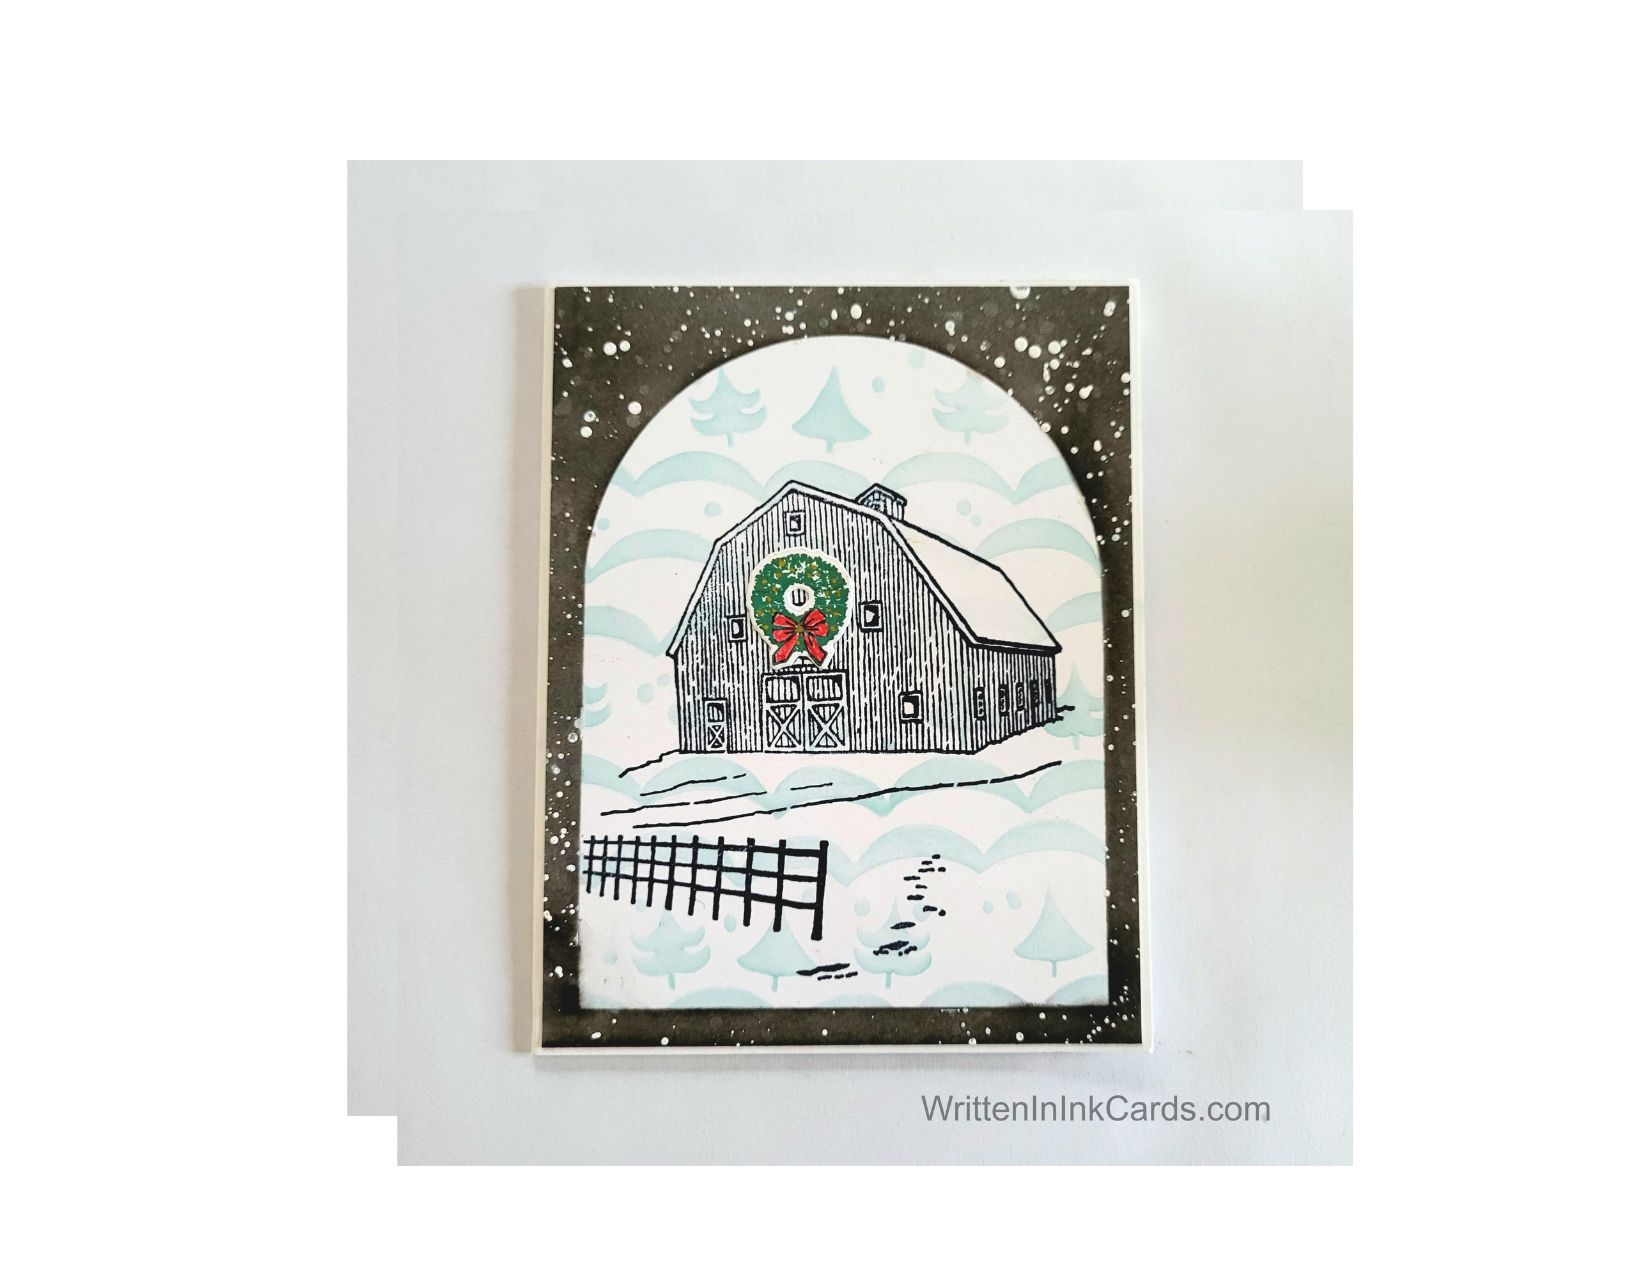
Would you like to experiment with a design like this? You’ll find a supply list below, including a link to the stencils I used from A Colorful Life Designs. Follow the link and use the discount code ChrisFan10 to save 10% on your entire order! (Master Creator Bundles are excluded as they already have a 20% discount built in.)
Let’s get Started:
Card Base: 5.5 x 8.5, scored and folded at 4.25
Card Face: 5 ⅜ x 4 1/8
Card Face:
I laid the card face on my grip mat and positioned the Whimsical Trees stencil. I used blue ink and applied it lightly across the exposed areas.
I set that stencil aside and put the card face in my stamp positioner. I stamped the barn, fence and footprints with black ink.
I put the card face back onto the grip mat and positioned one of the arch masks directly over the stamped images, shielding them completely.
I inked around the mask with dark grey ink, covering that section of the previous stencilling.
Leaving the mask in place to protect the stamped area, I added spatter in both silver metallic watercolour and white acrylic paint.
Assembly
I glued the card face to the card base.
Final Thoughts:
I like this calm, country scene! Adding the spatter at the end made that arched section pop beautifully.
Supplies: (and links where possible)
I have listed the products I have used and where they can be purchased. It’s a huge marketplace, and in most instances, there are multiple sources and many alternatives to choose from.
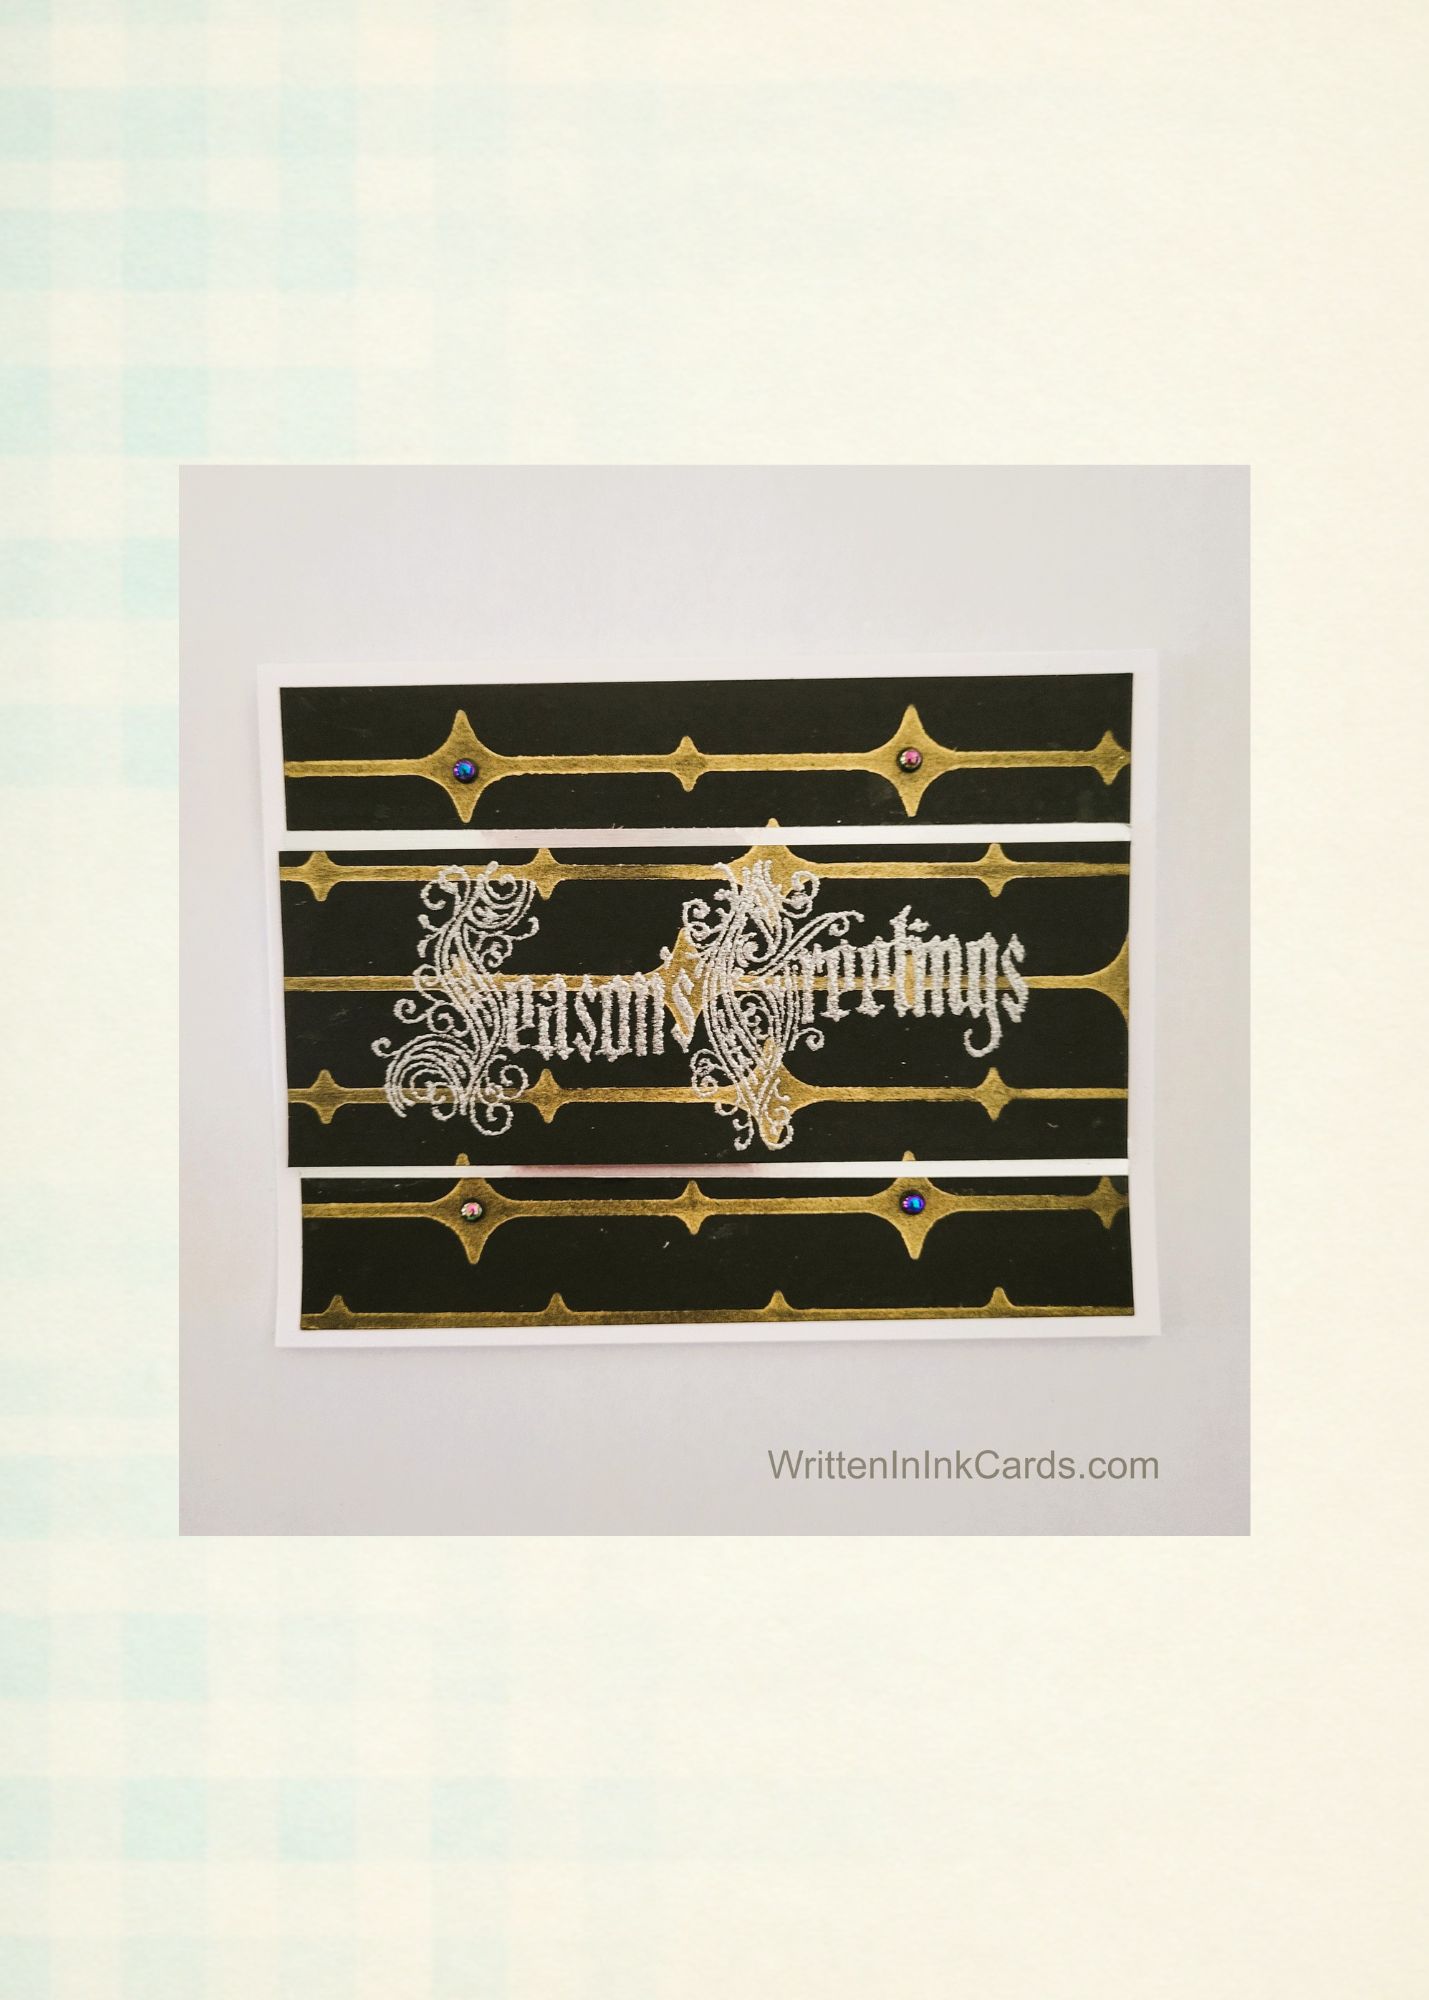
Would you like to experiment with a design like this? You’ll find a supply list below, including a link to the stencil I used from A Colorful Life Designs. Follow the link and use the discount code ChrisFan10 to save 10% on your entire order! (Master Creator Bundles are excluded as they already have a 20% discount built in.)
Let’s get Started:
Card Base: 5.5 x 8.5, scored and folded at 4.25
Black Card Face: 5.25 x 3.75
Card Face:
I laid the (black) card face on the grip mat, and positioned the stencil.
I used metallic gold ink and a heavy hand across the exposed areas, ensuring good coverage with the ink.
I put the card face aside overnight to dry (the gold ink is pigment, and takes a while to dry when applied this heavily).
The next day I began by dusting the card face liberally with anti-static powder.
I put the card face into my stamp positioner and stamped the sentiment with VersaFine embossing ink, then I sprinkled silver embossing powder over the wet ink and set it with my heat gun.
I cut 1” off of the top and bottom inch of the card, setting the strips aside carefully to keep them in the right order.
Assembly
I glued the strips onto the card base, leaving ⅛” between the strips, which created visual interest.
I added iridescent black pearls to the stencilled pattern, as shown.
Final Thoughts:
This is a very structured, dramatic, elegant card. I loved finding a way to incorporate this stencil into a Christmas design.
The concept wouldn’t have worked without the highly pigmented gold ink that covered the black perfectly: this Lisa Horton ink is amazing.
Supplies: (and links where possible)
I have listed the products I have used and where they can be purchased. It’s a huge marketplace, and in most instances, there are multiple sources and many alternatives to choose from.
Would you like to experiment with a design like this? You’ll find a supply list below, including a link to the stencil I used from A Colorful Life Designs. Follow the link and use the discount code ChrisFan10 to save 10% on your entire order! (Master Creator Bundles are excluded as they already have a 20% discount built in.)
Let’s get Started:
Card Base: 5.5 x 8.5, scored and folded at 4.25
Border Layer: 5.5 x 4.25
Card Face: 5.5 x 4
White Cardstock: 2.5 x 2.5
Red Cardstock: 2 5/8 x 2 5/8
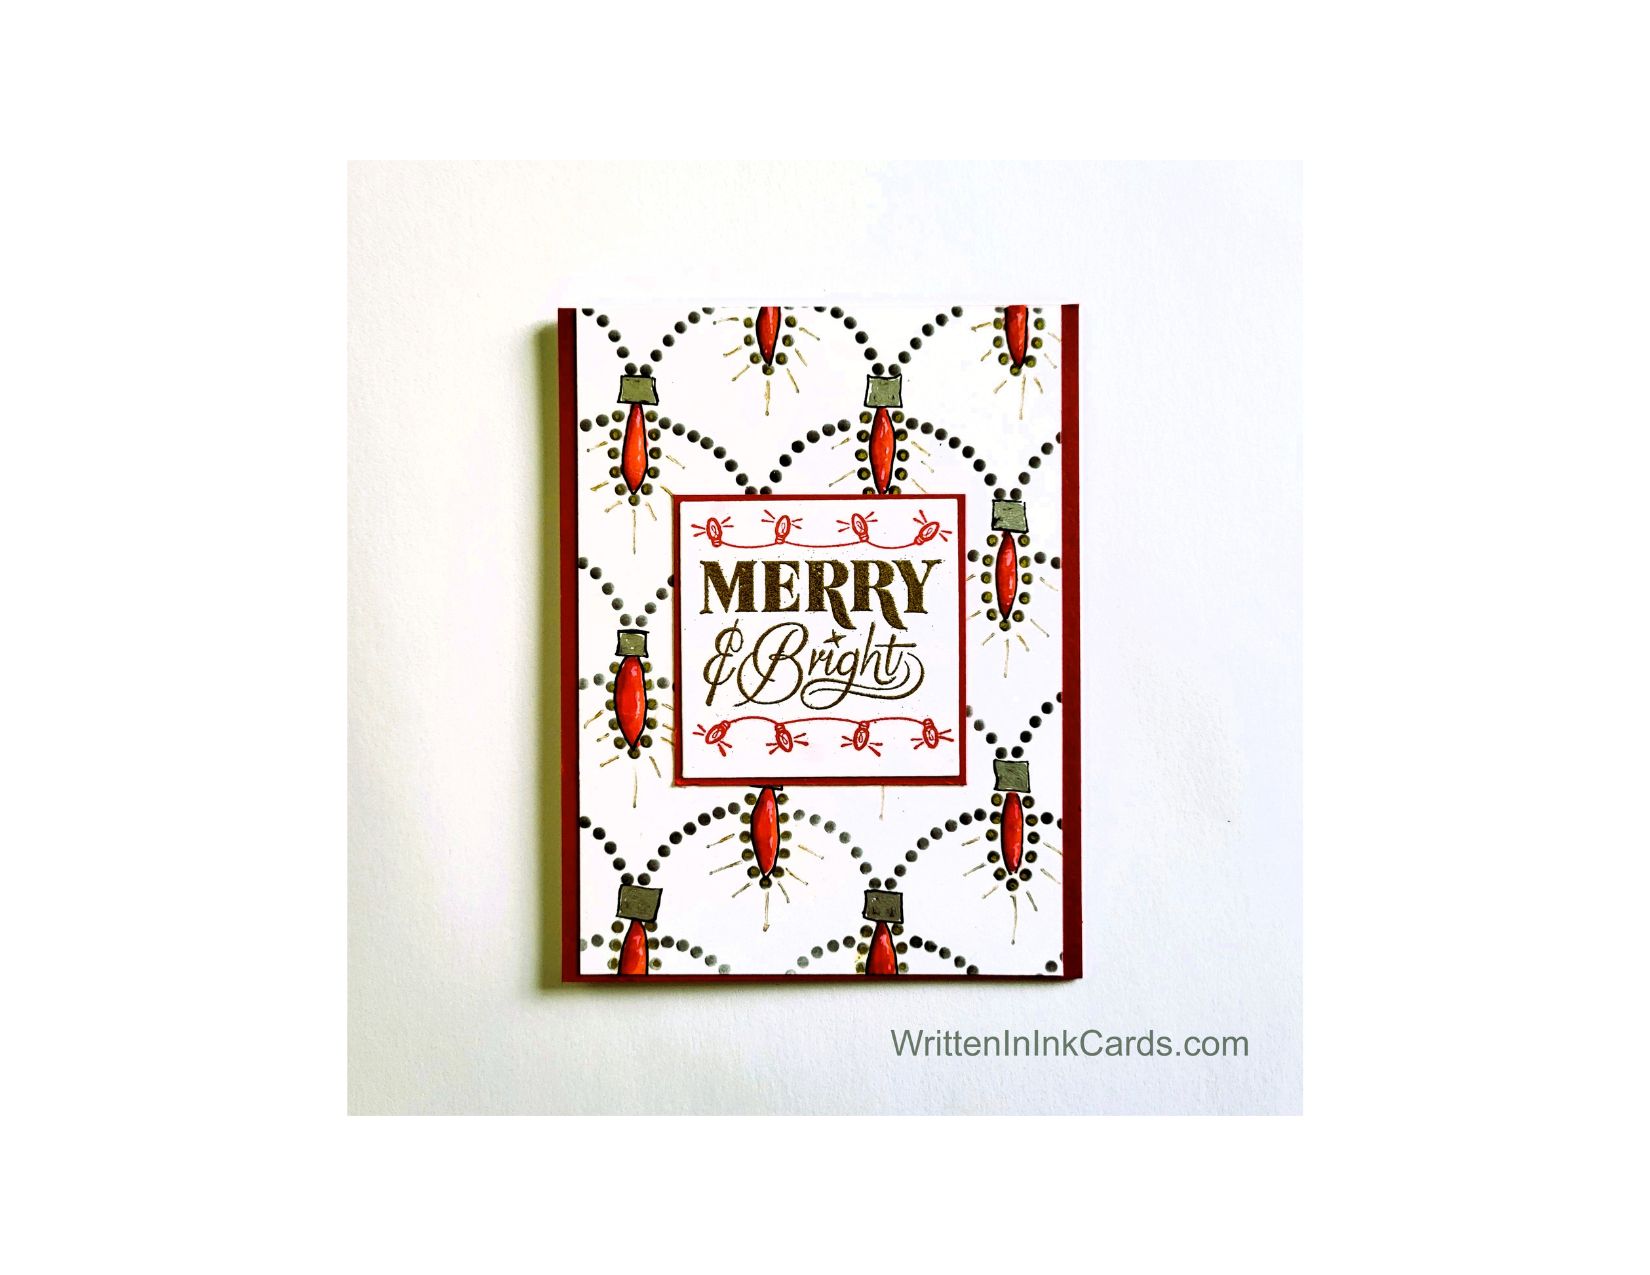
This card came to be simply because every time I looked at this stencil, I saw the potential for a string of lights. The idea just wouldn’t leave me alone – until I finally sat down and created it.
Card Face:
I laid the card face on the grip mat and positioned the stencil.
I used metallic gel pens to fill in the exposed areas – red for the “bulbs” and gold for the strands in between.
I drew small rectangles above each red bulb and filled them in with silver.
I outlined the red bulb ith a black fineliner to provide more definition.
Other:
I placed the white cardstock in my stamp positioner. After masking off the “Merry & Bright” with low-tack tape, I stamped the bulbs with red ink. I stamped twice for good saturation, carefully removing the masking before stamping and replacing it before reinking.
I repeated this step, stamping the “Merry & Bright” with embossing ink and masking off the rows of lights. Then I sprinkled on gold embossing powder and set it with my heat gun.
Assembly
I glued the red border layer to the card base and then centred the card face on top of these.
I glued the smaller piece of white cardstock to the red piece, and then glued it into the centre of the card face.
Final Thoughts:
I was really happy with this variation on the stencil – I love finding new ways to use product I own. Then I remembered this stamp from an old set in my stash, and I knew it would be a great finishing touch.
Supplies: (and links where possible)
I have listed the products I have used and where they can be purchased. It’s a huge marketplace, and in most instances, there are multiple sources and many alternatives to choose from.
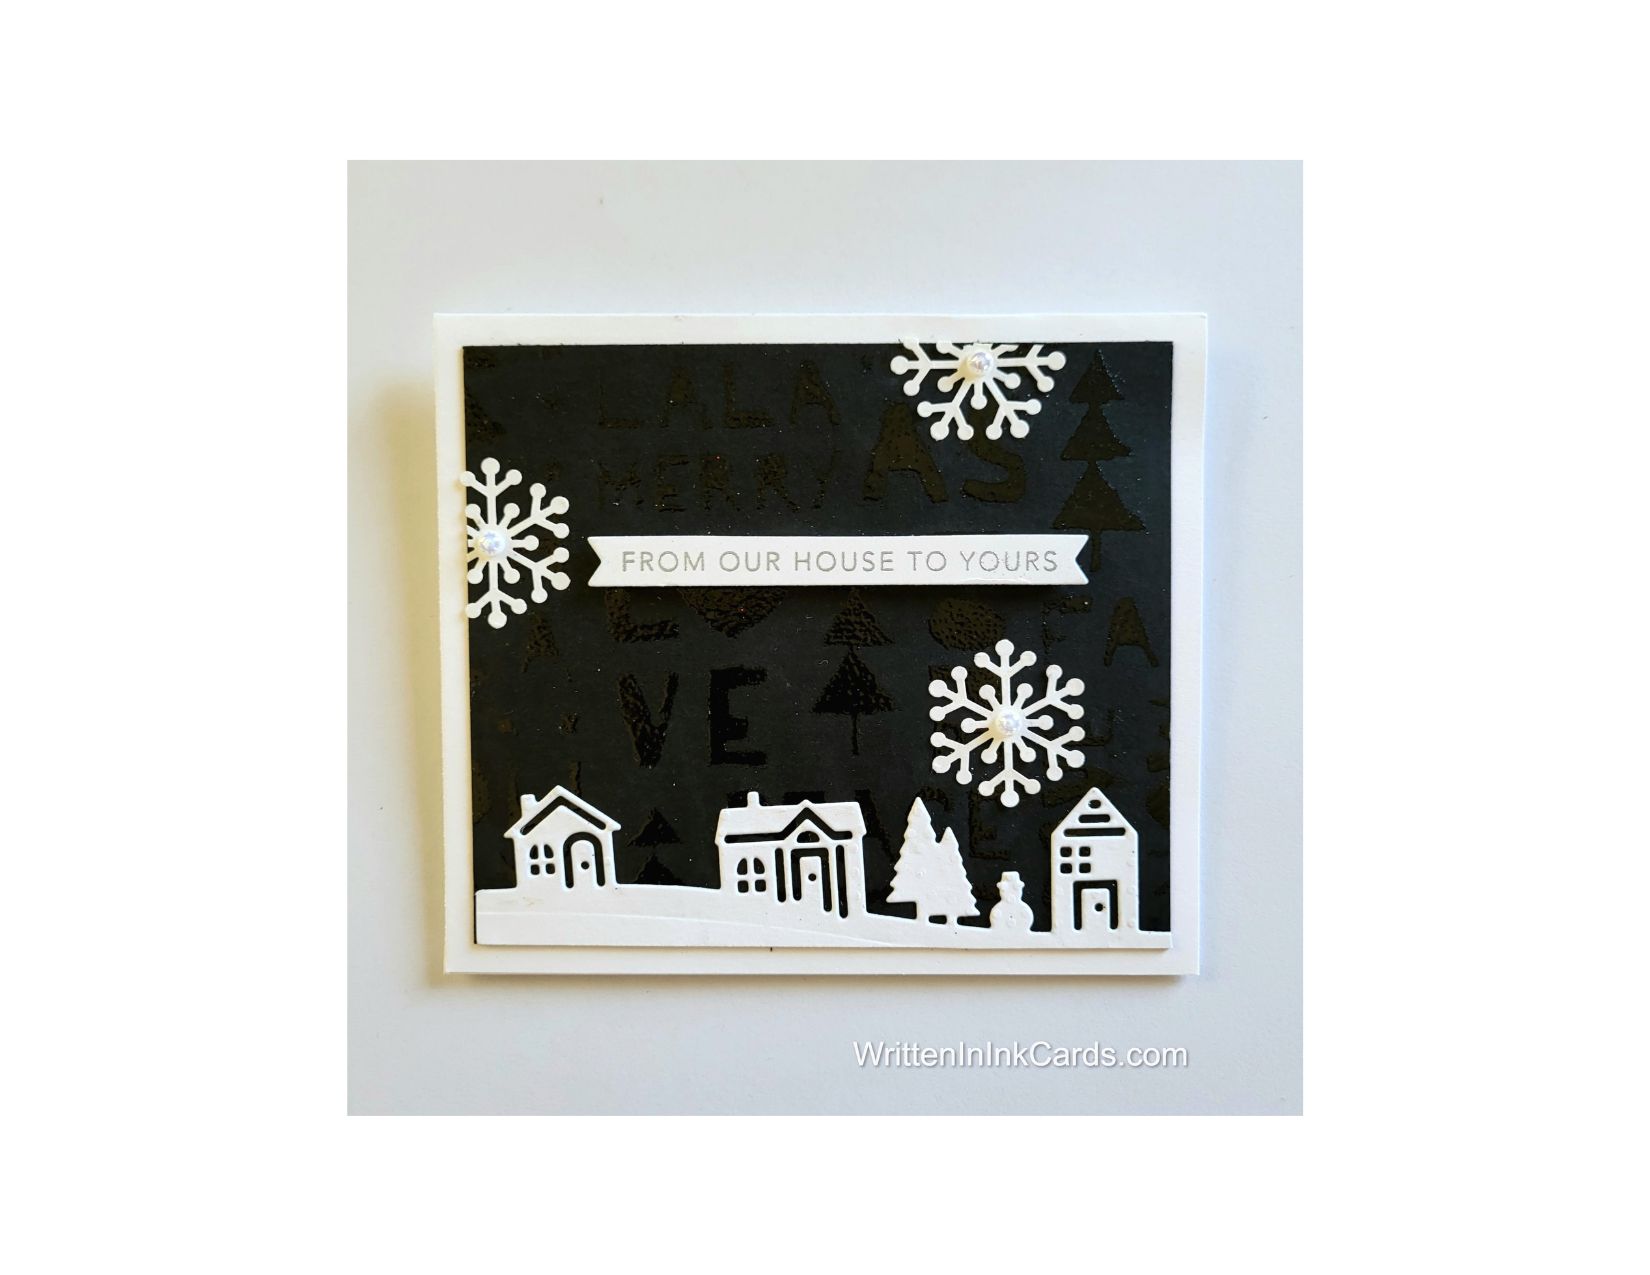
Black is an unusual choice for a holiday card, but so distinctive!
Would you like to experiment with a design like this? You’ll find a supply list below, including a link to the stencil I used from A Colorful Life Designs. Follow the link and use discount code ChrisFan10 to save 10% on your entire order! (Master Creator Bundles are excluded as they already have a 20% discount built in.)
Let’s get Started:
Card Base: 5.5 x 8.5, scored and folded at 4.25
Card Face: 5 ⅛ x 3 7/8
Card Face:
I laid the black card face onto the Grip Mat and positioned the stencil.
I pressed my Versamark embossing ink pad firmly into the openings, moving as needed and covering the entire surface twice to ensure good coverage.
After removing the stencil I sprinkled clear embossing powder over the card face, setting it with my heat gun.
Other:
I looked through my “someday” binder, and struck gold with both the houses and the snowflakes.
Then I looked through my sentiment binder and selected the one you see in the photo – it worked well with the design.
Assembly
I glued the strip with the houses to the bottom of the card face.
I glued the sentiment into (approximately) the center of the card face.
I added the snowflakes to the sky as shown, then placed a pearl in the center of each snowflake.
I glued the card face to the card base, centering on all sides.
Final Thoughts:
I love a card that has a hidden surprise, as this one does. Seen from the front, it’s a simple scene of houses in snowfall; however, when you tilt it just slightly, the light catches the clear heat embossing, revealing the stencilled pattern.
Supplies: (and links where possible)
I have listed which products I have used, and where they may be purchased. It’s a huge marketplace and in most instances, there are multiple sources and many alternatives to choose from.