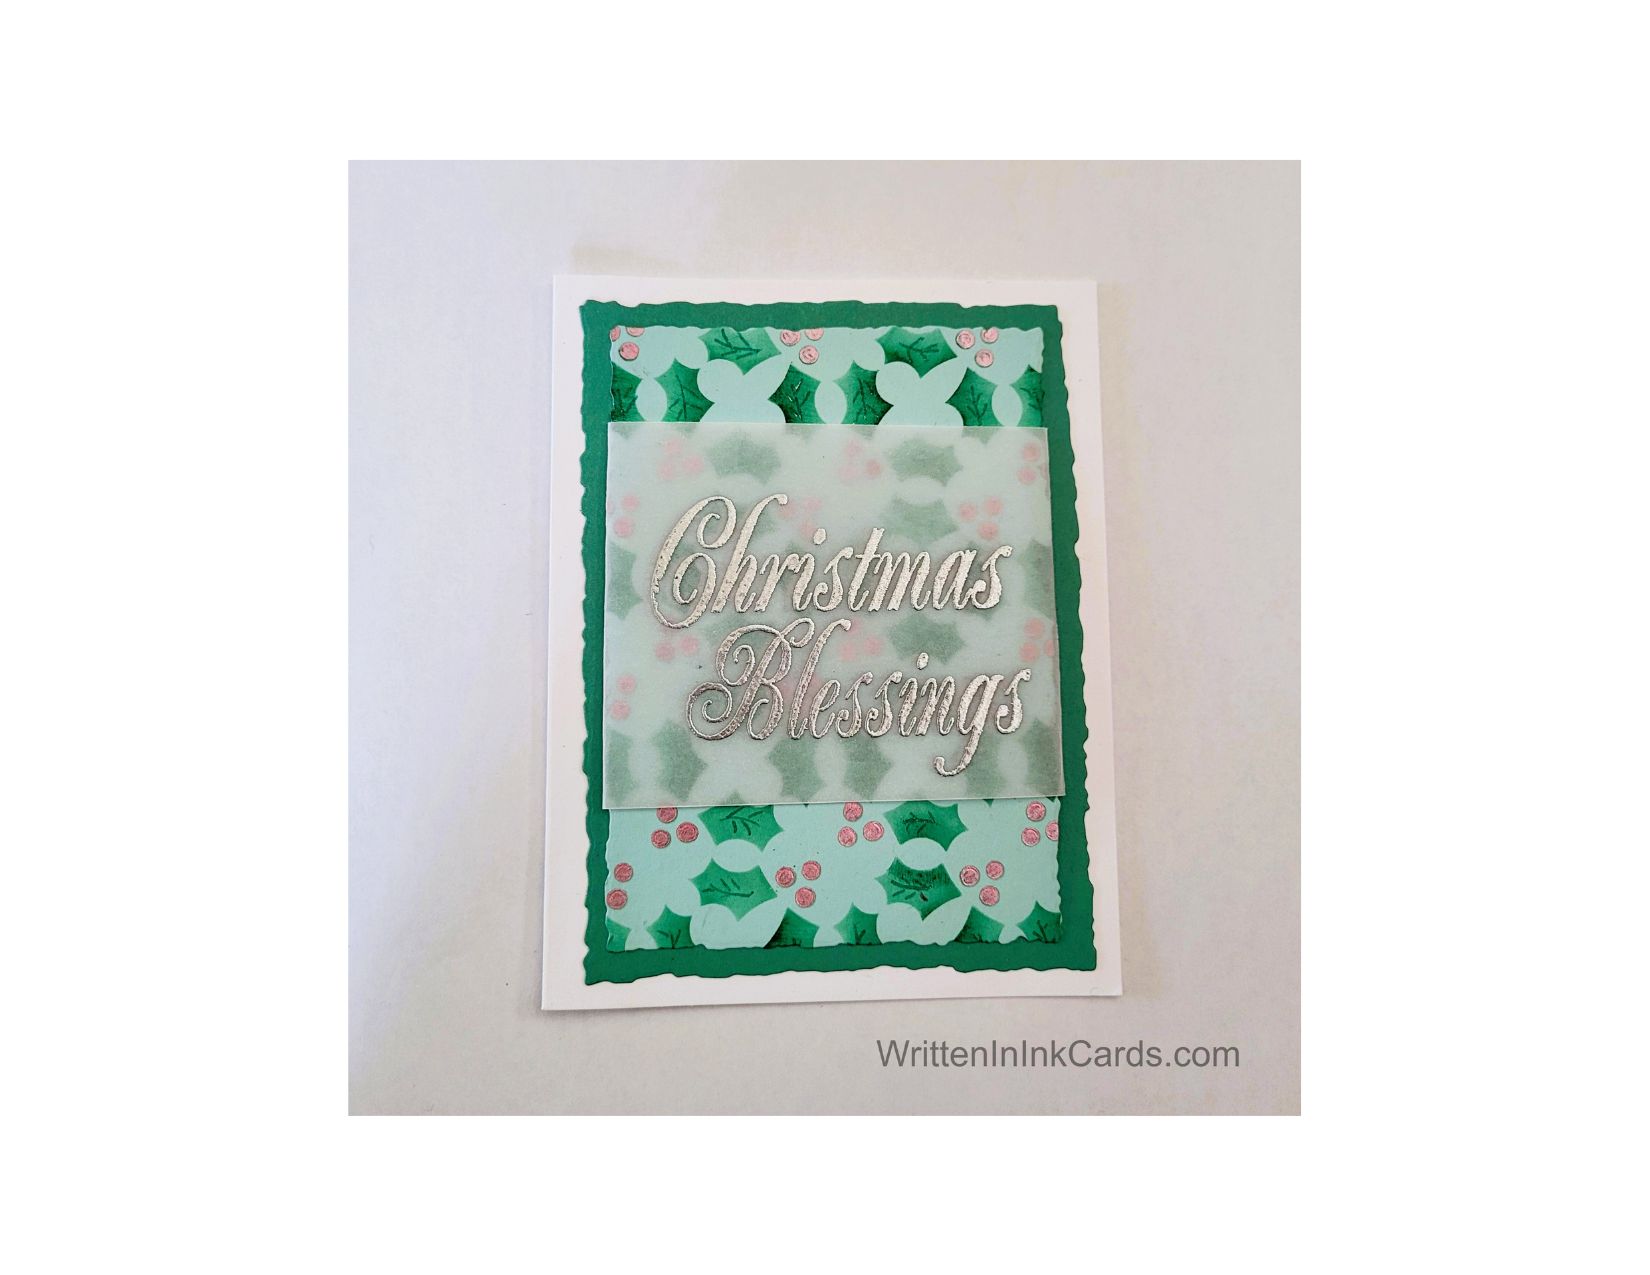

Would you like to experiment with a design like this? Below is a supply list, including a link to the stencil I used from A Colourful Life Designs. Follow the link and use the discount code ChrisFan10 to save 10% on your entire order! (Master Creator Bundles are excluded as they already have a 20% discount built in.)
Let’s get Started:
Card Base: 5.5 x 8.5, scored and folded at 4.25
Green Border Layer: 5.25 x 4
Light Blue Card Face: 5 x 3.75
Vellum: 3 x 5
Card Face:
- I laid card face down on the girp mat and positioned the stencil.
- I blended medium green ink over all exposed areas using a standard blending brush. Then I switched to a detail blending brush and added dark green ink selectively on sections of the leaves, creating contrast and visual interest.
- All of the berries had received a base coat of the initial green ink – I fixed this by colouring each berry red with a metallic gel pen.
- I used a deckled rectangle die to create the irregular border.
Other:
- I used a slightly larger deckled rectangle die to create an irregular border on the green border cardstock.
- I dusted the vellum very well with anti-static powder, put it in my stamp positioner and added the sentiment using embossing ink.
- I sprinkled silver embossing powder over the wet ink and set this with my heat gun, moving the gun constantly to avoid scorching the vellum.
I also preheated the heat gun for about 60 seconds to ensure it was very hot before use; this helps prevent warping the vellum.
Assembly
- I centered the green border layer to the card base.
- I bent the ends of the vellum around the back of the card face and secured them with tape.
- I centered the card face on top of the border layer.
Final Thoughts:
The coloured card face adds extra detail to this design: the blue background contrasts well with both the green border layer and the holly leaves. The metallic berries add a touch of shine.
The large sentiment finished this off nicely.
Supplies: (and links where possible)
I have listed the products I used and where to buy them. It’s a huge marketplace, and in most cases, you’ll find multiple sources and many alternatives to choose from.
Stencil: (see image below)
Holly Squares, A Colorful Life Designs
Versamark Embossing Ink: R&R Scrapbooking
Silver Embossing Powder, Wow: R&R Scrapbooking
Ink: Stampin’ Up!
Blending Brushes: Stampin’ Up!
Detail Blending Brushes, Waffle Flower: Scrap & Stamp Canada
Metallic Gel Pens, Sakura : Amazon
Adhesive: Tombow Aqua, Michaels
Card Base & Card Face: Accent 100 lb., Amazon
Do you have any comments or thoughts on this design? Drop me a line in the Comments Section below – I’d love to hear from you!
You can also use the Comments Section to be notified when I release new work.
Holly Squares

Leave a Reply