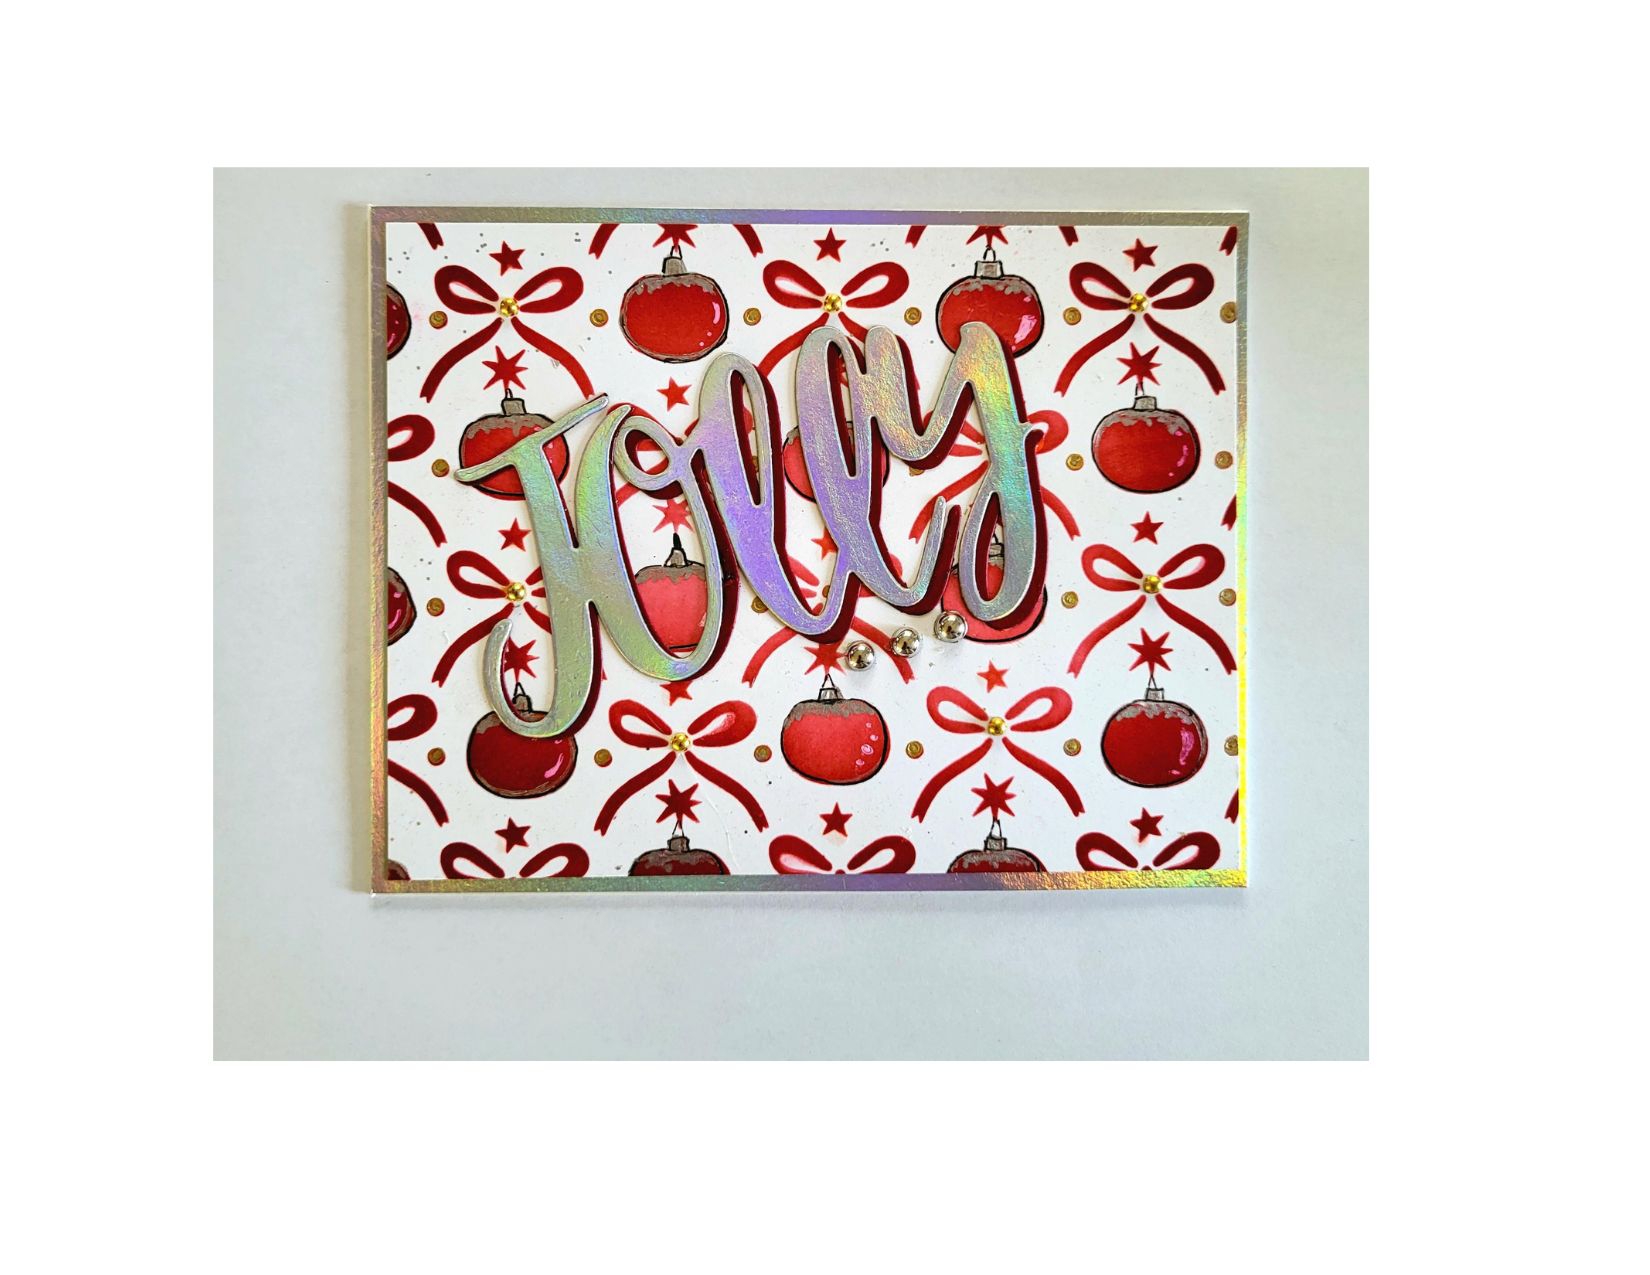

Would you like to experiment with a design like this? You’ll find a supply list below, including a link to the stencil I used from A Colorful Life Designs. Follow the link and use the discount code ChrisFan10 to save 10% on your entire order! (Master Creator Bundles are excluded as they already have a 20% discount built in.)
Let’s get Started:
Card Base: 5.5 x 8.5, scored and folded at 4.25
Holographic Border Layer: 5.5 x 4.25
Card Face: 5.⅜ x 4 1/8
Card Face:
- I laid the card face on the grip match and positioned the stencil.
- I used red ink across all exposed areas, applying more pressure on the outer edges of the card face, and allowing saturation to fade towards the center
This stencil actually includes pumpkins and not christmas babbles, so next I had to come up with a method to change the shape.
- I started the transformation by coloring the pumpkin stems silver and then continuing on to trace each of the shapes with a silver gel pen but making sure to go straight across on top, rather than dipping down the way the stencil is created.
- I liked the stems, but the silver outline did not show up well enough. So I retraced all the pumpkins with a black fine liner. – this defined the shape and I was satisfied.
- I used the silver gel pen to add a bit of snow to the top of each ornament, which further disguised the original shape.
- I used a white gel pan to add highlights to each of the ornaments.
Other:
- I die -cut “jolly” three times – once from holographic card stock and twice from black card stock.
- I glued the two black die-cuts together and then added the silver one on top, offsetting slightly.
Assembly
I glued the border layer to the cardbase and centered the card face on top of these.
I added the die-cuts on an angle as shown.
I added a small gold bead to the center of each bowl on the card face.
I added three silver beads under the word as a finishing touch.
Final Thoughts:
This design transformed the pumpkins into Christmas baubles very well, and now I can use this stencil for fall , or for the Christmas season.
Supplies: (and links where possible)
I have listed the products I have used and where they can be purchased. It’s a huge marketplace, and in most instances, there are multiple sources and many alternatives to choose from.
Stencil: Pumpkins and bows, A colorful life designs.
Dies: Impression obsession ( No longer in business)
Ink: Stampin’ Up!
Blending Brushes: Stampin’ Up!
Adhesive: Tombow Aqua, Michaels
Card Base & Card Face: Accent 100 lb., Amazon
Do you have any comments or thoughts on this design? Drop me a line in the Comments Section below – I’d love to hear from you!
You can also use the Comments Section to be notified when I release new work.
Leave a Reply