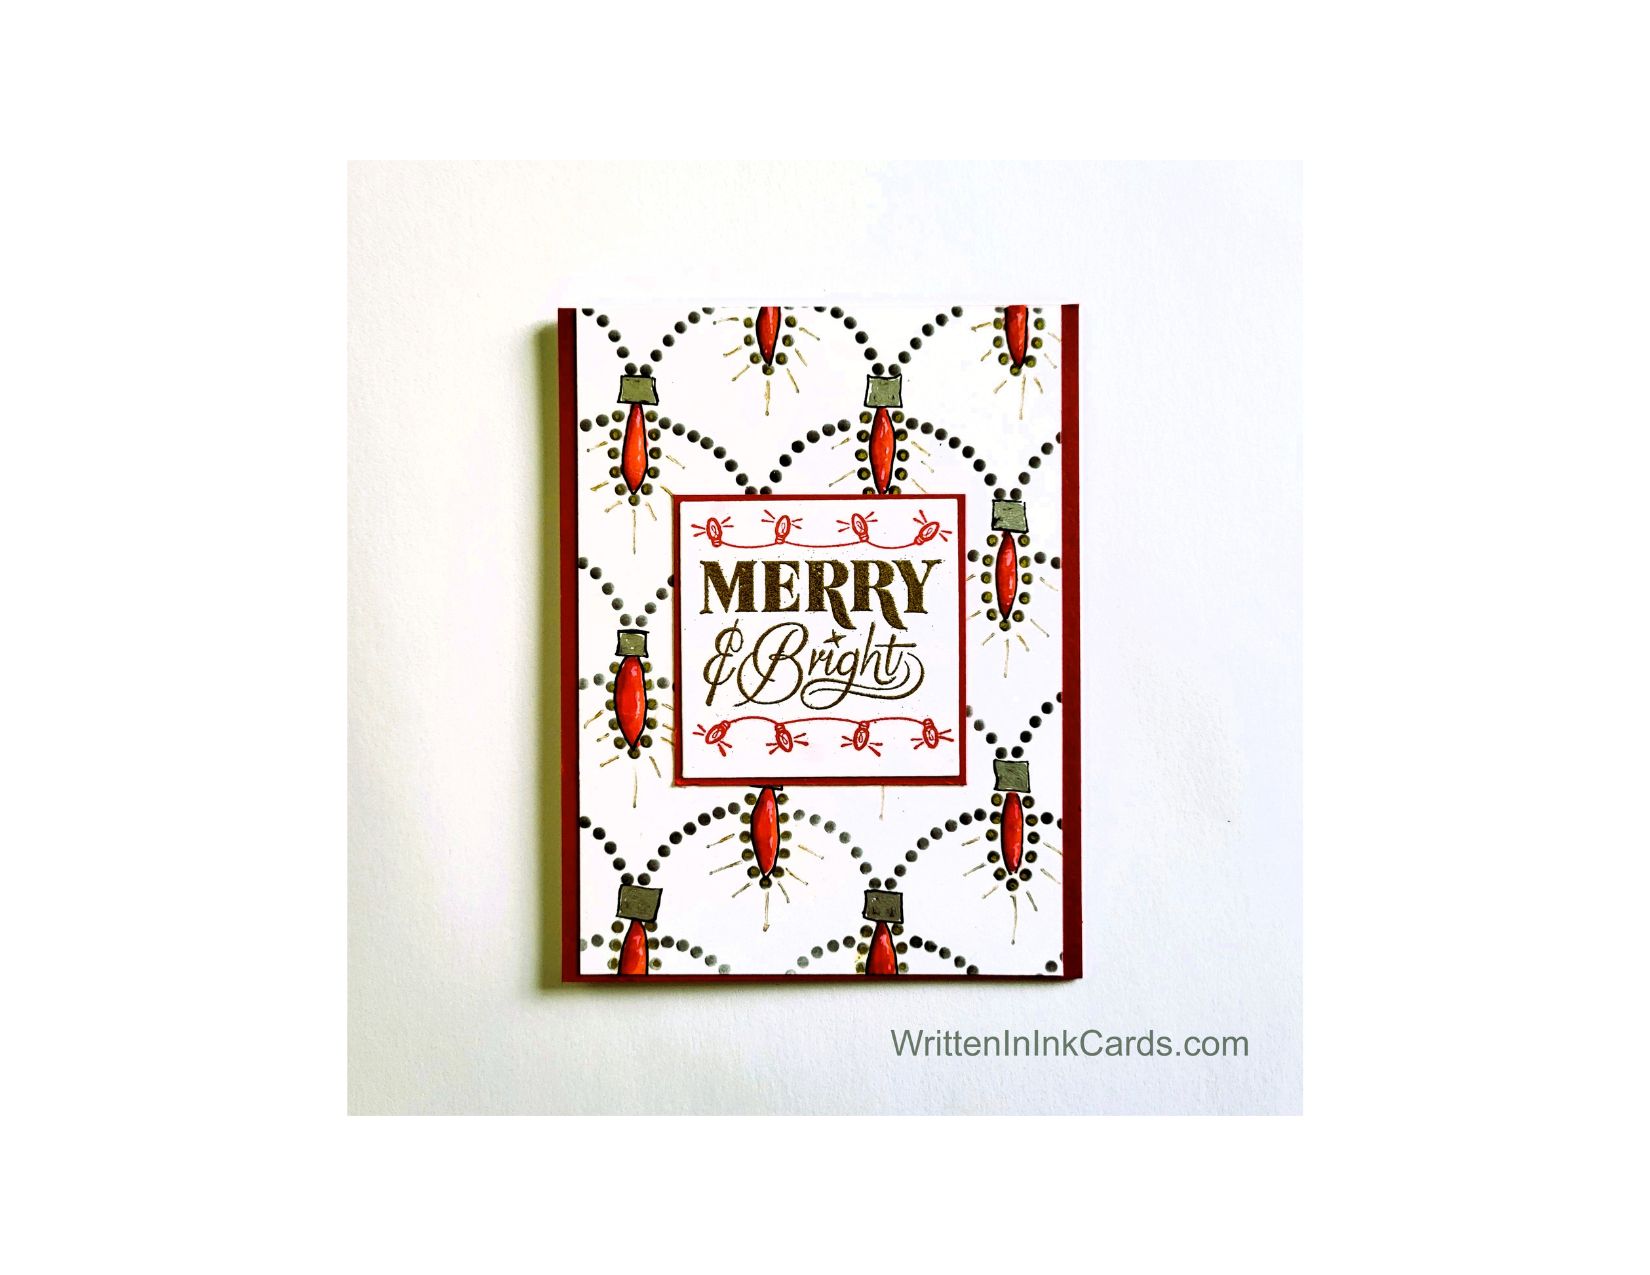

Would you like to experiment with a design like this? You’ll find a supply list below, including a link to the stencil I used from A Colorful Life Designs. Follow the link and use the discount code ChrisFan10 to save 10% on your entire order! (Master Creator Bundles are excluded as they already have a 20% discount built in.)
Let’s get Started:
Card Base: 5.5 x 8.5, scored and folded at 4.25
Border Layer: 5.5 x 4.25
Card Face: 5.5 x 4
White Cardstock: 2.5 x 2.5
Red Cardstock: 2 5/8 x 2 5/8
This card came to be simply because every time I looked at this stencil, I saw the potential for a string of lights. The idea just wouldn’t leave me alone – until I finally sat down and created it.
Card Face:
I laid the card face on the grip mat and positioned the stencil.
I used metallic gel pens to fill in the exposed areas – red for the “bulbs” and gold for the strands in between.
I drew small rectangles above each red bulb and filled them in with silver.
I outlined the red bulb ith a black fineliner to provide more definition.
Other:
I placed the white cardstock in my stamp positioner. After masking off the “Merry & Bright” with low-tack tape, I stamped the bulbs with red ink. I stamped twice for good saturation, carefully removing the masking before stamping and replacing it before reinking.
I repeated this step, stamping the “Merry & Bright” with embossing ink and masking off the rows of lights. Then I sprinkled on gold embossing powder and set it with my heat gun.
Assembly
I glued the red border layer to the card base and then centred the card face on top of these.
I glued the smaller piece of white cardstock to the red piece, and then glued it into the centre of the card face.
Final Thoughts:
I was really happy with this variation on the stencil – I love finding new ways to use product I own. Then I remembered this stamp from an old set in my stash, and I knew it would be a great finishing touch.
Supplies: (and links where possible)
I have listed the products I have used and where they can be purchased. It’s a huge marketplace, and in most instances, there are multiple sources and many alternatives to choose from.
Stencil: (see images below)
Festoon, A Colorful Life Designs
Versamark Embossing Ink: R&R Scrapbooking
Clear Embossing Powder, Wow, R&R Scrapbooking
Stamps: Stampin’ Up! (retired)
Ink: Stampin’ Up!
Fineliner: Amazon
Metallic Gel Pens: Amazon
Blending Brushes: Stampin’ Up!
Versafine Onyx, Simon Says Stamp
Card Base & Card Face: Accent 100 lb., Amazon
Do you have any comments or thoughts on this design? Drop me a line in the Comments Section below – I’d love to hear from you!
You can also use the Comments Section to be notified when I release new work.
Festoon
