Tag: writtenininkcards

  • Create Stunning Cards with Stencils & Embossing Paste

    Create Stunning Cards with Stencils & Embossing Paste

    Would you like to experiment with a design like this? You’ll find a supply list below, including a link to the stencil I used from A Colorful Life Designs.  Follow the link and use discount code ChrisFan10 to save 10% on your entire order! (Master Creator Bundles are excluded as they already have a 20% discount built in.)

    Let’s get Started:

    Card Base: 5.5 x 8.5, scored and folded at 4.25

    Card Face:  5.5 x 4

    Focal Image Strip:  5.5 x 1.75”

    Sentiment strip: .25” x 4

    Card Face:

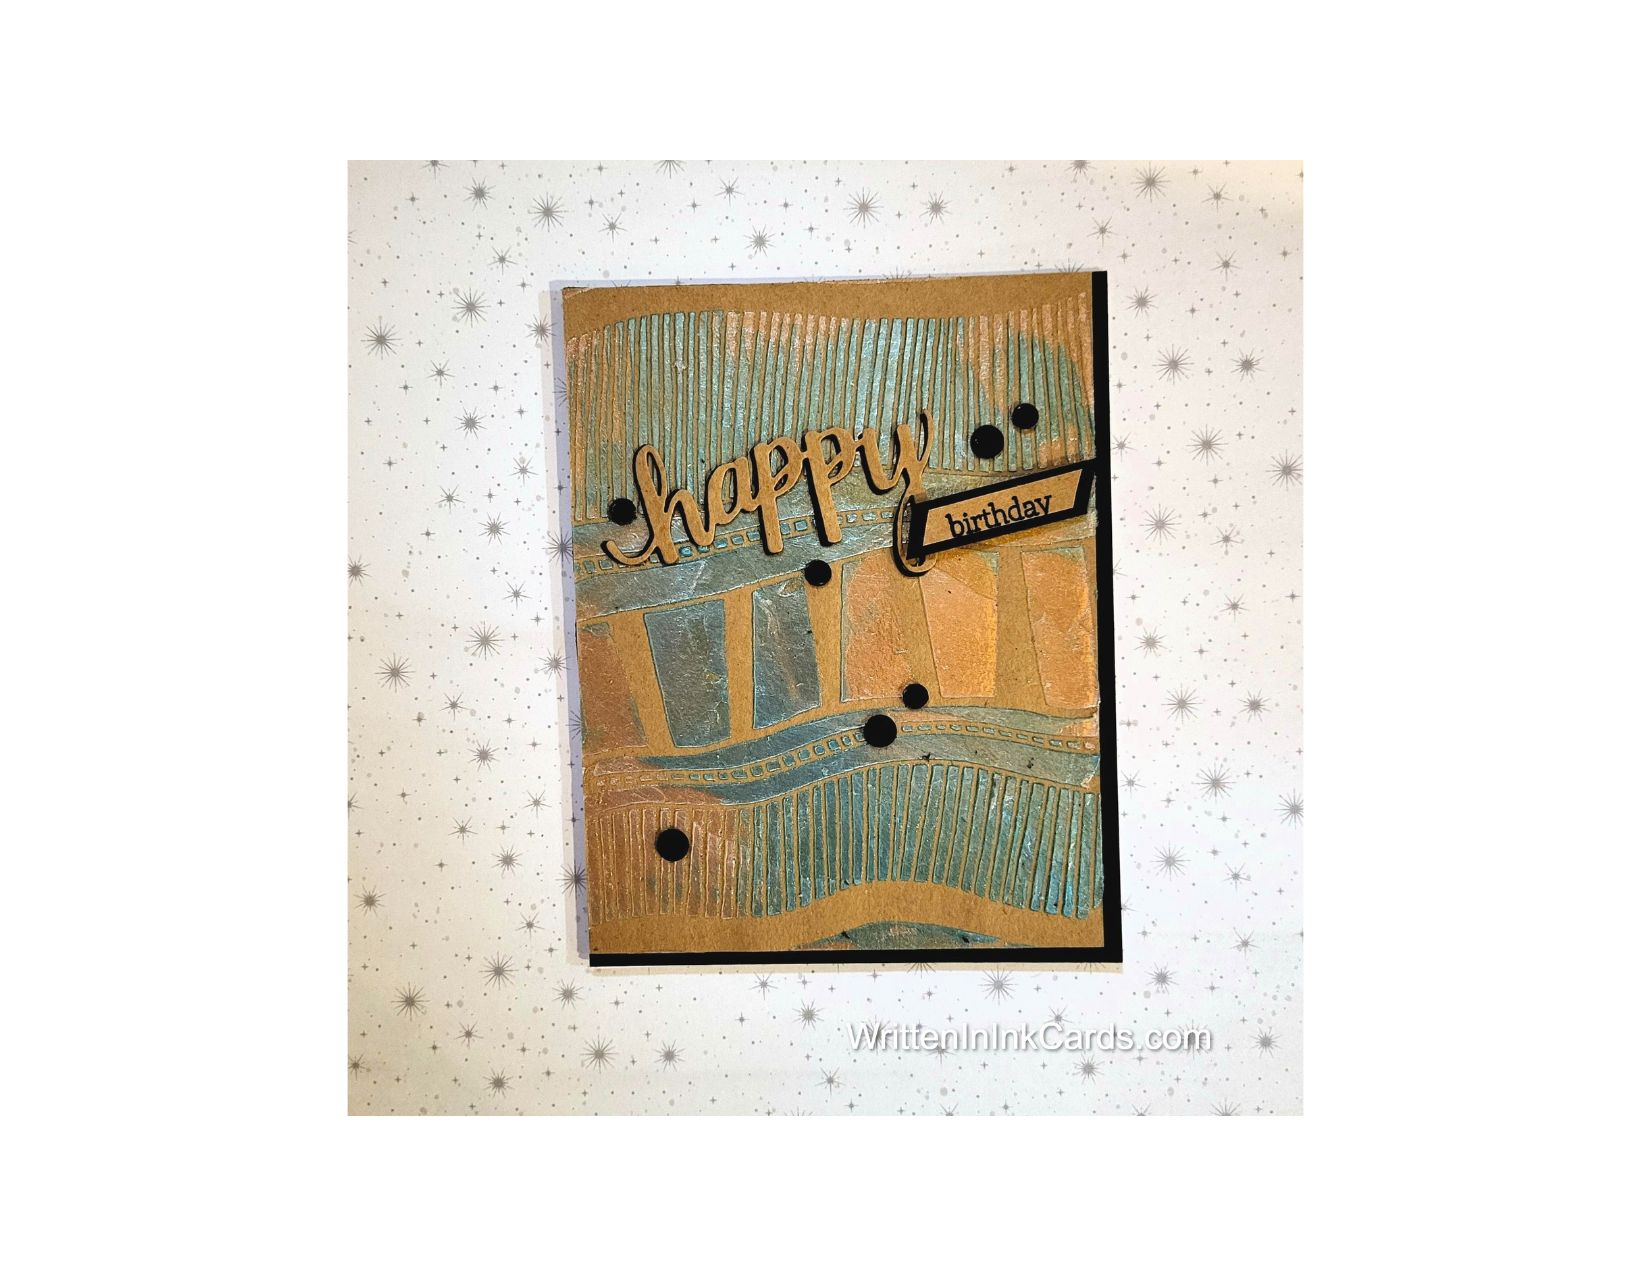
    • I laid the card face onto the Grip Mat and positioned the Diamond Lattice stencil.  
    • I applied brown ink across all exposed areas, allowing variation in tone to provide depth and visual interest.
    • I applied DIY embossing paste randomly over the card face.  I carefully removed the stencil and put the card face aside to dry.  

    When I use embossing paste the stencil goes into water immediately to prevent the paste from drying on the stencil. This makes clean-up much faster and easier.

    • Once the paste had dried, I used the Grunge Dots stencil to add dots here and there in the remaining inked portions of the pattern.

    Other:

    • I placed the Focal Image strip into my stamp positioner and added the leaves with dark brown ink,  stamping several times to get an intense image.
    • I sprinkled clear embossing powder over the image,  setting it with my heat gun.
    • Next I placed the narrow sentiment strip in the stamp positioner and stamped the sentiment with the same dark brown ink,  again stamping multiple times to get intense colour.
    • I sprinkled this with clear embossing powder too, and set it with my heat gun.

    Although I used a dye based ink for both of these,  stamping several times created enough saturation that the ink was wet enough for me to use the embossing powder successfully. Stamping only once wouldn’t have worked, as the ink would have dried too quickly.

    Assembly

    • I glued the card face onto the card base, and then added the strip with the leaves, centering both vertically.
    • I put dimensional foam on the back of the sentiment and then added it to the card face, centering horizontally.

    Final Thoughts:

    The combination of ink and embossing paste work well with this design,  and the addition of the dots provided additional depth and visual interest.

    Supplies: (and links where possible)

       I have listed which products I have used, and where they may be purchased. It’s a huge marketplace and in most instances, there are multiple sources and many alternatives to choose from.

    Stencil: 

    Diamond Lattice,  A Colorful Life Designs

    Grunge Dots,  A Colorful Life Designs

    Waffle Flower Grip Mat, 8.5 x 6.5, Scrapbook.com

    Versamark Embossing Ink: Simon Says Stamp

    Clear Embossing Powder,  Wow,  Simon Says Stamp

    Stamps: Falling Hearts,  Unity Stamps  (retired)

    Ink: Stampin’ Up!

    Blending Brushes: Stampin’ Up! 

    Adhesive: Tombow Aqua, Michaels

    Card Base & Card Face: Accent 100 lb., Amazon

    Do you have comments or thoughts to share on this design?  Drop me a line in the Comments Section below –  I’d love to hear from you!

    You can also use the Comments Section  to be notified when I release new work.

    Diamond Lattice by A Colorful Life Designs

    Grunge Dots by A Colorful Life Designs

  • Beautiful Multi-Color Stenciling for Card Making

    Beautiful Multi-Color Stenciling for Card Making

    Would you like to experiment with a design like this? You’ll find a supply list below, including a link to the stencil I used from A Colorful Life Designs.  Follow the link and use discount code ChrisFan10 to save 10% on your entire order! (Master Creator Bundles are excluded as they already have a 20% discount built in.)

    Let’s get Started:

    Card Base: 5.25 x 10.5, scored and folded at 5.25

    Card Face:  5 x 5

    Sentiment Strip:  5 x 1.5”

    Card Face:

    • I laid the card face on a piece of scrap paper and positioned the stencil (this is a 6 x 9 stencil,  so there are options how how to place it – even on a 5 x 5 card face), and secured it with Mint Tape.
    • Using small blending and shading brushes,   I applied colours to the stencil.  I used orange on the  center of the flowers , then, moved to a dark red, then to pink.  I finished the background with soft beige.
    • I spattered the card face using metallic gold watercolour.
    • I ran all edges over a Versafine Onyx ink pad, adding definition to the card face.

    Other:

    • I placed the strip of card stock into the stamp positioner and added the sentiment with Versafine Onyx.  I ran the two horizontal edges of the strip over the black ink pad.

    Assembly

    • I glued the card face onto the card base, centering on all sides.
    • I added dimensional foam to the back of the card strip and centered it horizontally on the card face.

    Final Thoughts:

    This is a really pretty stencil to play with,  and the options for colour are endless –  everything from monochromatic to full colour, as I have chosen here.

    I’m really happy with the result of this multi-colour stencilling,  but it was absolutely necessary to use smaller brushes to control colour placement.

    Supplies: (and links where possible)

       I have listed which products I have used, and where they may be purchased. It’s a huge marketplace and in most instances, there are multiple sources and many alternatives to choose from.

    Stencil: Lace Close Up, A Colorful Life Designs

    Waffle Flower Grip Mat, 8.5 x 6.5, Scrapbook.com

    Stamps:  Technique Junkies  (no longer in business)

    Ink: Stampin’ Up!

    Blending Brushes: Sampler Pack, Waffle Flower, R&R Scrapbooking

    Versafine Onyx, Simon Says Stamp

    Adhesive: Tombow Aqua, Michaels

    Card Base & Card Face: Accent 100 lb., Amazon

    Do you have comments or thoughts to share on this design?  Drop me a line in the Comments Section below –  I’d love to hear from you!

    You can also use the Comments Section  to be notified when I release new work.

    Lace Close Up by A Colorful Life Designs
  • Fast, Distinctive and Contemporary makes a great holiday card

    Fast, Distinctive and Contemporary makes a great holiday card

    Black is an unusual choice for a holiday card, but so distinctive!

    Would you like to experiment with a design like this? You’ll find a supply list below, including a link to the stencil I used from A Colorful Life Designs.  Follow the link and use discount code ChrisFan10 to save 10% on your entire order! (Master Creator Bundles are excluded as they already have a 20% discount built in.)

    Let’s get Started:

    Card Base: 5.5 x 8.5, scored and folded at 4.25

    Card Face:  5 ⅛ x 3 7/8

    Card Face:

    • I laid the black card face onto the Grip Mat and positioned the stencil.  
    • I pressed my Versamark embossing ink pad firmly into the openings, moving as needed and covering the entire surface twice to ensure good coverage.
    • After removing the stencil I sprinkled clear embossing powder over the card face, setting it with my heat gun.

    Other:

    • I looked through my “someday” binder, and struck gold with both the houses and the snowflakes.  
    • Then I looked through my sentiment binder and selected the one you see in the photo –  it worked well with the design.

    Assembly

    • I glued the strip with the houses to the bottom of the card face.
    • I glued the sentiment into (approximately) the center of the card face.
    • I added the snowflakes to the sky as shown, then placed a pearl in the center of each snowflake.
    • I glued the card face to the card base, centering on all sides.

    Final Thoughts:

    I love a card that has a hidden surprise, as this one does.  Seen from the front, it’s a simple scene of houses in snowfall; however, when you tilt it just slightly, the light catches the clear heat embossing, revealing the stencilled pattern.

    Supplies: (and links where possible)

       I have listed which products I have used, and where they may be purchased. It’s a huge marketplace and in most instances, there are multiple sources and many alternatives to choose from.

    Stencil: Christmas Montage,  A Colorful Life Designs

    Waffle Flower Grip Mat, 8.5 x 6.5, Scrapbook.com

    Versamark Embossing Ink: Simon Says Stamp

    Clear Embossing Powder,  Wow,  Simon Says Stamp

        Adhesive: Tombow Aqua, Michaels

    Card Base & Card Face: Accent 100 lb., Amazon

    Do you have comments or thoughts to share on this design?  Drop me a line in the Comments Section below –  I’d love to hear from you!

    You can also use the Comments Section  to be notified when I release new work.

    Christmas Montage by A Colorful Life Designs

  • Create Beautiful Christmas Cards with Cardinals

    Create Beautiful Christmas Cards with Cardinals

    Would you like to experiment with a design like this? You’ll find a supply list below, including a link to the stencil I used from A Colorful Life Designs.  Follow the link and use discount code ChrisFan10 to save 10% on your entire order! (Master Creator Bundles are excluded as they already have a 20% discount built in.)

    Let’s get Started:

    Card Base: 5.25 x 10.5,  scored and folded at 5.25

    Cream Border Layer: 5. X 5

    Red Border Layer  4 x 4

    Card Face: 3.75 x 3.75

    Scraps of cream and red cardstock for the banner and birds

    Card Face:

    • I laid the card face down onto scrap paper and positioned the stencil.  I applied green embossing paste to all exposed areas.
    • I removed the stencil carefully and put it into water immediately (to prevent the paste from drying on the surface).  
    • I put the card face aside to dry.  Once dry,  I used a corner punch on each corner, which created both the rounded edge and the peek-a-boo slot in the card face.

    Other:

    • I die-cut the banner 2x from cream cardstock and once from red.
    • I glued the two cream banners together, then added the red one behind, offsetting it just slightly.
    • I die-cut the tiny cardinals from the same red cardstock.
    • I put the banner in my stamp positioner and stamped Merry Christmas in red ink.
    • I put the cream border into an embossing folder and ran it through my Big Shot.

    Assembly

    • I glued the embossed, cream border to the card base, centering it on all sides.
    • I glued the card face to the red border layer, again centering it on all sides.
    • I glued these two layers together, again (of course!) centering on all sides.
    • I glued the banner into the center of the wreath.
    • I added the tiny cardinals as shown.

    Final Thoughts:

    I had such a time with that banner!   The first time I tried to glue it down I hadn’t allowed enough time for the ink to dry and smudged the red in the process.  The second attempt, I had glue on my finger, touched the red ink … and of course smudged it again.   At that point I put it aside for a couple of days –  I was tired of looking at it!

    When I returned to it I once again die cut a banner and stamped it, and very carefully glued it on top of what was there …  and I finally managed to get the task done without smudging it!

    Luckily,  I like the result, LOL.  The embossing paste has a lovely gleam and creates a wonderful backdrop for the banner and birds.

    Supplies: (and links where possible)

       I have listed which products I have used, and where they may be purchased. It’s a huge marketplace and in most instances, there are multiple sources and many alternatives to choose from.

    Stencil: Leaf Frame,  A Colorful Life Designs
    Waffle Flower Grip Mat, 8.5 x 6.5, Scrapbook.com

    Embossing Paste:  Later Gator Lunar Paste, Glitter & Ink

    Stamp & Die: Banner Sentiments, Penny Black, Teaspoon of Fun

    Ink: Stampin’ Up!

    Adhesive: Tombow Aqua, Michaels

    Cream Card Base & Card Face: Recollections 110 lb., Michaels

    Do you have comments or thoughts to share on this design?  Drop me a line in the Comments Section below –  I’d love to hear from you!

    You can also use the Comments Section  to be notified when I release new work.

    Leafy Frame by A Colorful Life Designs