
Would you like to experiment with a design like this? You’ll find a supply list below, including a link to the stencils I used from A Colorful Life Designs. Follow the link and use discount code ChrisFan10 to save 10% on your entire order! (Master Creator Bundles are excluded as they already have a 20% discount built in.)
Let’s get Started:
Card Base: 5.5 x 8.5, scored and folded at 4.25
Border Layer: 5.5 x 4.25
Card Face: 5.3/8 x 4 1/8
Card Face:
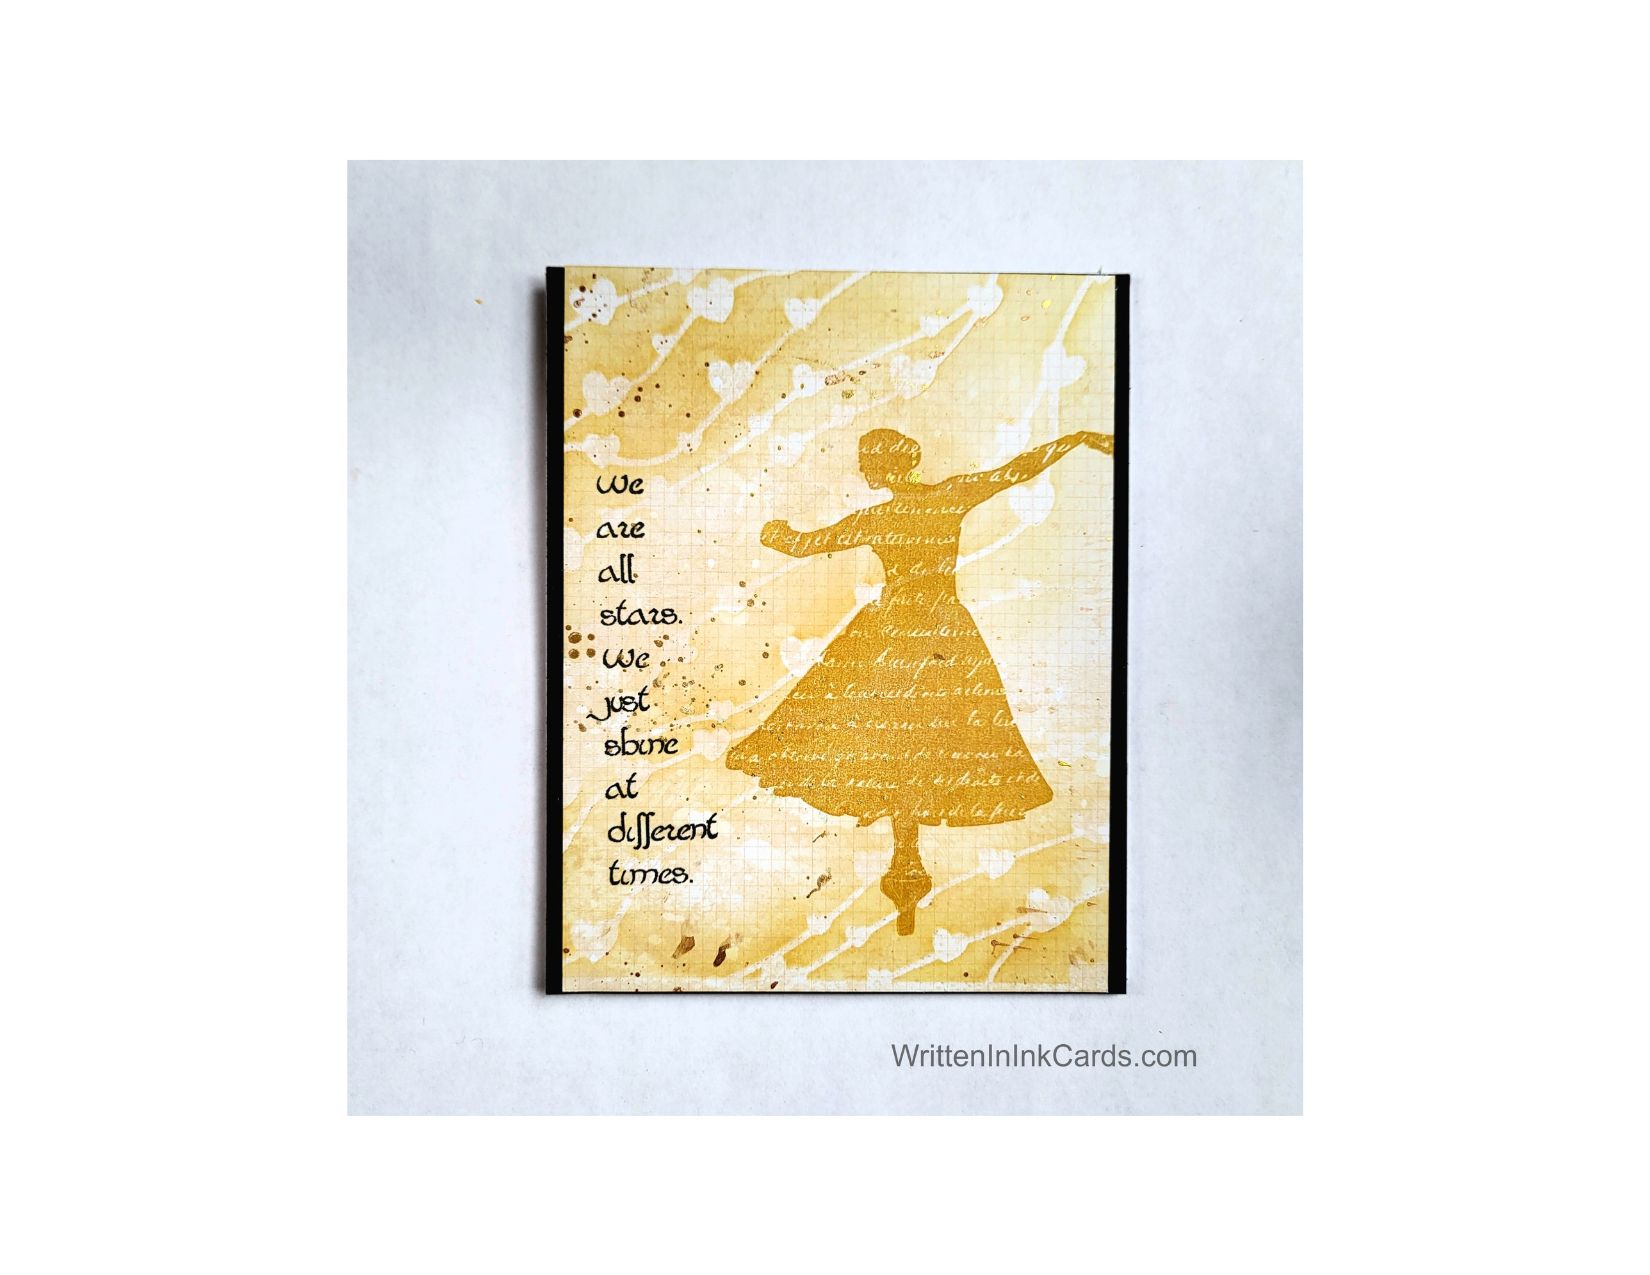
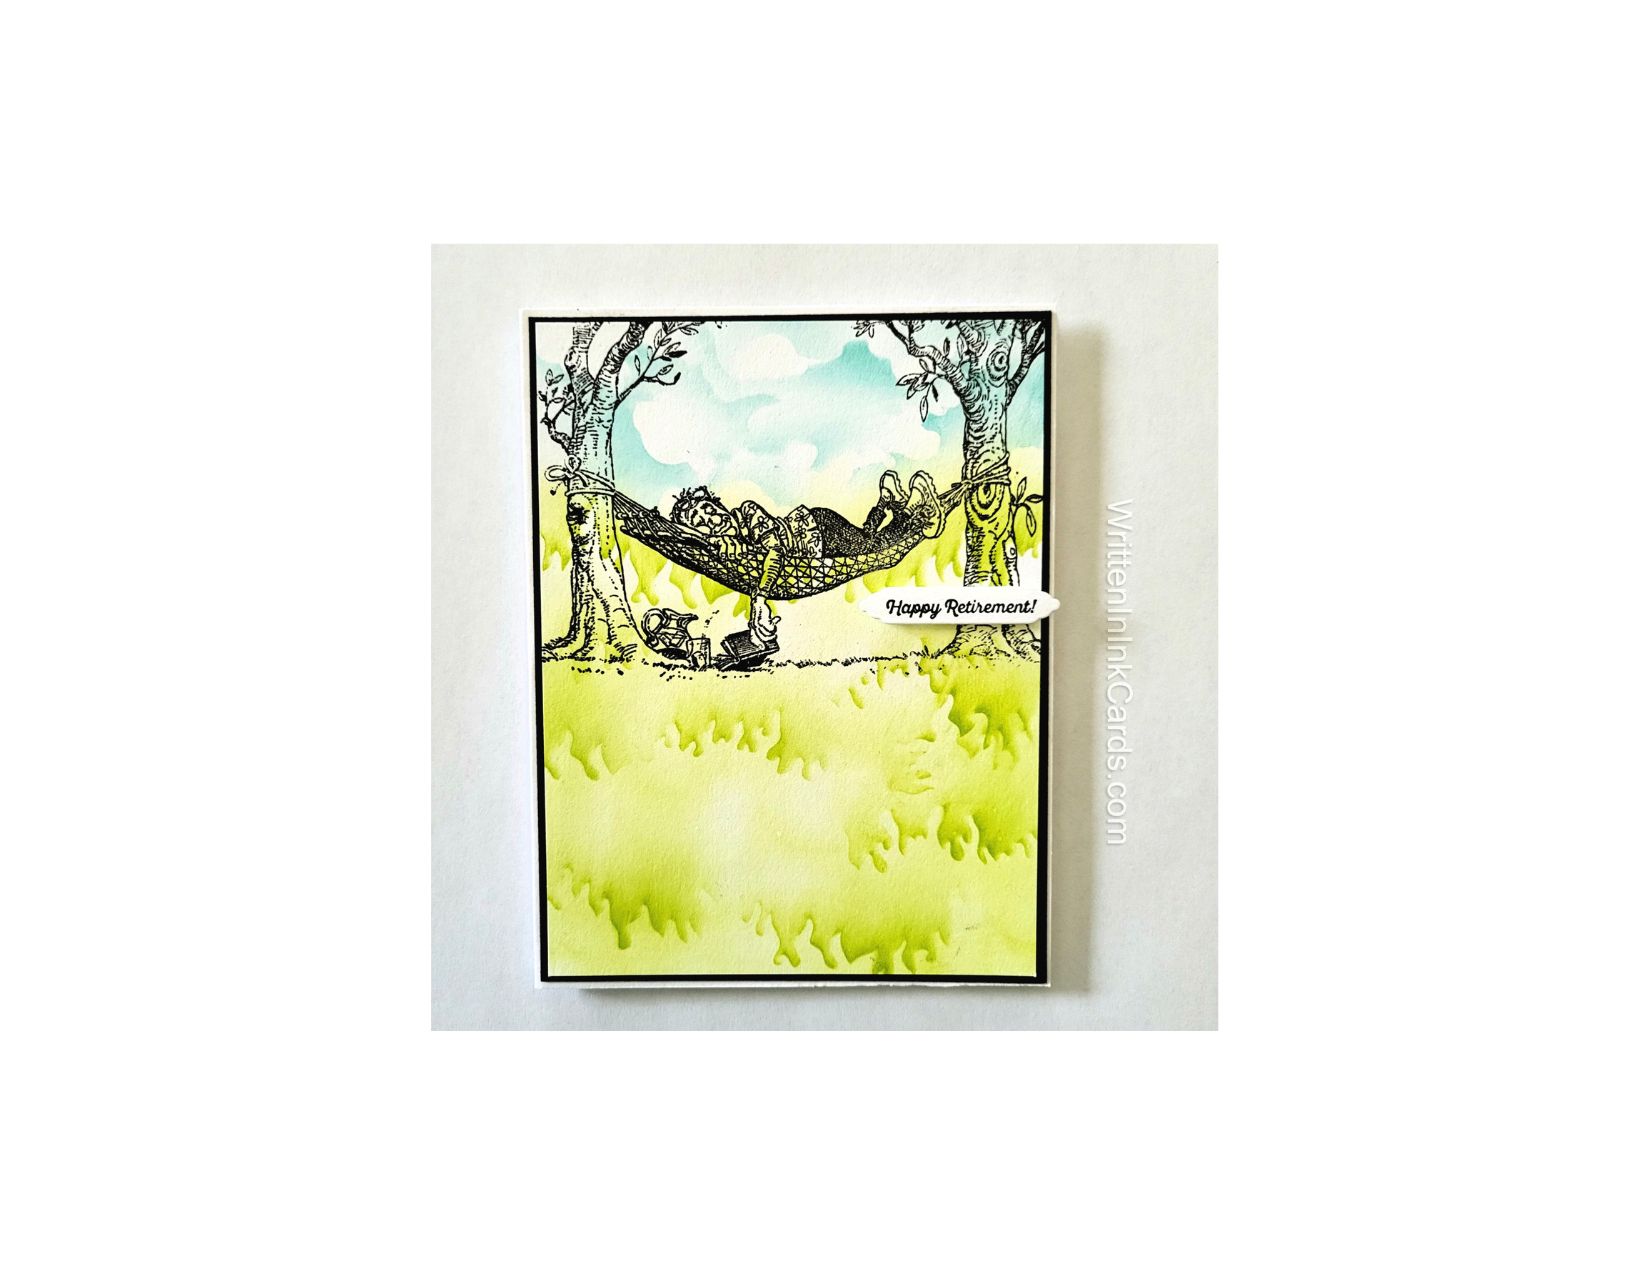
- I laid the card face onto my grip mat and positioned the Flame Edger Stencil. Using the lower ⅔ of the space, I moved the stencil around, applying green ink. I changed areas on the stencil to produce different patterns of “grass”, and also changed the intensity of the ink here and there.
- I changed to the Cloud Edger stencil and blue ink to create the sky on the upper ⅓ of the card face.
- I placed the card face into the stamp positioner and stamped the image 3X with Versafine Onyx.
This is an old rubber stamp, so positioning it where I wanted it in the design involved stamping onto acetate which was placed over the card face, stamping and moving the stamp slightly until it was where it needed to be.
Other:
- I looked through my sentiment binder and selected Happy Retirement as a great match for this image.
- I added dimensional foam tape to the back of the sentiment.
Assembly
- I glued the black border layer to the card base.
- I centered the card face on top of this.
- I added the sentiment as shown.
Final Thoughts:
I love finding alternate ways to use my products, and when I was looking at the Flame Edger stencil I could see potential for creating grass. And then….. a cute card was born!
Supplies: (and links where possible)
I have listed which products I have used, and where they may be purchased. It’s a huge marketplace and in most instances, there are multiple sources and many alternatives to choose from.
Stencils:
Flame Edger: A Colorful Life Designs
Grass Edger: A Colorful Life Designs
Waffle Flower Grip Mat, 8.5 x 6.5, Scrapbook.com
Versamark Embossing Ink: Simon Says Stamp
Stamps: old, and long retired
Ink: Stampin’ Up!
Blending Brushes: Stampin’ Up!
Versafine Onyx, Simon Says Stamp
Adhesive: Tombow Aqua, Michaels
Card Base & Card Face: Accent 100 lb., Amazon
Do you have comments or thoughts to share on this design? Drop me a line in the Comments Section below – I’d love to hear from you!
You can also use the Comments Section to be notified when I release new work.
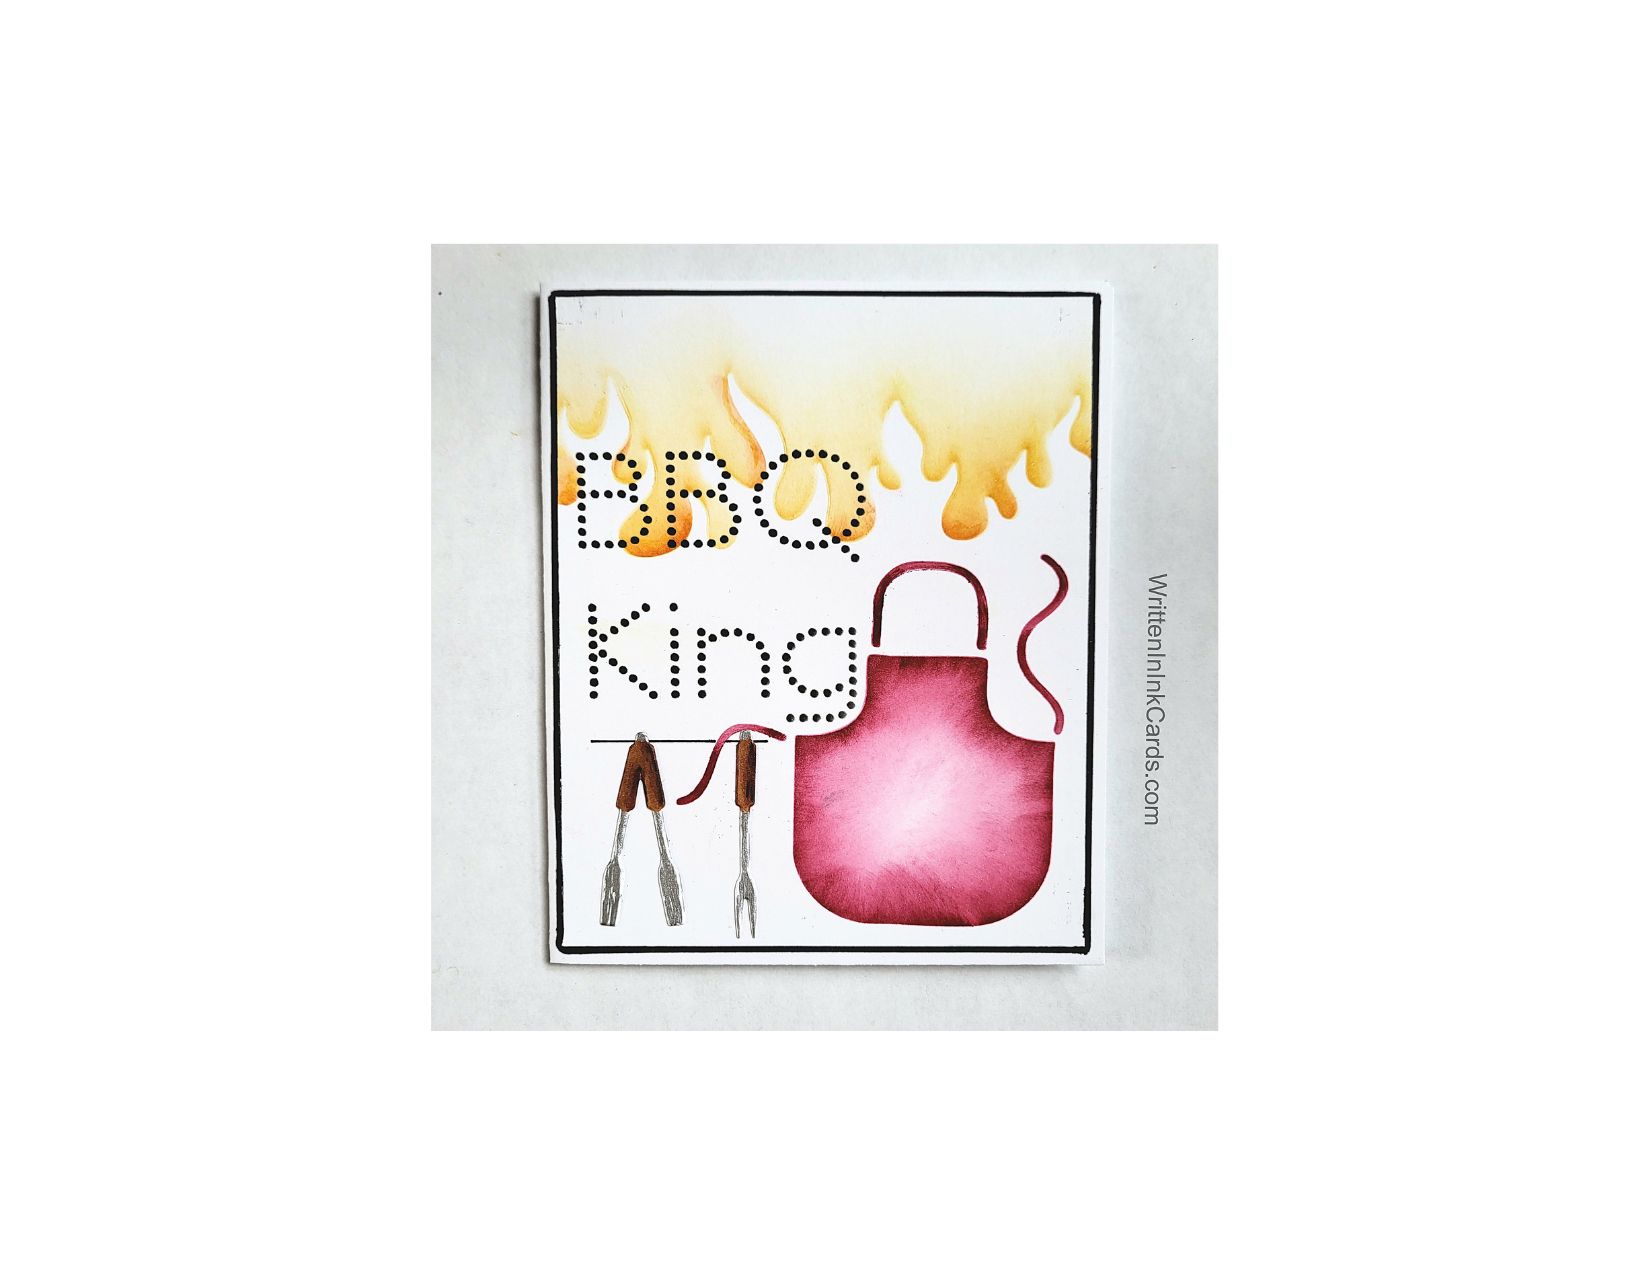
Fire Edger by A Colorful Life Designs