

Would you like to experiment with a design like this? You’ll find a supply list below, including a link to the stencil I used from A Colorful Life Designs. Follow the link and use discount code ChrisFan10 to save 10% on your entire order! (Master Creator Bundles are excluded as they already have a 20% discount built in.)
Let’s get Started:
Card Base: 5.5 x 8.5, scored and folded at 4.25
Border Layer: 5.5 x 4.25
Card Face: 5 ⅜ x 4 ⅛
Scraps of kraft and black cardstock for the “happy”
Scrap of kraft approximately 1.25 x .25 for the “birthday”.
Scrap of black approximately 1.5 x .33” for the shadow layer
Before starting I sprayed the back of the stencil with Pixie Spray, allowed a lapse of about 30 seconds and then placed it on the card face. The strands of this stencil are very fine, and this temporary adhesive made sure that they stayed put!
Card Face:
- I laid the card face on a piece of scrap paper, positioned the stencil and secured it with Mint Tape.
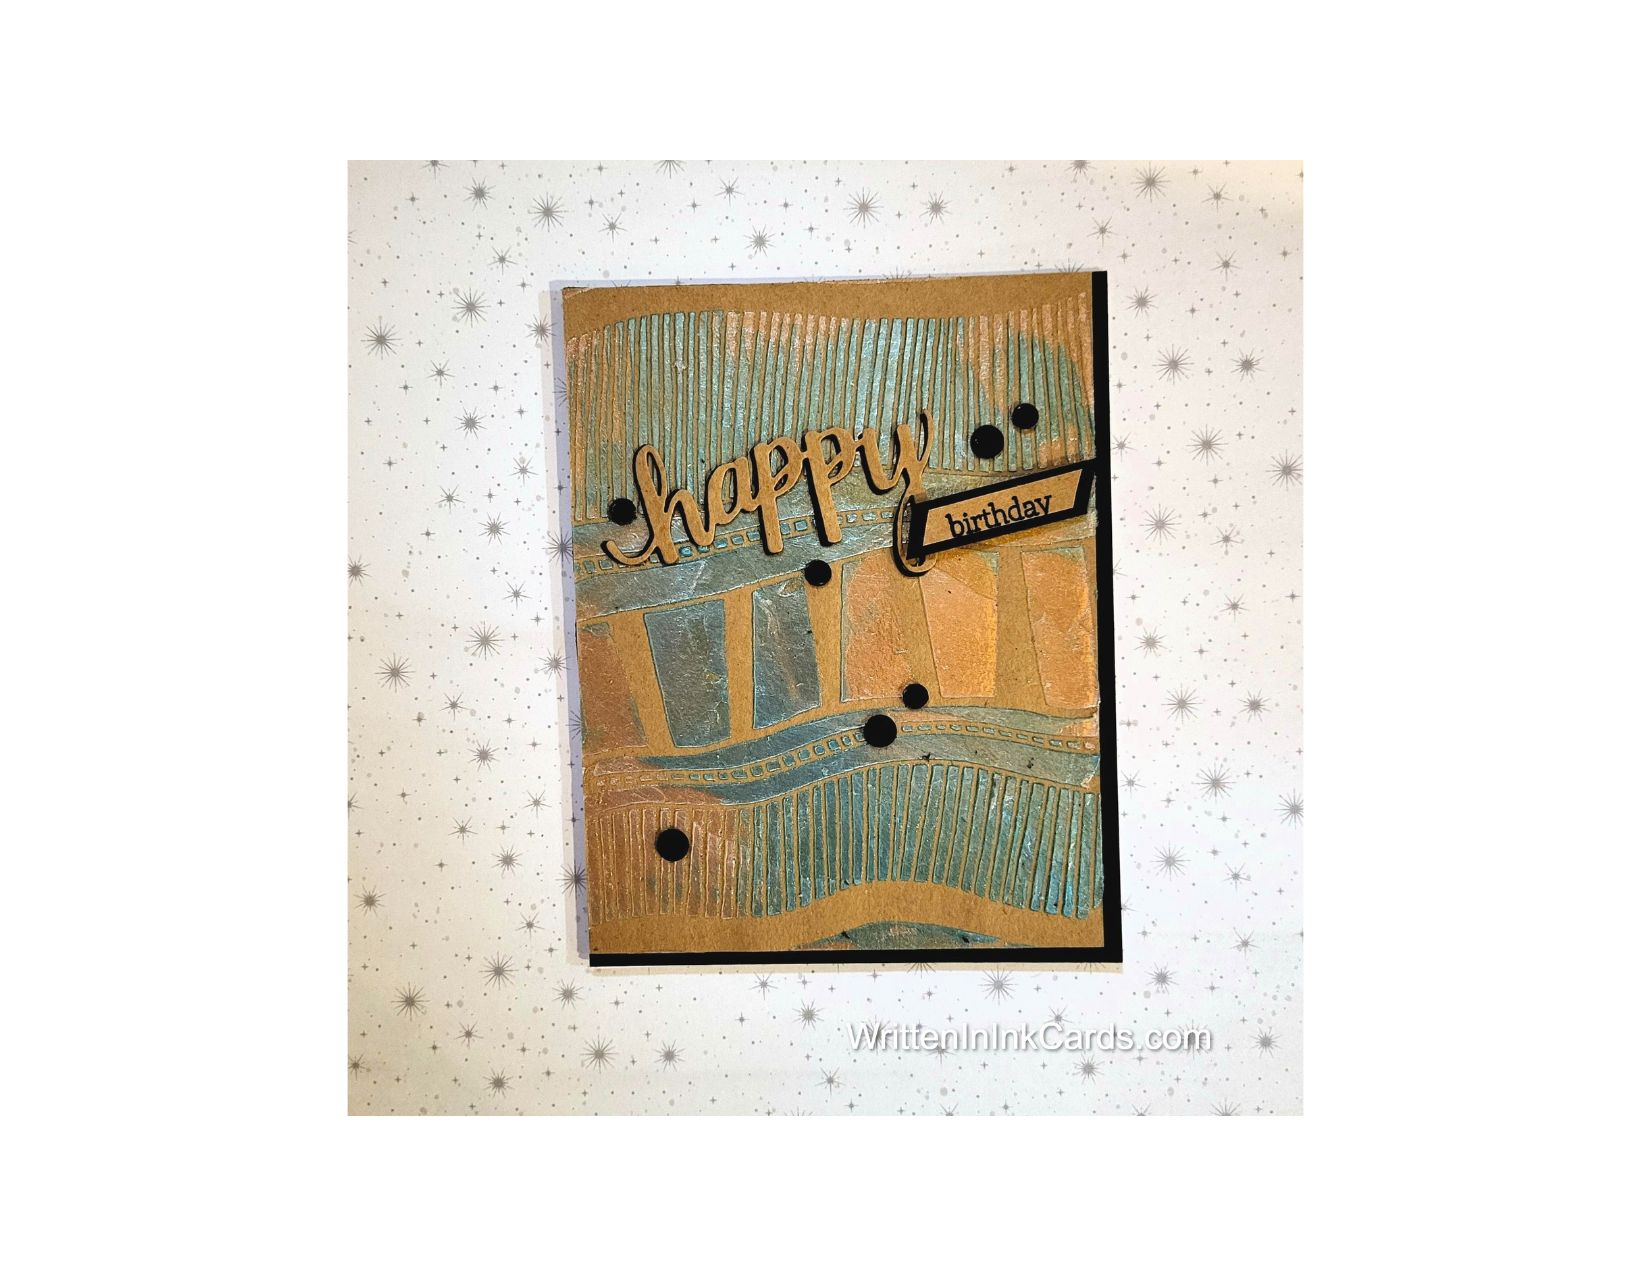
- I applied two different colours of DIY embossing paste randomly across the stencil. (Blue and a soft peach.)
- I removed the stencil carefully and put it into water immediately. (this makes cleanup a lot faster!) and put the card face aside to dry.
I prefer not to use paste on my Grip Mat, so in these cases I secure the card face and stencil directly to scrap paper
Other:
- I cut the large “happy” from both kraft and black cardstock.
- I stamped “birthday” on kraft using Versafine Onyx.
Assembly
- I glued the black border layer to the card base.
- I glued the two “happy” layers together, kraft on top and offset slightly to allow the black to peek out.
- I glued the kraft “birthday” layer on top of the black shadow layer, centering on all sides.
- I added matt black card bling randomly to the card face.
Final Thoughts:
This is such a cool stencil, and I love the effect of the embossing paste on it: I didn’t expect the peach embossing paste to dry to be so close to the colour of the kraft cardstock, but it’s a cool effect.
Supplies: (and links where possible)
I have listed which products I have used, and where they may be purchased. It’s a huge marketplace and in most instances, there are multiple sources and many alternatives to choose from.
Stencil: Wavy Ladders, A Colorful Life Designs
Waffle Flower Grip Mat, 8.5 x 6.5, Scrapbook.com
Die: Hero Arts, Happy, Amazon
Card Bling: A Colorful Life Designs
Versafine Onyx, Simon Says Stamp
Adhesive: Tombow Aqua, Michaels
Card Base & Card Face: Accent 100 lb., Amazon or Recollections 110 lb., Michaels
Do you have comments or thoughts to share on this design? Drop me a line in the Comments Section below – I’d love to hear from you!
You can also use the Comments Section to be notified when I release new work.
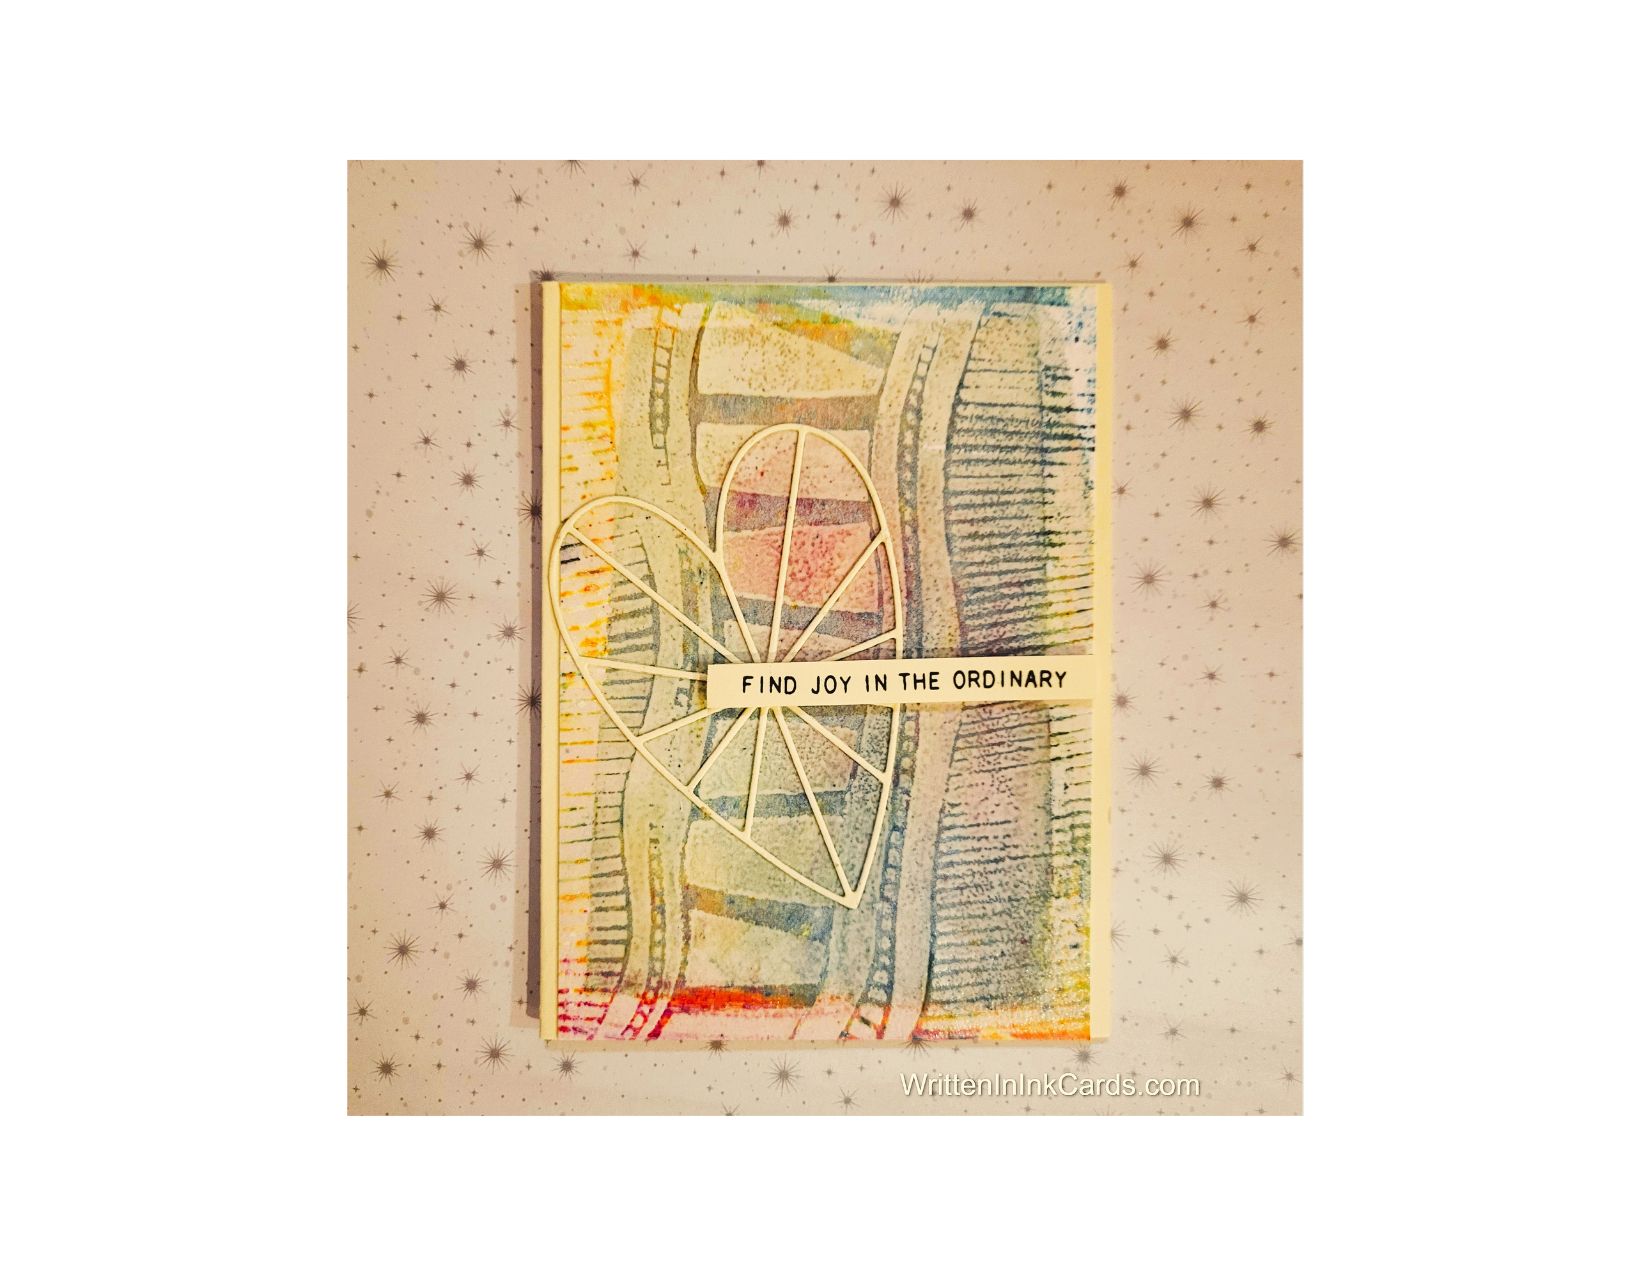
Wavy Ladder by A Colorful Life Designs