
Would you like to experiment with a design like this? You’ll find a supply list below, including a link to the stencils I used from A Colorful Life Designs. Follow the link and use discount code ChrisFan10 to save 10% on your entire order! (Master Creator Bundles are excluded as they already have a 20% discount built in.)
Let’s get Started:
Card Base: 4.25 x 11, scored and folded at 5.5
Border Layer: 4.25 x 5.5
Card Face: 4 ⅛ x 5 ⅜
The visible cardstock in this design is Naturals by Stampin’ Up!. It is no longer available, but I have a supply and use it occasionally.
Card Face:
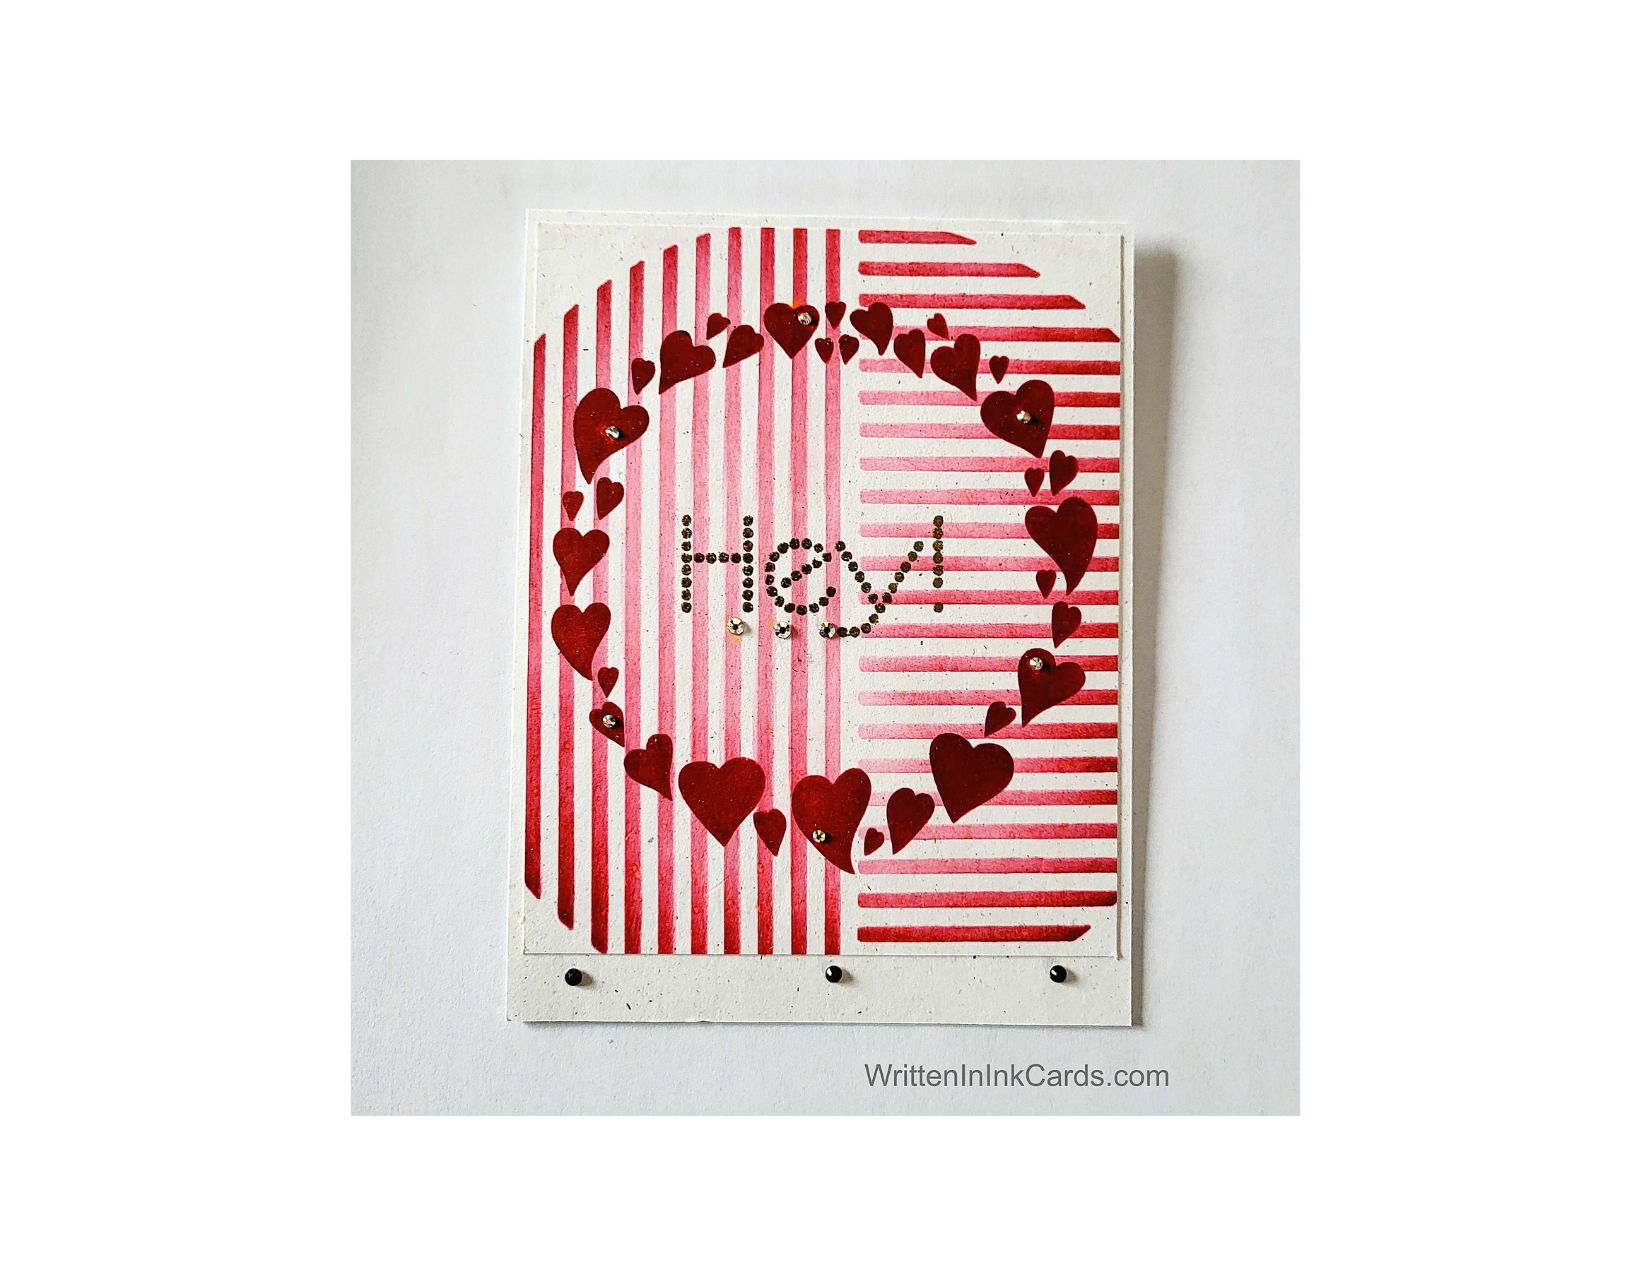
- I laid the cardstock on my Grip Mat and then positioned the Intersection stencil. Next, I applied red ink over the exposed areas, using more pressure towards the outside of the design and allowing the ink to fade slightly towards the center. I removed this stencil and set it aside.
- After positioning the heart stencil, I applied red ink again, going over the exposed areas repeatedly until I had intense colour.
- I allowed the ink to dry completely and then put the third stencil in place, centering the word carefully inside the hearts.
- I pressed my Versamark embossing pad through the openings in the stencil, repeating this several times to ensure ink transfer.
- Removing the stencil, I sprinkled gold embossing powder over the ink and set it with my heat gun.
Assembly
- I glued the border layer to the card base.
- I added the card face to these, ensuring an equal distance on the top and both sides: this left a much larger space on the bottom.
- I added small gold pearls onto some of the larger hearts, deliberately placing them off-center on all but one heart.
- Finally, I added three small gold pearls under the word in the center, as well as 3 along the bottom border, evenly spaced.
Final Thoughts:
This card began as another one of those backgrounds which I had created and then set aside. I decided to use it with the Heart Circle stencil and I like the very graphic look that was created. The circular shape created by the lines echoes that created by the hearts, and yet the hearts and lines provide nice contrast.
Supplies: (and links where possible)
I have listed which products I have used, and where they may be purchased. It’s a huge marketplace and in most instances, there are multiple sources and many alternatives to choose from.
Stencils:
Intersection: A Colorful Life Designs
Happy Thoughts Wreath: A Colorful Life Designs
Waffle Flower Grip Mat, 8.5 x 6.5, Scrapbook.com
Versamark Embossing Ink: Simon Says Stamp:
Ink: Stampin’ Up!
Blending Brushes: Stampin’ Up!
Versafine Onyx, Simon Says Stamp
Adhesive: Tombow Aqua, Michaels
Card Base & Card Face: Accent 100 lb., Amazon
Do you have comments or thoughts to share on this design? Drop me a line in the Comments Section below – I’d love to hear from you!
You can also use the Comments Section to be added to the list, and notified when I release new work.