Tag: written in ink cards

  • You Can Create Stunning Christmas Cards with Metallic Gold Ink

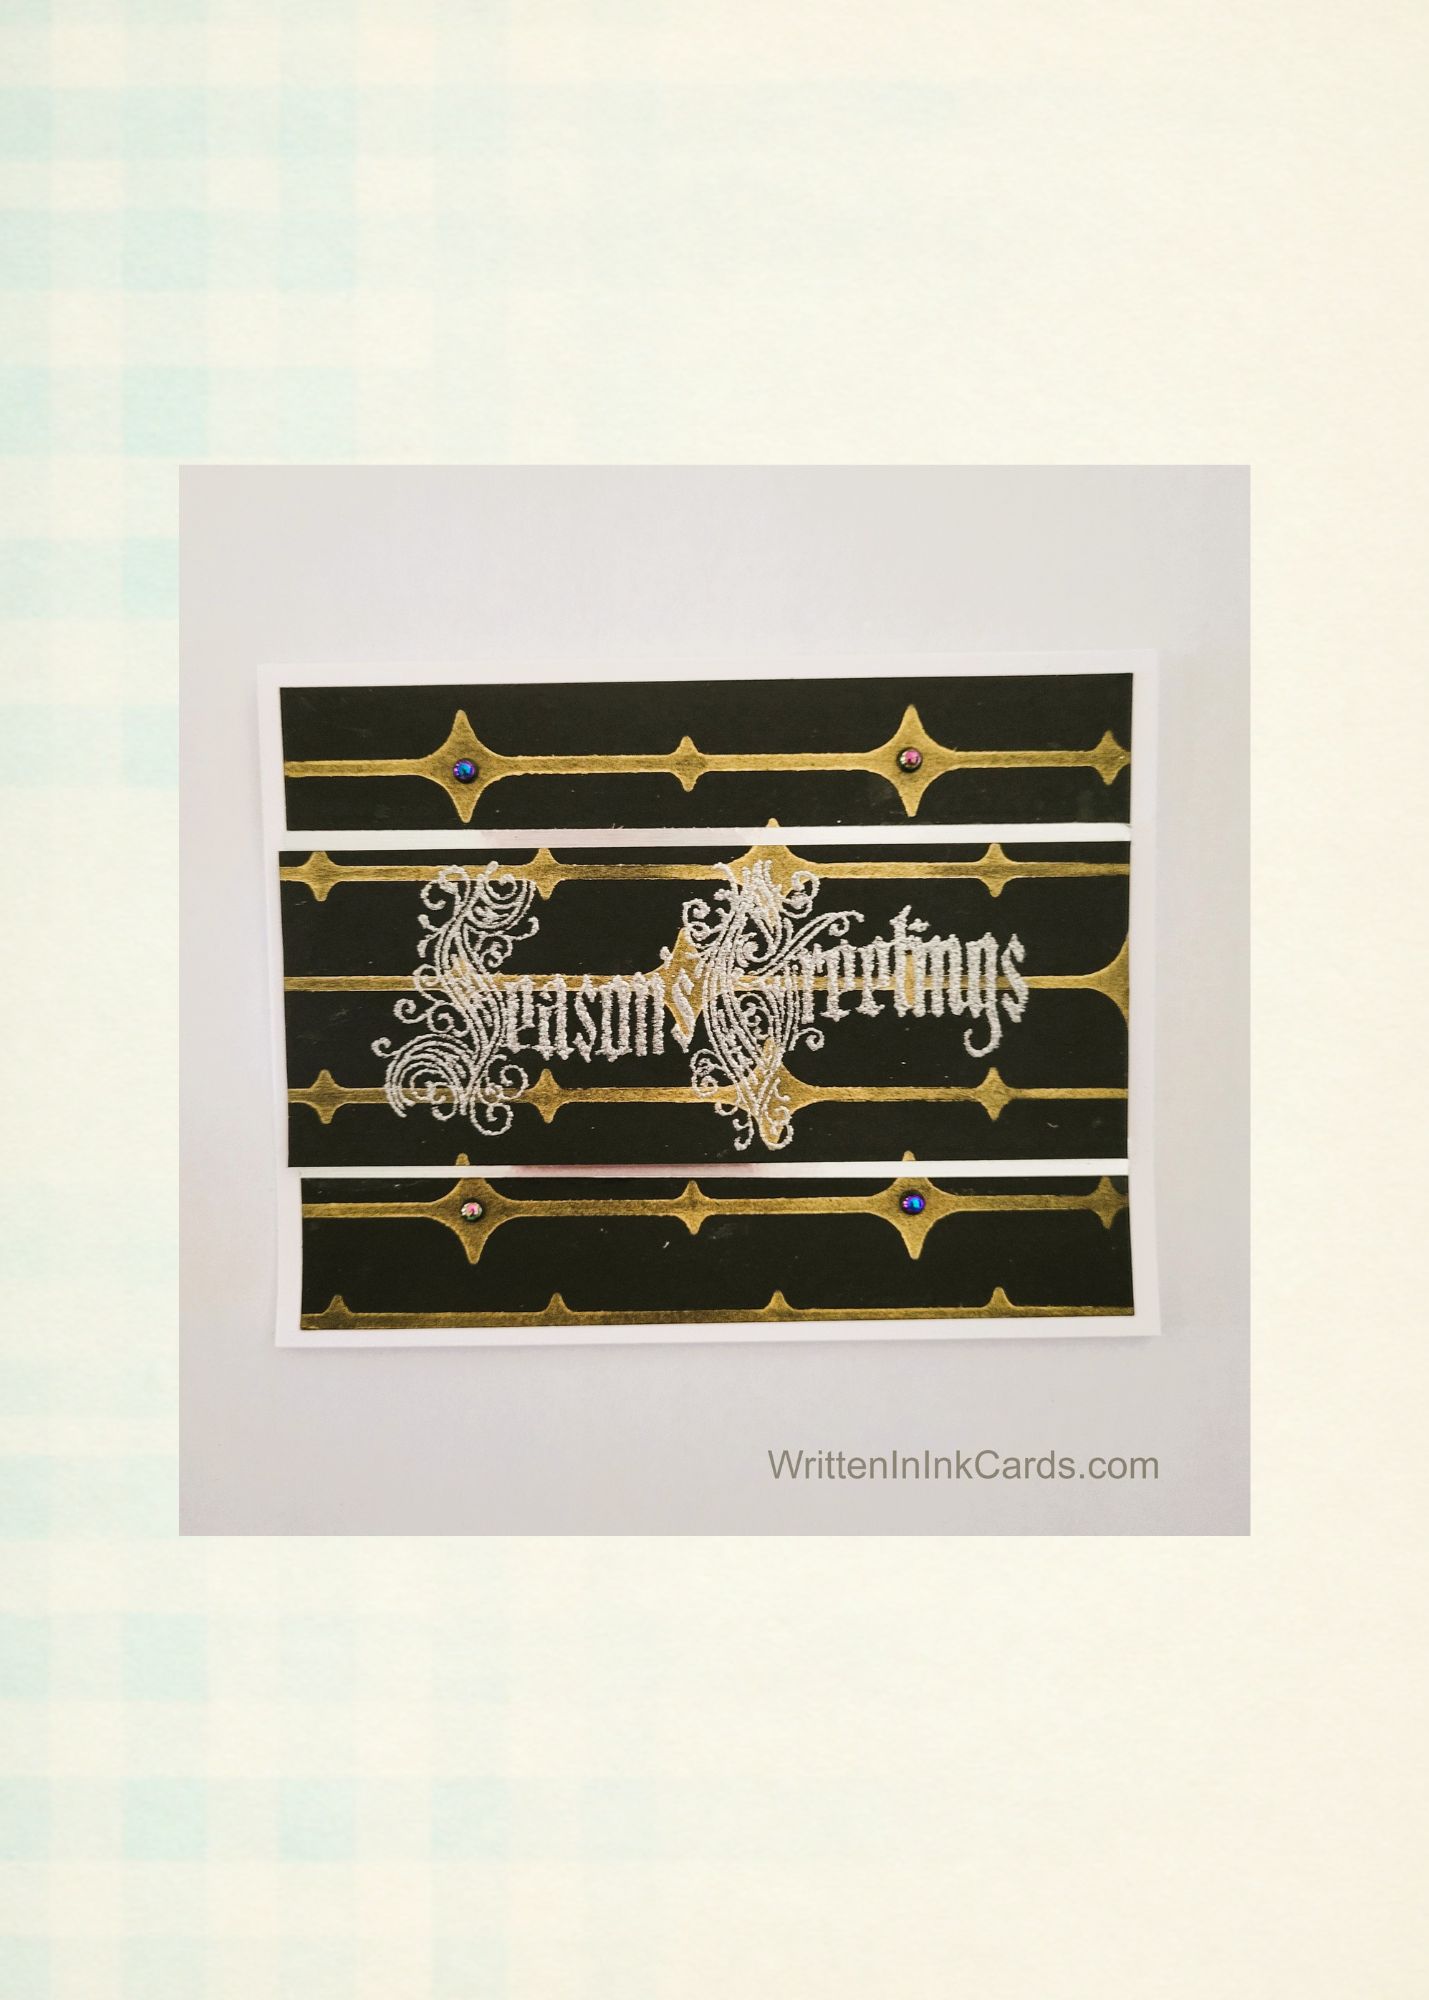
    You Can Create Stunning Christmas Cards with Metallic Gold Ink

    Would you like to experiment with a design like this? You’ll find a supply list below, including a link to the stencil I used from A Colorful Life Designs.  Follow the link and use the discount code ChrisFan10 to save 10% on your entire order! (Master Creator Bundles are excluded as they already have a 20% discount built in.)

    Let’s get Started:

    Card Base: 5.5 x 8.5, scored and folded at 4.25

    Black Card Face:  5.25 x 3.75

    Card Face:

    • I laid the (black) card face on the grip mat,  and positioned the stencil.
    • I used metallic gold ink and a heavy hand across the exposed areas,  ensuring good coverage with the ink.
    • I put the card face aside overnight to dry (the gold ink is pigment,  and takes a while to dry when applied this heavily).
    • The next day I began by dusting the card face liberally with anti-static powder.
    • I put the card face into my stamp positioner and stamped the sentiment with VersaFine embossing ink,  then I sprinkled silver embossing powder over the wet ink and set it with my heat gun.
    • I cut 1” off of the top and bottom inch of the card,  setting the strips aside carefully to keep them in the right order.

    Assembly

    • I glued the strips onto the card base,  leaving ⅛” between the strips,  which created visual interest.
    • I added iridescent black pearls to the stencilled pattern,  as shown.

    Final Thoughts:

    • This is a very structured, dramatic, elegant card.   I loved finding a way to incorporate this stencil into a Christmas design.
    • The concept wouldn’t have worked without the highly pigmented gold ink that covered the black perfectly:  this Lisa Horton ink is amazing.

    Supplies: (and links where possible)

       I have listed the products I have used and where they can be purchased. It’s a huge marketplace, and in most instances, there are multiple sources and many alternatives to choose from.

    Stencil: (see images below)

    Mid Century Atomic Strands,  A Colorful Life Designs

    Versamark Embossing Ink: R&R Scrapbooking

    Silver Embossing Powder,  Wow, R&R Scrapbooking

    Stamps: Tim Holtz,  Amazon

    Ink: Lisa Horton,  Cloud 9 Pot of Gold  (this gold is retired,  but she has several others available)

    Blending Brushes: Stampin’ Up! 

    Adhesive: Tombow Aqua, Michaels

    Card Base & Card Face: Accent 100 lb., Amazon 

    Do you have any comments or thoughts on this design?  Drop me a line in the Comments Section below –  I’d love to hear from you!

    You can also use the Comments Section to be notified when I release new work.

    Mid Century Atomic Strands

  • DIY a card that loves
summer almost as much as you

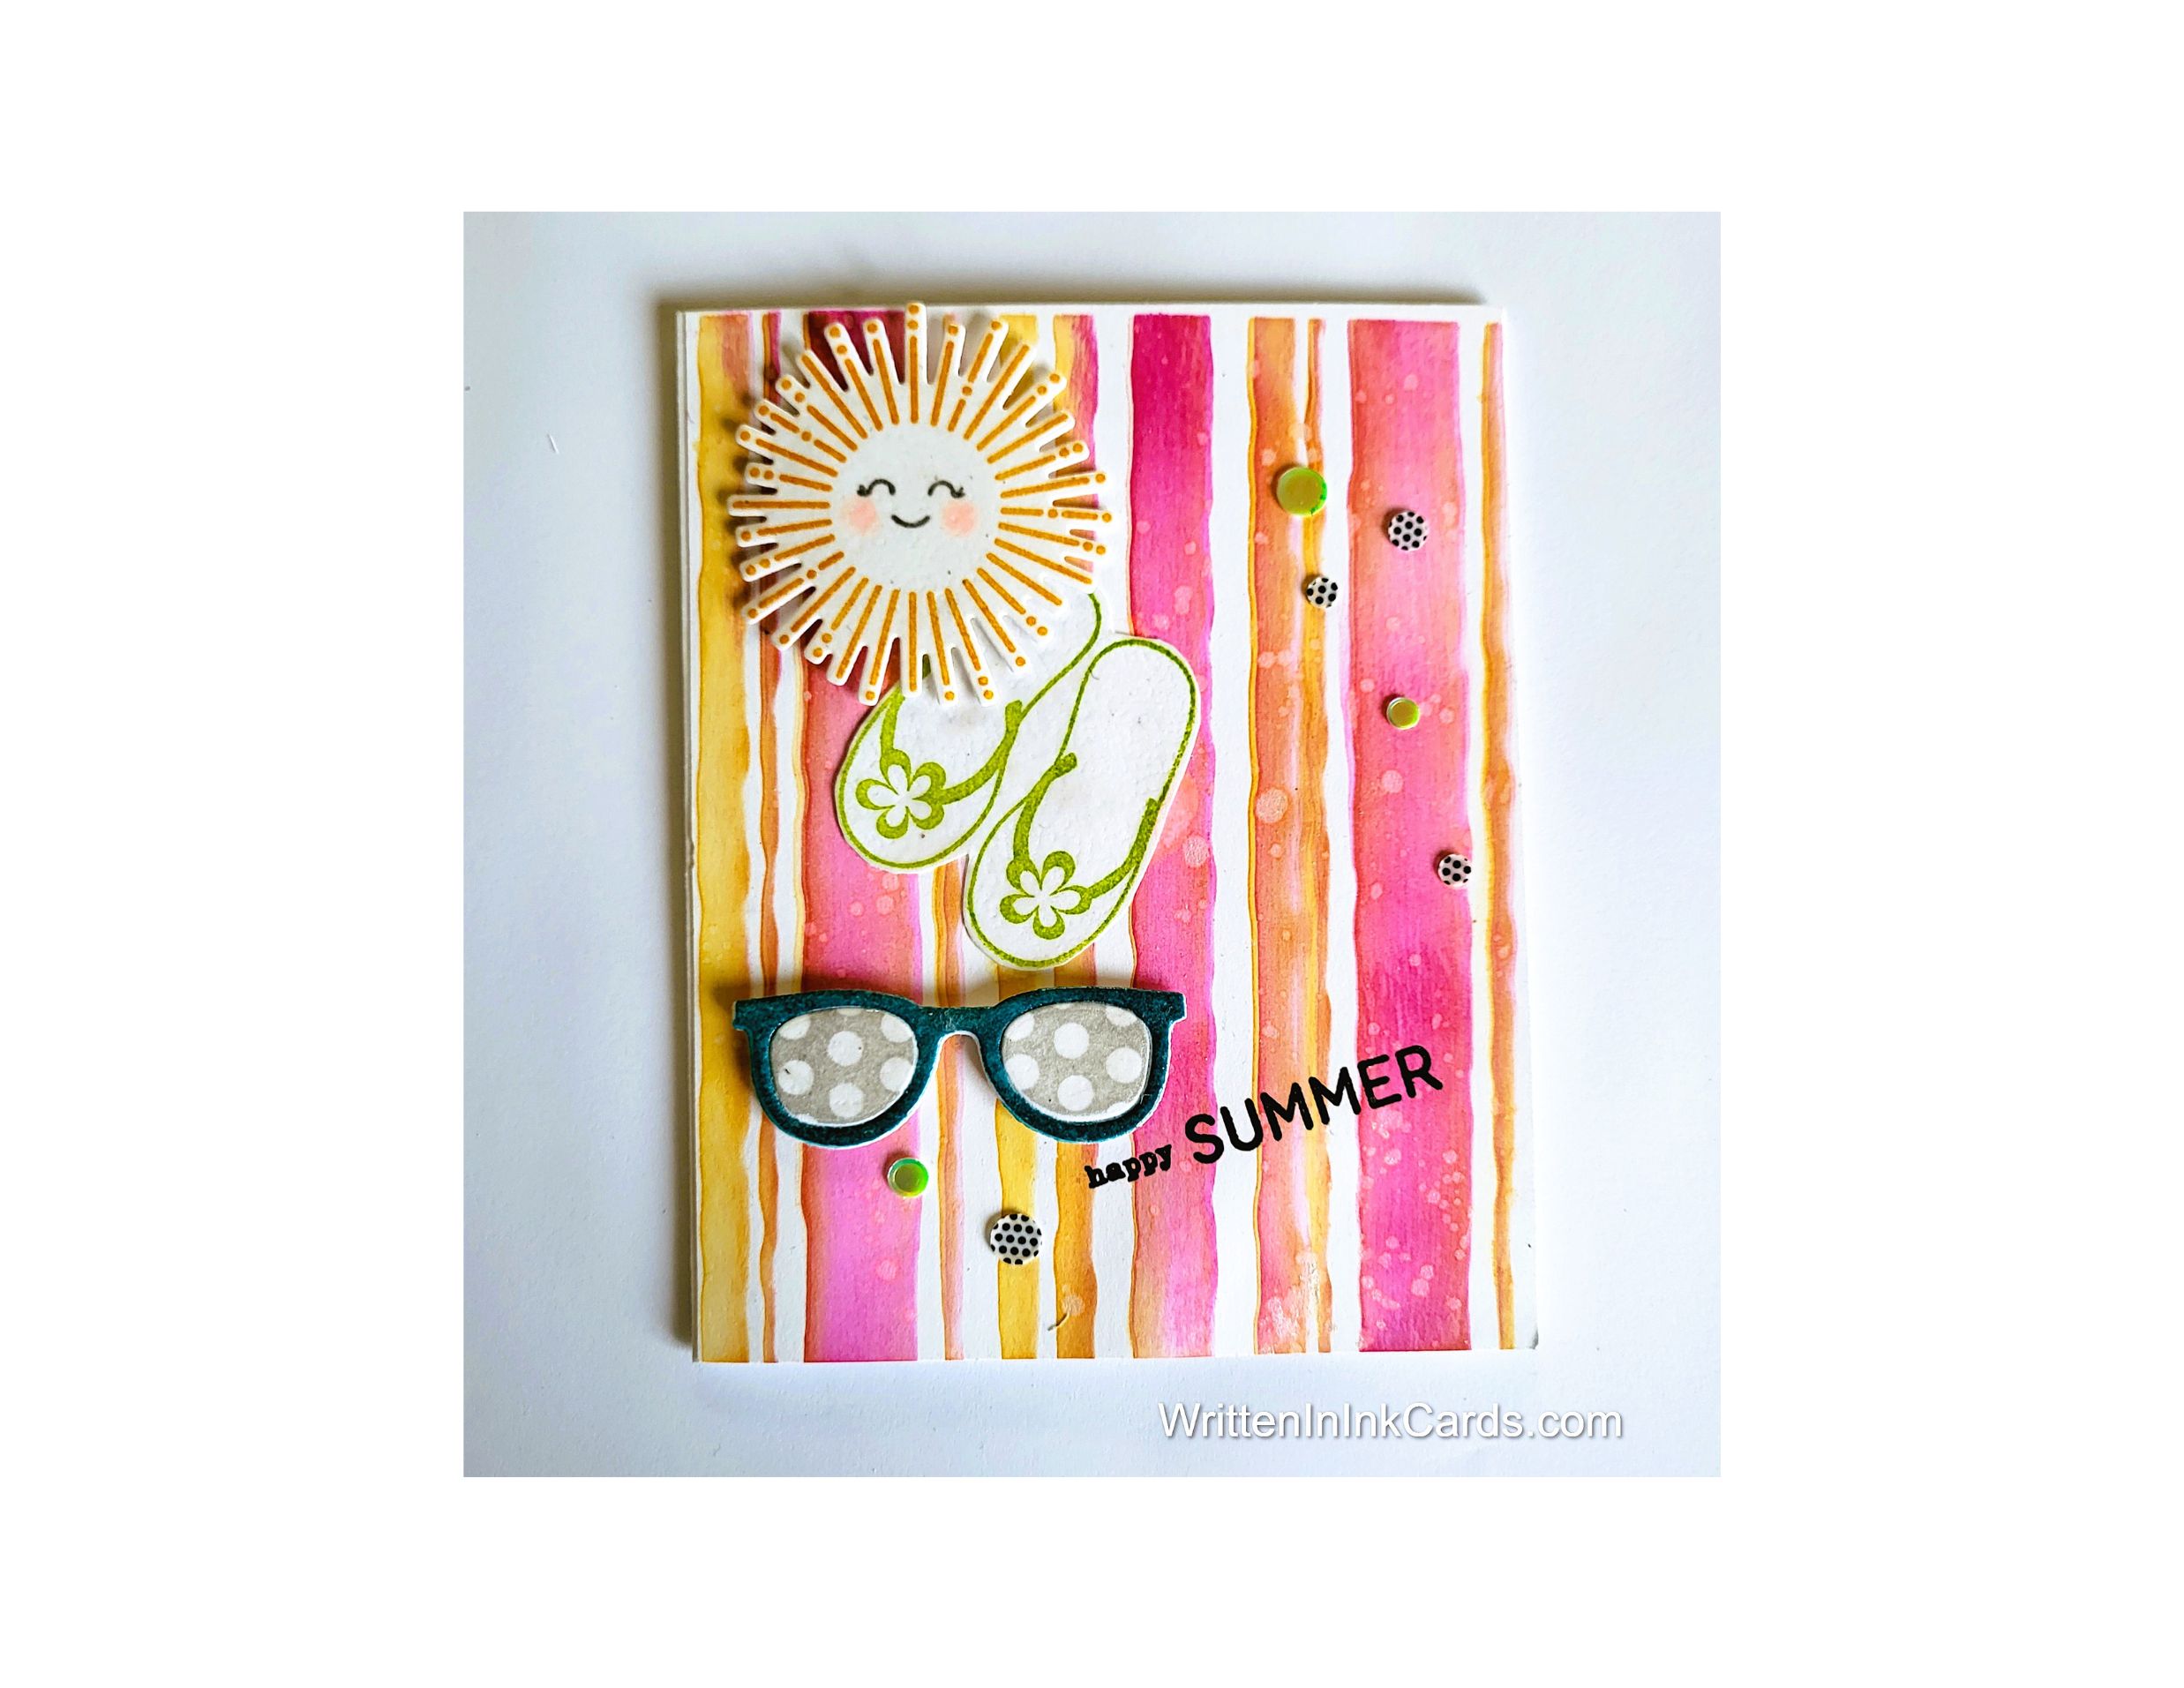
    DIY a card that loves summer almost as much as you

    Would you like to experiment with a design like this? You’ll find a supply list below, including a link to the stencil I used from A Colorful Life Designs.  Follow the link and use discount code ChrisFan10 to save 10% on your entire order! (Master Creator Bundles are excluded as they already have a 20% discount built in.)

    Let’s get Started:

    Card Base: 5.5 x 8.5, scored and folded at 4.25

    Card Face:  5.5 x 4.25

    Card Face:

    • I laid the card face on the Grip Mat and positioned the stencil.
    • I applied pink and yellow inks alternately,  allowing the inks to overlap and create orange.
    • I spattered water randomly over the card face, which created depth and visual interest.
    • I placed the card face into the stamp positioner and added the sentiment using Versafine Onyx.

    Other:

    • I stamped the sun, added the face,  and used the coordinating die to cut it out.
    • I stamped the flip flops and fussy cut around them.
    • I stamped the components of the sunglasses,  and used the coordinating dies to cut them out.

    Assembly

    • I glued the card face to the card base.
    • I glued the sunglasses and flip flops in place.
    • I put dimensional foam on the back of the sun and put it in place, slightly overlapping the flip flops.
    • I added some fun card bling, scattering randomly over the card face.

    Final Thoughts:

    This became such a fun, cheerful summertime card.

    Supplies: (and links where possible)

       I have listed which products I have used, and where they may be purchased. It’s a huge marketplace and in most instances, there are multiple sources and many alternatives to choose from.

    Stencil:   Drizzled Lines,  A Colorful Life Designs

    Waffle Flower Grip Mat, 8.5 x 6.5, Scrapbook.com

    Stamps:

        Here Comes the Sun, Taylored Expressions

        Flip Flops:   a stamp I got from a friend –  I have no idea where it was purchased

        Shades of Summer, Taylored Expressions

    Dies:

        Here Comes the Sun, Taylored Expressions

        Shades of Summer,  Taylored Expressions

    Ink: Stampin’ Up!

    Blending Brushes: Stampin’ Up! 

    Versafine Onyx, Simon Says Stamp

    Card Bling,   A Colorful Life Designs

    Adhesive: Tombow Aqua, Michaels

    Card Base & Card Face: Accent 100 lb., Amazon

    Do you have comments or thoughts to share on this design?  Drop me a line in the Comments Section below –  I’d love to hear from you!

    You can also use the Comments Section  to be notified when I release new work