
Would you like to experiment with a design like this? You’ll find a supply list below, including a link to the stencil I used from A Colorful Life Designs. Follow the link and use discount code ChrisFan10 to save 10% on your entire order! (Master Creator Bundles are excluded as they already have a 20% discount built in.)
Let’s get Started:
Card Base: 5.5 x 8.5, scored and folded at 4.25
Border Layer: 5.5 x 4
Card Face: 5.5 x 3.75
Vellum: 7 x 2.5
Card Face:
- I laid the card face on scrap paper and positioned the stencil. I secured both with Mint Tape.
- I applied DIY embossing paste across all exposed areas.
- I carefully removed the stencil and placed it in water immediately.
When I work with embossing paste, I have a container of water beside me: I usually do several card faces during a session with paste, with each one going into the water as soon as it’s removed from the card face. When I’m done, the stencils are all cleaned at the same time. This makes clean-up much faster and easier.
- I put the card face aside to dry.
Other:
- I turned on my heat gun before starting work with the vellum.
- I placed the vellum in my stamp positioner and added the butterflies with Versafine Onyx.
- I sprinkled the ink with clear embossing powder and set it with my heat gun.
Vellum will warp easily with heat, so it’s important to have a very hot, preheated tool and to move it constantly until the powder has melted.
- I stamped a scrap of cardstock with the sentiment, and then cut it out with a die.
- Assembly
- I folded the vellum around the card face and secured it with scotch tape.
- I glued the card face to the card base, making sure that the vellum on the back of the card face was fully adhered.
- I glued the sentiment in place as shown, taking care to use no more glue than was needed, as vellum warps very easily with moisture.
Final Thoughts:
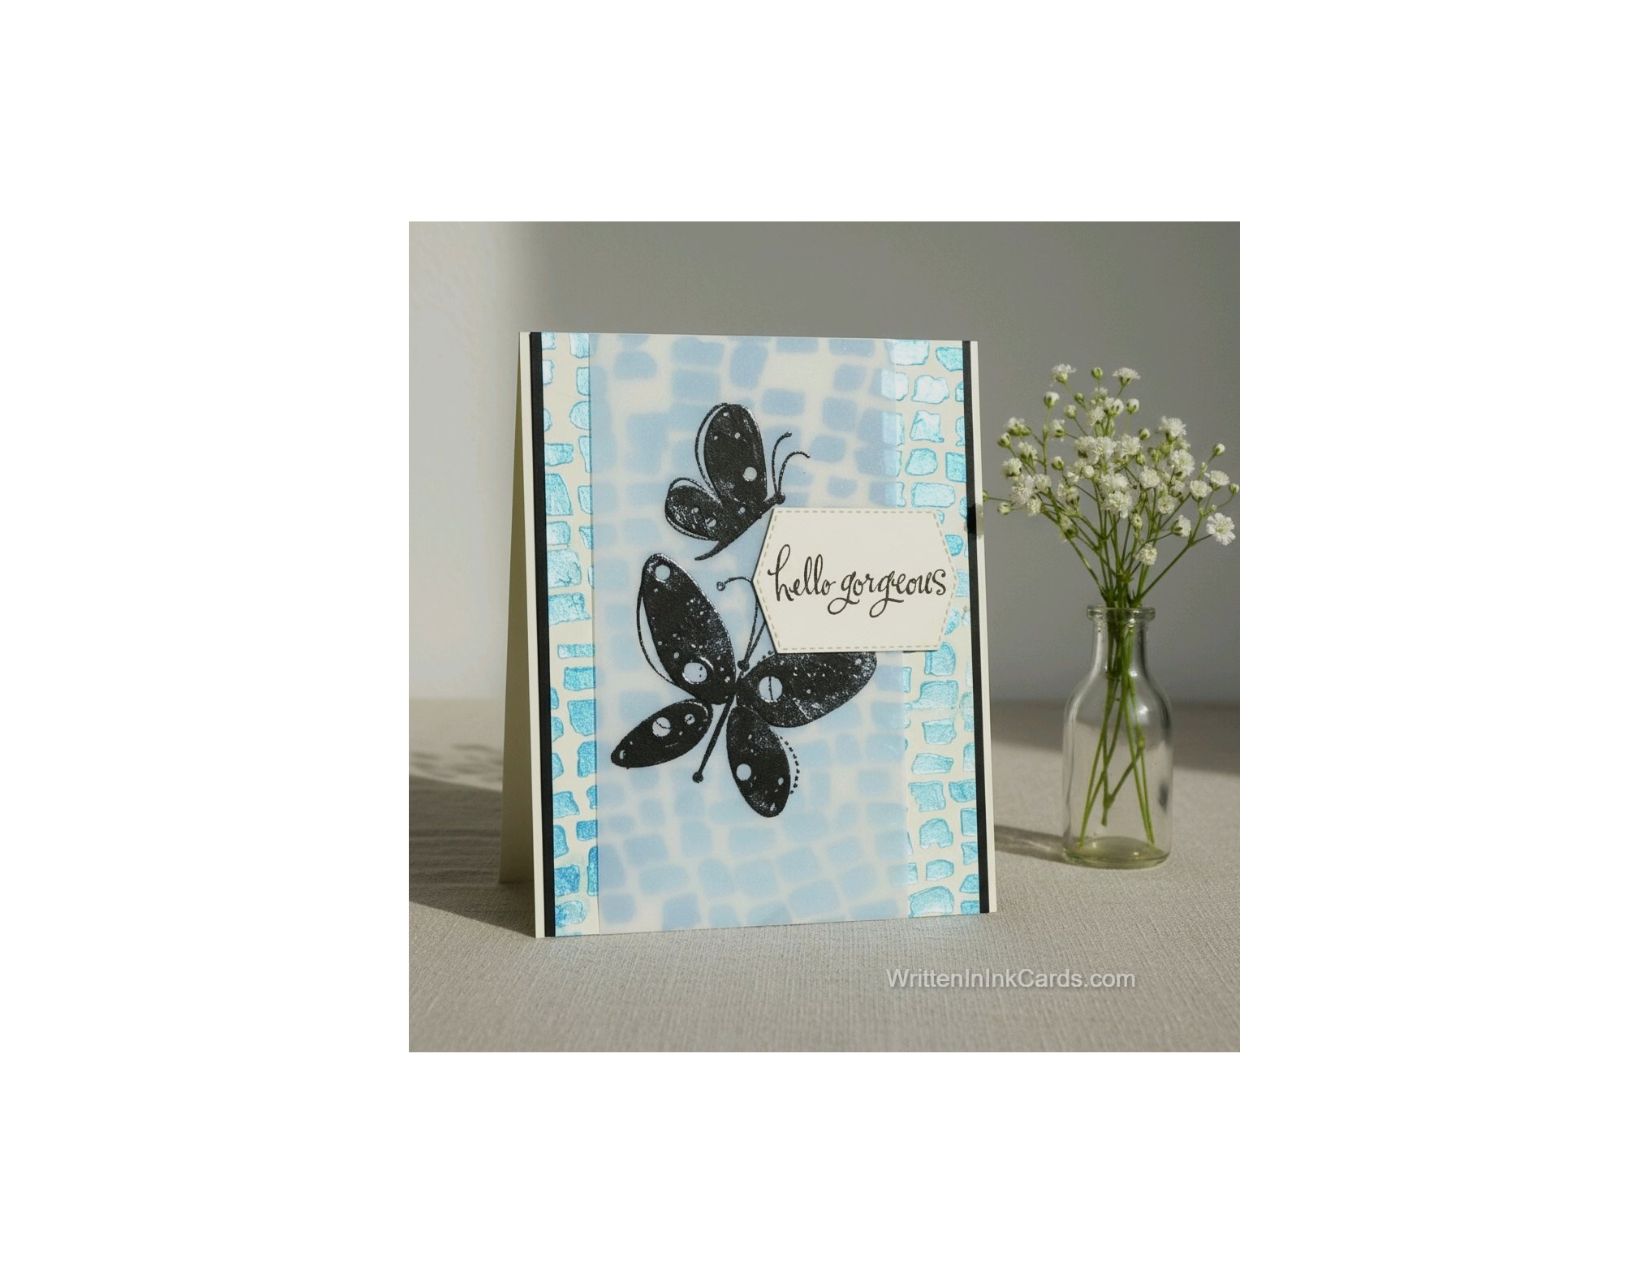
The gleam of the embossing paste is so pretty, but the panel was very busy as a whole: the vellum is such a great tool in this instance, as it dampens that down, while providing another layer of interest because it is translucent.
Sadly, the stamps here are retired: but this design is easily replicated with others that you have on hand.
Supplies: (and links where possible)
I have listed which products I have used and where they may be purchased. It’s a huge marketplace, and in most instances, there are multiple sources and many alternatives to choose from.
Stencil: Chaos Squares, A Colorful Life Designs
Clear Embossing Powder, Wow, Simon Says Stamp
Stamp & Die: Stampin’ Up! (retired)
Versafine Onyx, Simon Says Stamp
Vellum: Stampin’ Up!
Adhesive: Tombow Aqua, Michaels
Card Base & Card Face: Accent 100 lb., Amazon
Do you have comments or thoughts to share on this design? Drop me a line in the Comments Section below – I’d love to hear from you!
You can also use the Comments Section to be notified when I release new work.
Chaos Squares by A Colorful Life Designs
