
Would you like to experiment with a design like this? You’ll find a supply list below, including a link to the stencils I used from A Colorful Life Designs. Follow the link and use discount code ChrisFan10 to save 10% on your entire order! (Master Creator Bundles are excluded as they already have a 20% discount built in.)
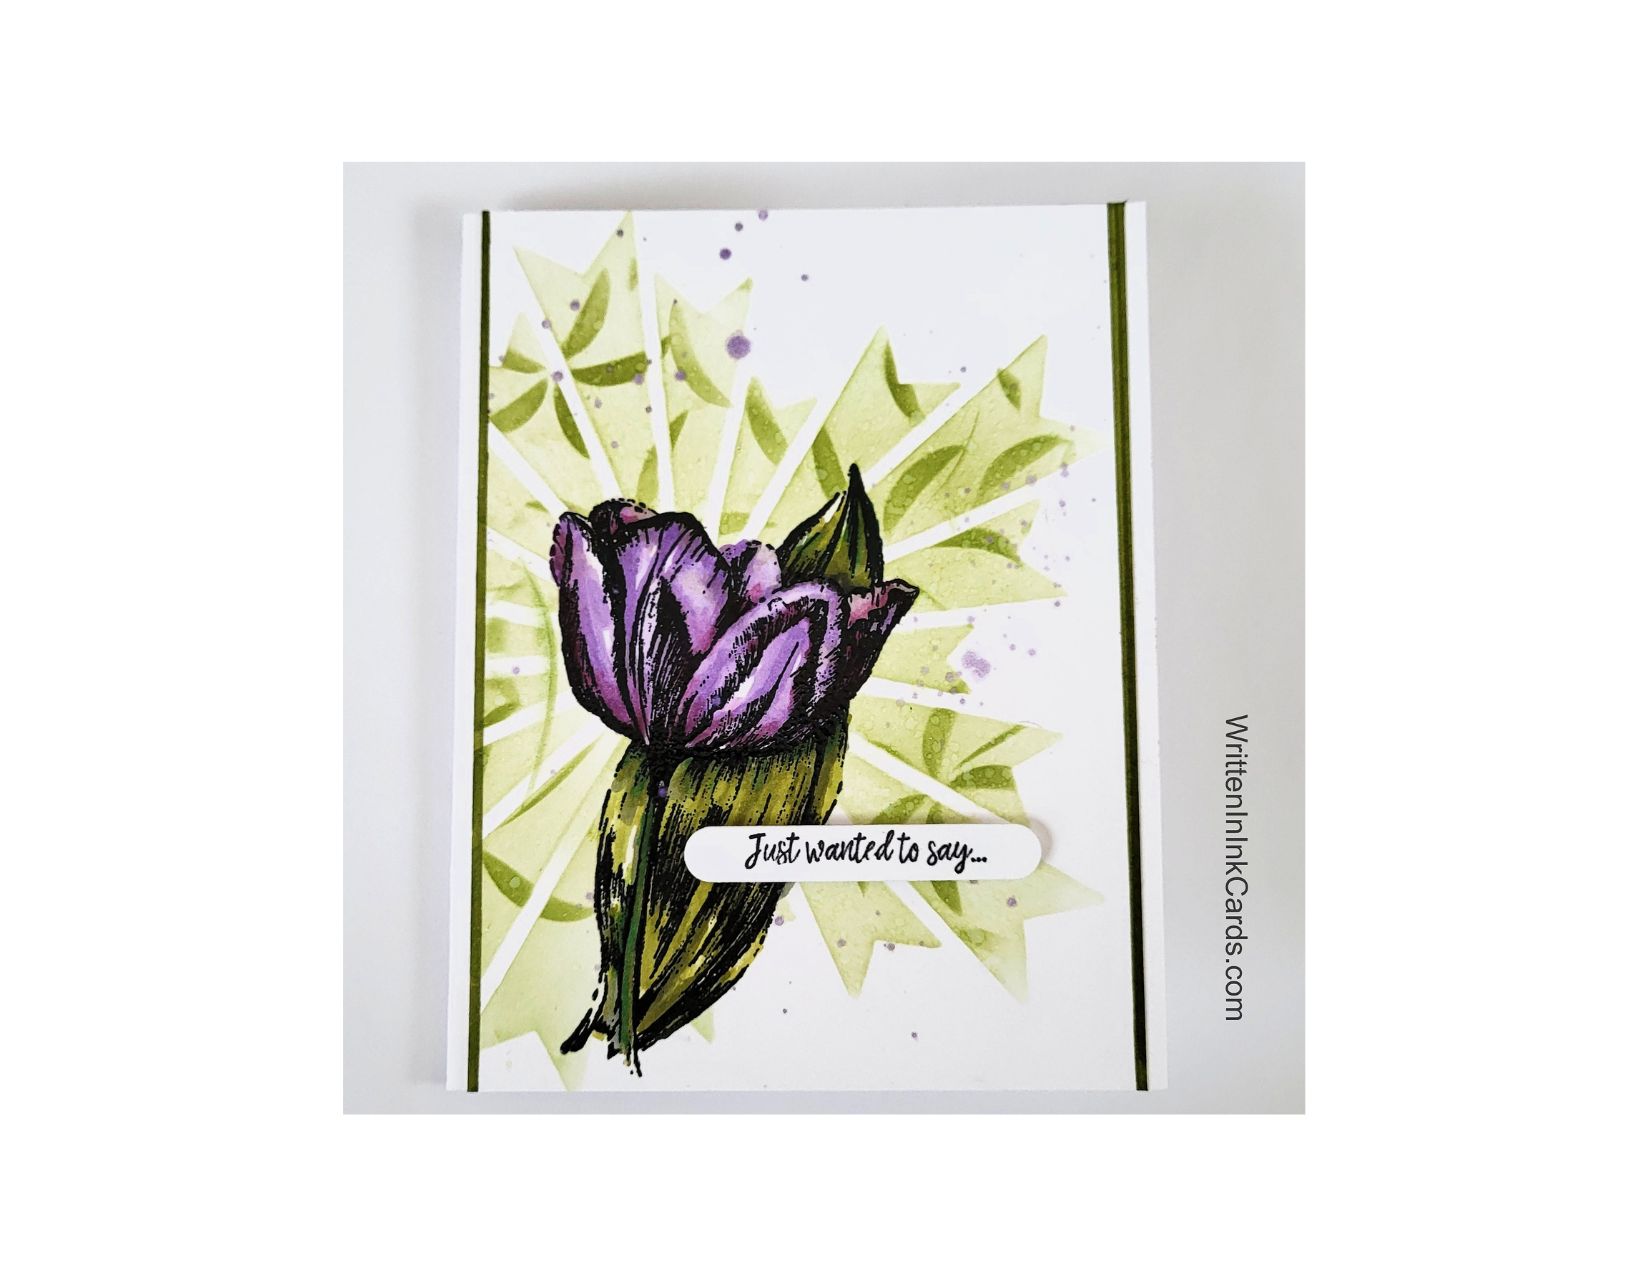
A couple of simple stencilling techniques is a great way to make your card stand out.
Let’s get Started:
Card Base: 5.5 x 8.5, scored and folded at 4.25
Border Layer: 5.5 x 4.25
Card Face: 5.25 x 4
Card Face:
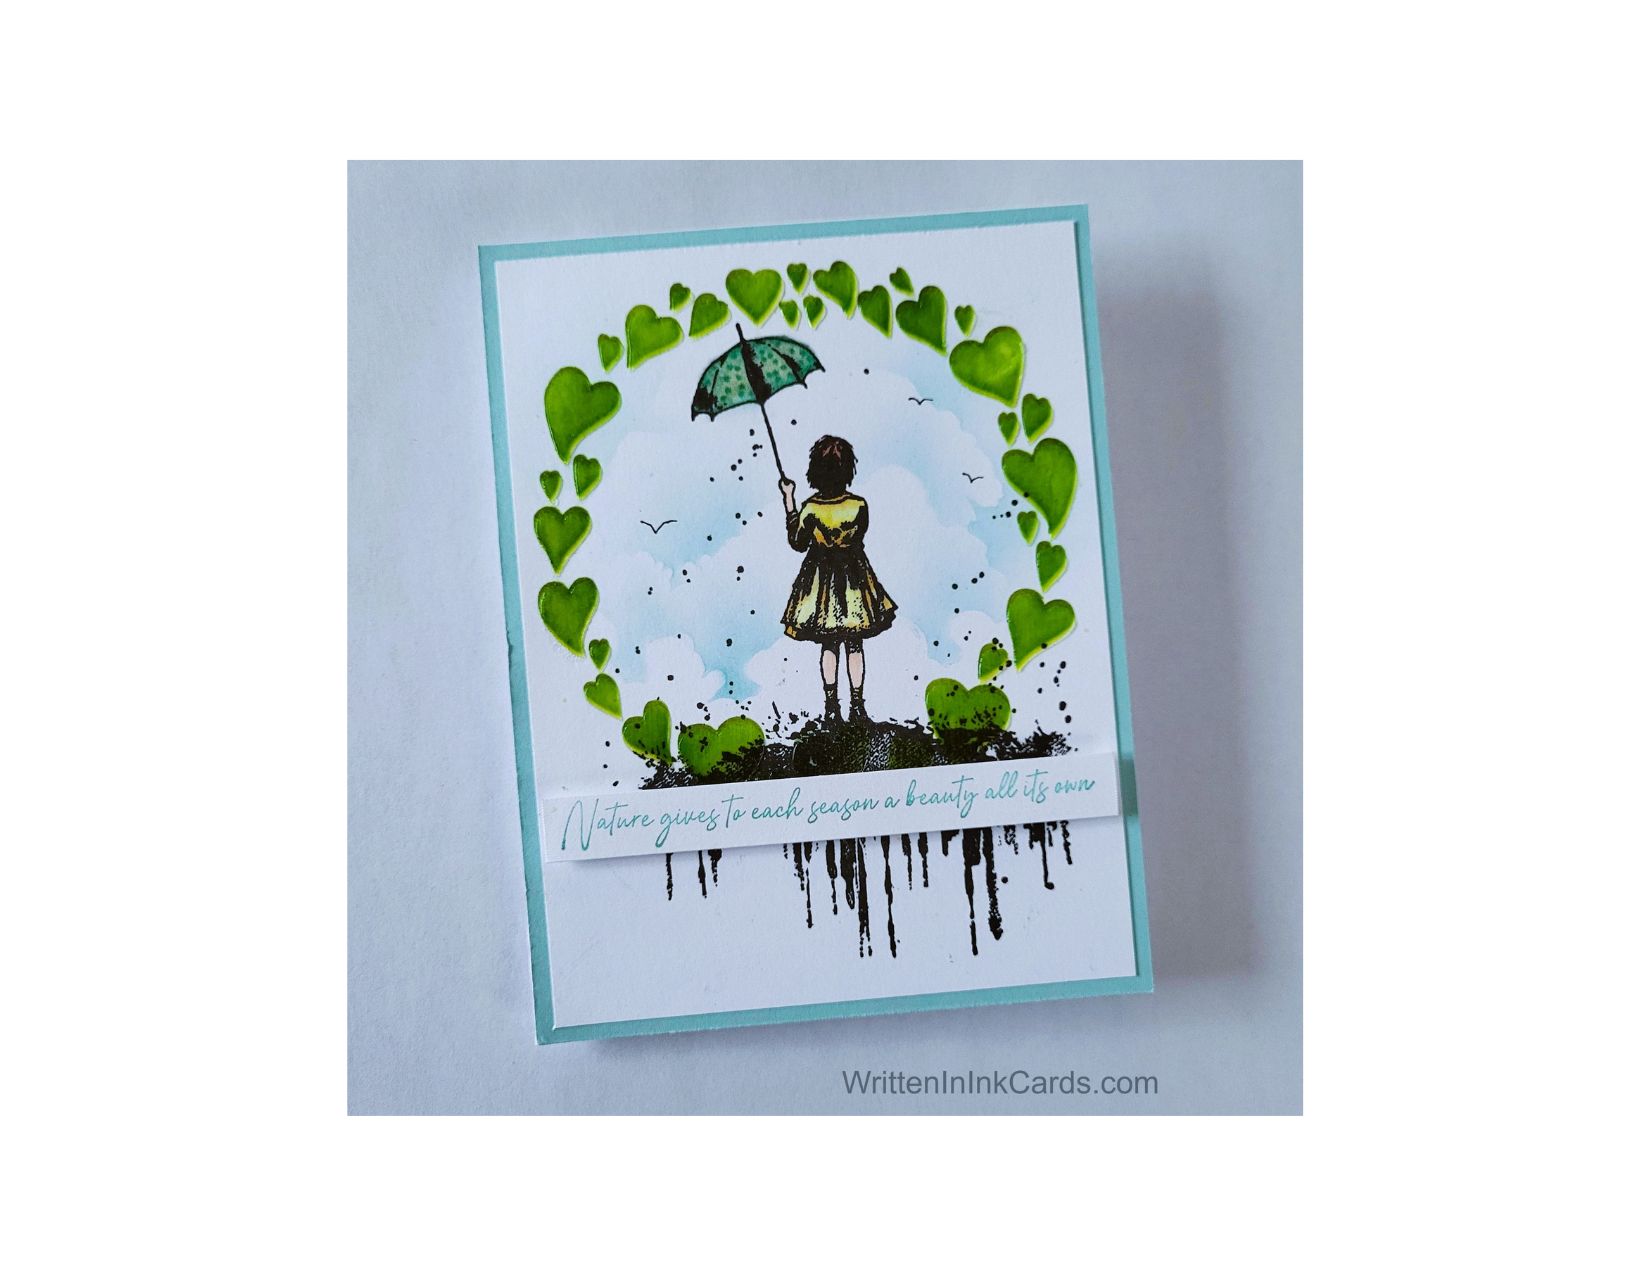
- I placed the card face onto my Grip Mat, and then positioned the stencil. I applied bright green ink to the exposed areas. As I had used a heavy hand, I had to put this aside until the ink was dry.
- With the ink completely dry, I put the stencil back in place but moved it slightly down and to the right. This stencilling technique created the illusion of a shadow for each of the hearts.
- I added translucent gel over the exposed areas, carefully removing the stencil once this was complete and putting it into water immediately. I set the card face aside to dry once again.
- Once the gel had dried, I put the card face into my stamp positioner and added the image in the center of the hearts with Versafine Onyx and sprinkled it with clear embossing powder. I set this with my heat gun.
- I coloured the image with alcohol markers.
- I used the cloud edger stencil and blue ink to create the sky, being careful to stay inside the hearts. This stencilling technique created a scene in a very specific part of the card, and is very effective.
- I added the birds using a black fineliner.
Other:
- I put a piece of scrap cardstock into the stamp positioner and stamped the sentiment two or three times with the same blue ink. (I had used a soft blue, and I needed to stamp several times to allow the sentiment to have enough presence.)
- I trimmed the sentiment down to a narrow strip and added dimensional tape on the back.
Assembly
- I glued the border layer to the card base and then centered the card face on top of these.
- I positioned the sentiment as shown.
Final Thoughts:
I quite like this offbeat combination of elements.
If I were to recreate this card, I would select a different colour for the umbrella: I don’t feel that it works well with the other colours in the scene. Do you ever regret a colour choice when it’s too late to do anything about it?
Supplies: (and links where possible)
I have listed which products I have used, and where they may be purchased. It’s a huge marketplace and in most instances, there are multiple sources and many alternatives to choose from.
Stencils:
Cloud Edger: A Colorful Life Designs
Happy Thoughts Wreath: A Colorful Life Designs
Waffle Flower Grip Mat, 8.5 x 6.5, Scrapbook.com
Stamps: I’ll be Your Umbrella, Andy Skinner, Amazon
Ink: Stampin’ Up!
Blending Brushes: Stampin’ Up!
Versafine Onyx, Simon Says Stamp
Clear Embossing Powder: Wow, R&R Scrapbooking
Black Fine Liners: Amazon
Alcohol Markers:
Stampin’ Blends: Stampin’ Up!
Copics: Wallacks
Adhesive: Tombow Aqua, Michaels
Card Base & Card Face: Accent 100 lb., Amazon
Do you have comments or thoughts to share on this design? Drop me a line in the Comments Section below – I’d love to hear from you!
You can also use the Comments Section to be added to the list, and notified when I release new work.