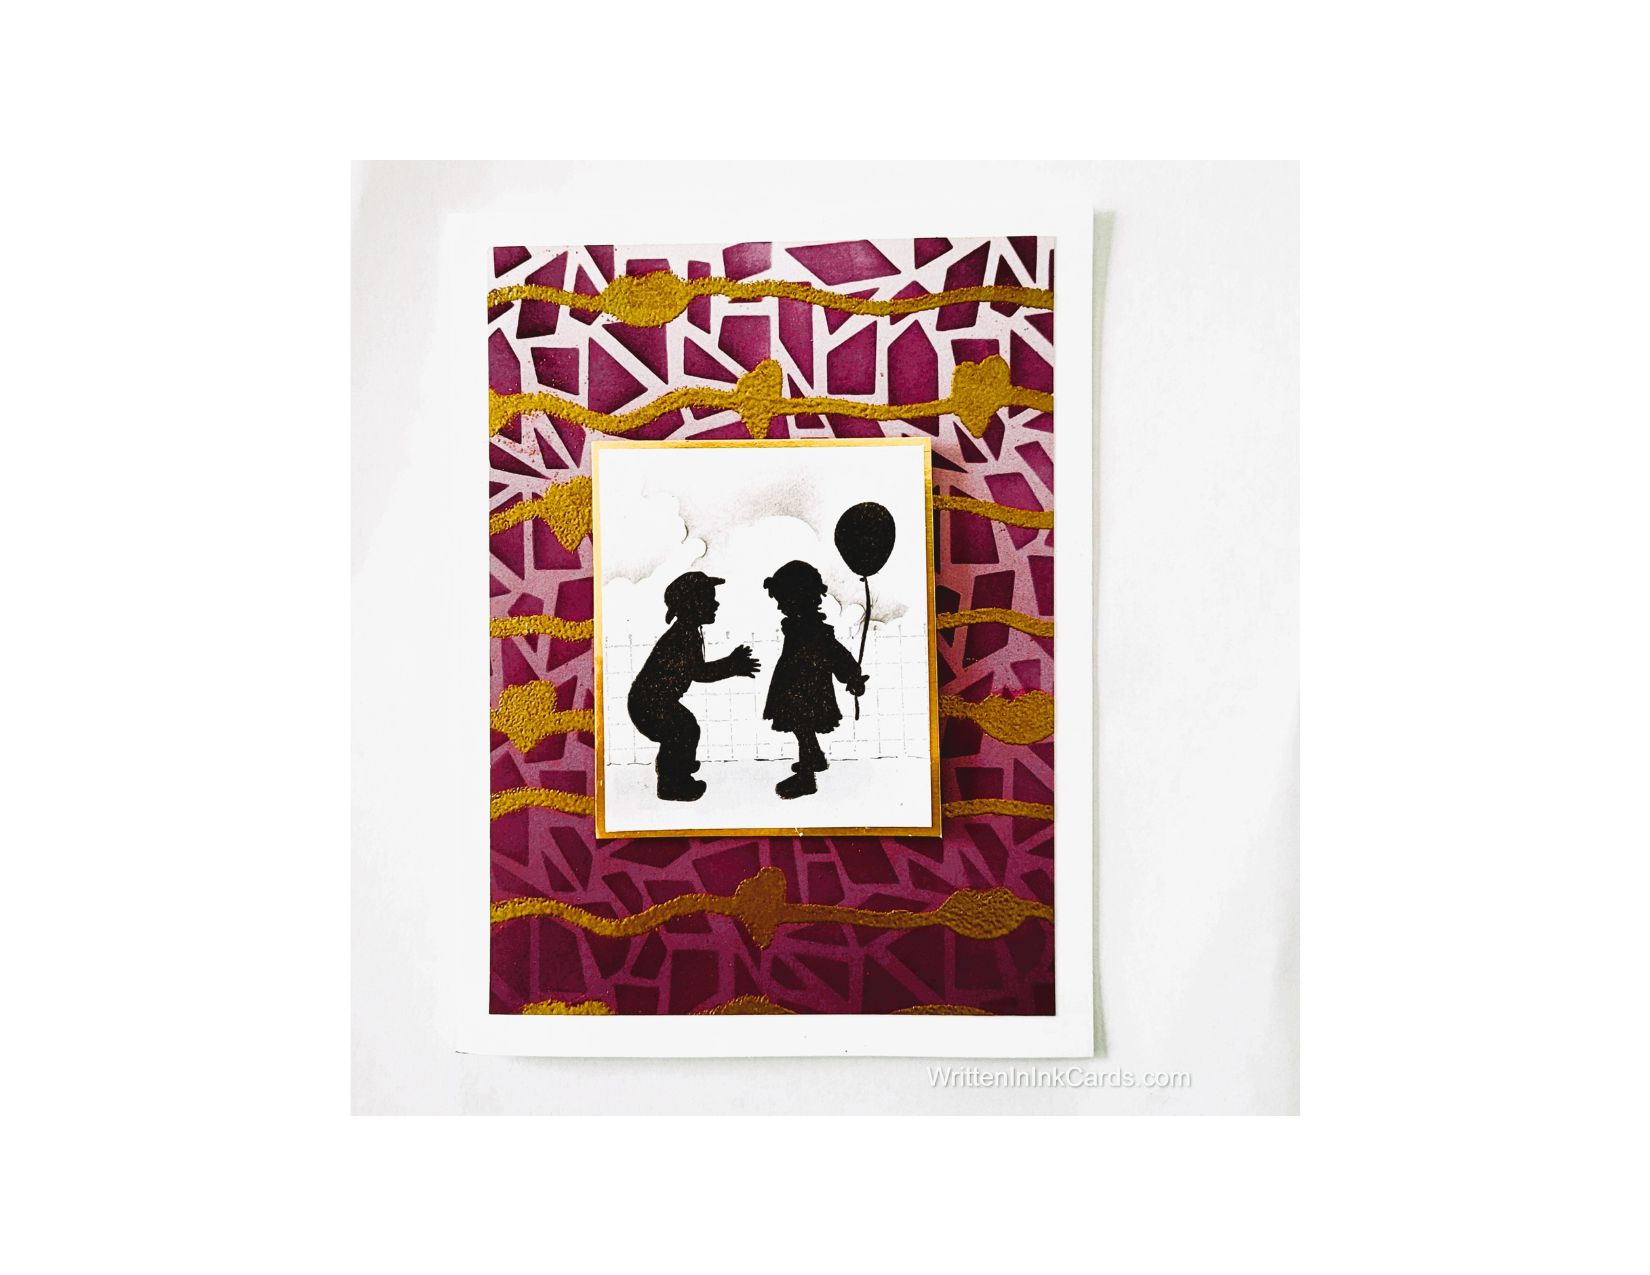
A card that looks somber at first glance – until it catches the light!


Would you like to experiment with a design like this? You’ll find a supply list below, including a link to the stencils I used from A Colorful Life Designs. Follow the link and use discount code ChrisFan10 to save 10% on your entire order! (Master Creator Bundles are excluded as they already have a 20% discount built in.)
Let’s get Started:
Card Base: 5.5 x 8.5, scored and folded at 4.25
Card Face: 5 x 3.75
Focal Image: 3 x 2.5
Gold Border for Focal Image: 3 ⅛ x 2 ⅝
I started with a piece of ombre cardstock, which made a big difference to the final look of the piece.
Card Face:
- I laid the cardface on my Grip Mat and positioned the Rocky Path stencil: I applied ink which matched the darkest tones on the cardstock to all exposed areas, increasing saturation as I neared the bottom.
- I waited until this first layer of ink was completely dry.
- I swapped out the stencils, putting the Smooch Lines stencil down onto the cardface, and pressing my Versamark embossing ink pad firmly through the open areas. After removing the stencil, I sprinkled gold embossing powder over the cardface, and set it with my heat gun.
Other:
- I stamped the image of the children on the small piece o cardstock using Versafine Onyx,and sprinkled this ink with clear embossing powder. I set it with my heat gun.
- Next, it went into my stamp positioner and I added the fence behind the children.
- I used a light gray copic marker to create the shadow under the children.
- I used a black fineliner to draw a fine line between the fence and the shadow, adding separation and definition.
- I used the Cloud Edger stencil to create the sky.
Assembly
- I centered and glued the card face onto the card base.
- I glued the gold border to the focal image, and then glued these to the card face.
Final Thoughts:
Although this card appears very flat and dull in the “full version” image, you can see that the gold embossing powder adds a lovely lustre to the background.
I love the tiny scene in the center of the card, but a bit of carelessness caused me some chagrin. I had everything else completed and positioned the stencil to add the sky: as soon as I put ink to paper I realized that I had grabbed the black blending brush instead of the grey one. So – my initial concept was a softer sky, but this is what I ended up with!
Supplies: (and links where possible)
I have listed which products I have used, and where they may be purchased. It’s a huge marketplace, and in most instances, there are multiple sources and many alternatives to choose from.
Stencils:
Rocky Path:A Colorful Life Designs
` Smooch Lines: A Colorful Life Designs
Cloud Edger: A Colorful Life Designs
Waffle Flower Grip Mat, 8.5 x 6.5, Scrapbook.com
Versamark Embossing Ink: Simon Says Stamp
Clear Embossing Powder, Wow, Simon Says Stamp
Gold Embossing Powder: Wow, R&R Scrapbooking
Stamps: Nellie’s Choice Children with Balloon, Ecstasy Crafts
Fineliners: Amazon
Ink: Stampin’ Up!
Blending Brushes: Stampin’ Up!
Versafine Onyx, Simon Says Stamp
Adhesive: Tombow Aqua, Michaels
Card Base & Card Face: Accent 100 lb., Amazon
Do you have any comments or thoughts on this design? Drop me a line in the Comments Section below – I’d love to hear from you!
You can also use the Comments Section to be notified when I release new work.
Rocky Path by A Colorful Life Designs

Smooch Lines By A Colorful Life Designs

Cloud Edger by A Colorful Life Designs