

Would you like to experiment with a design like this? You’ll find a supply list below, including a link to the stencil I used from A Colorful Life Designs. Follow the link and use the discount code ChrisFan10 to save 10% on your entire order! (Master Creator Bundles are excluded as they already have a 20% discount built in.)
Let’s get Started:
Card Base: 5.5 x 8.5, scored and folded at 4.25
Card Face: 5.25 x 4
Card Face:
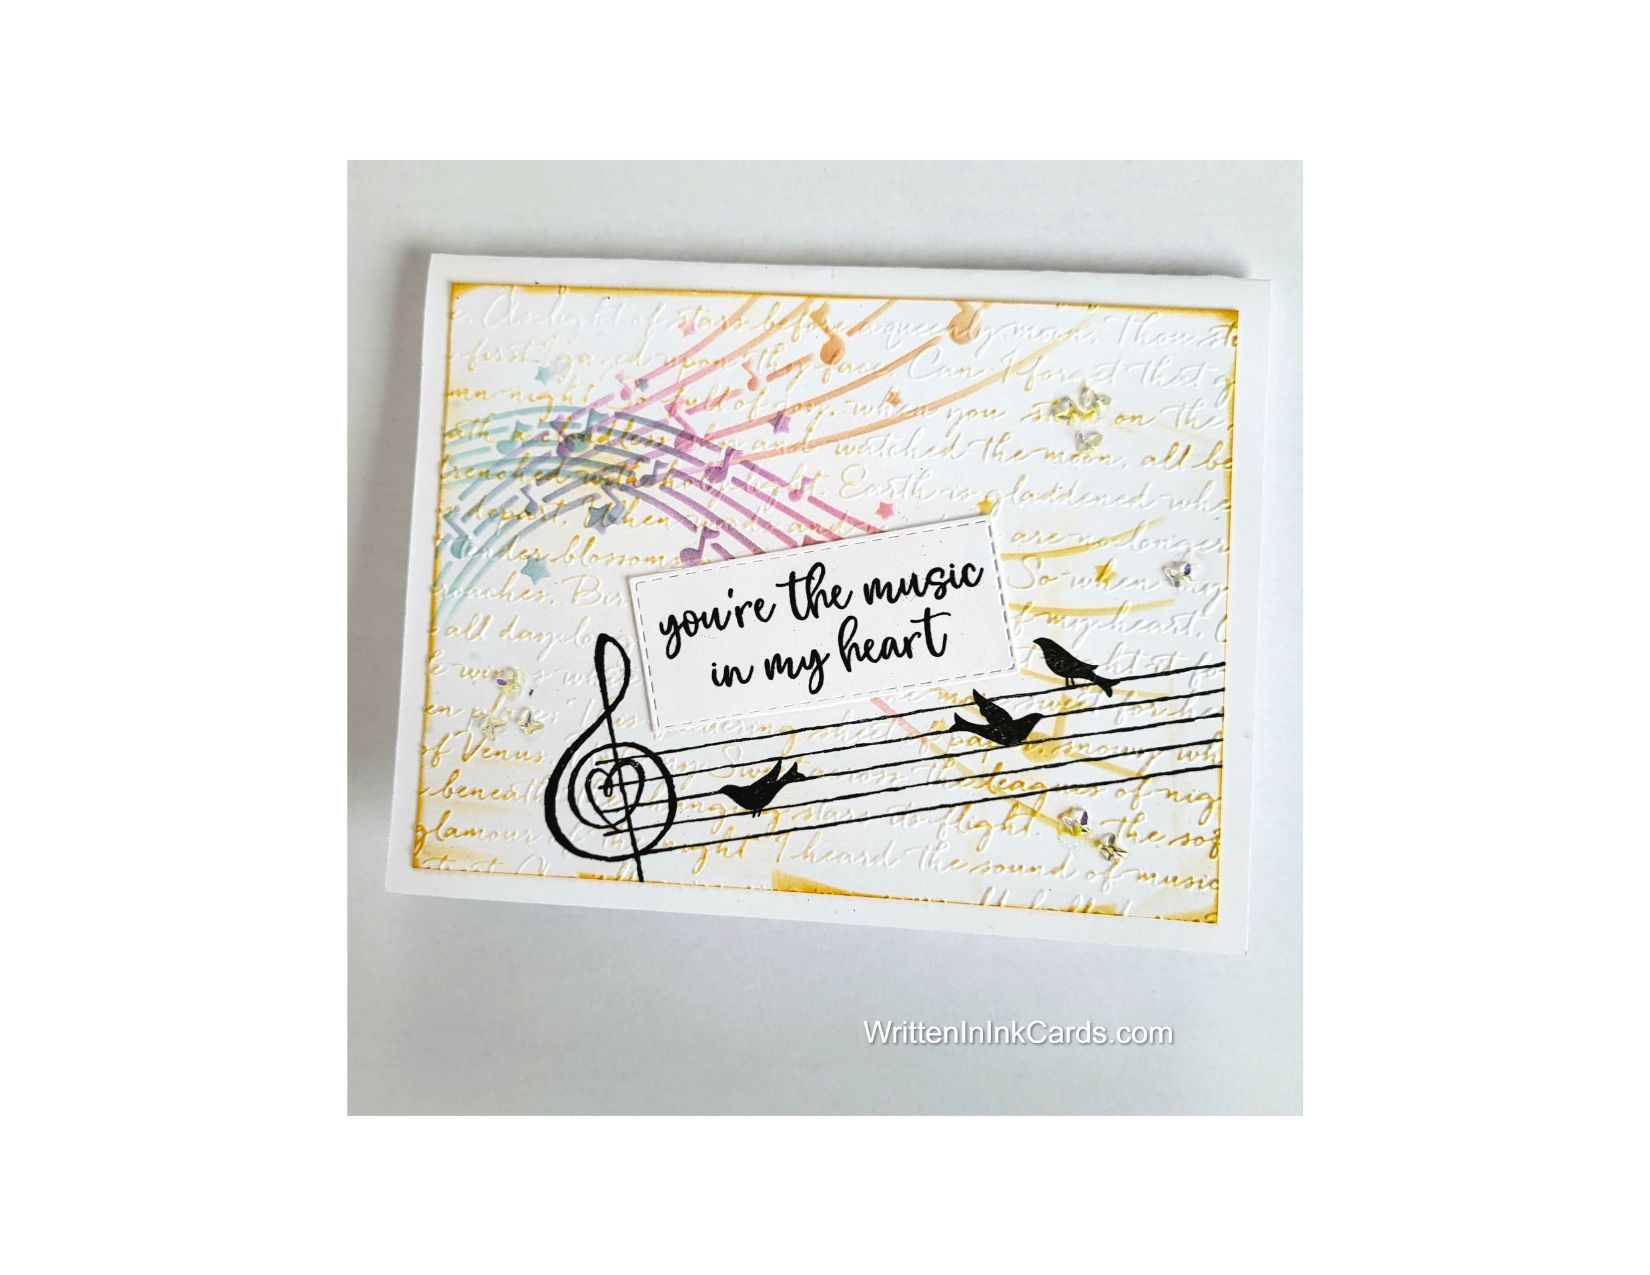
- I laid the card face down on the grip mat.
- I positioned the stencil to begin about ¼ of the way down on the left-hand side and move towards the bottom right. I applied a mixture of blue, pink and yellow ink across the exposed areas.
- I moved the stencil, changing the angle dramatically: this time it began slightly lower on the left and moved to the upper left of the card face. I repeated the same three colours in the exposed areas.
- I placed the card face in my stamp positioner and used Versafine Onyx to add the musical staff, the treble clef and the birds.
- I created a textured surface by placing the card face in an embossing folder and running it through the Big Shot.
- I ran the edges of the card face over the yellow ink pad to create an irregular border, and then lightly touched it to the textured surface in several places to bring more colour to the background.
Other:
- I stamped the sentiment using Versafine Onyx, and then cut it down to size with a stitched rectangle die.
Assembly
- I glued the card face to the card base.
- I added the sentiment, nestled in beside the treble clef as shown.
- I added tiny, iridescent butterflies as a finishing touch
Final Thoughts:
This is a stamp set that I don’t often get to play with, so I was delighted to get it out and pair it with this musical stencil.
If I were to recreate this card, I would stamp the sentiment directly onto the card face before embossing it: I don’t think it’s necessary to have it on a separate piece of cardstock, as it is in this example.
Supplies: (and links where possible)
I have listed the products I have used and where to purchase them. It’s a huge marketplace, and in most instances, there are multiple sources and many alternatives to choose from.
Stencil: Music, A Colorful Life Designs
Waffle Flower Grip Mat, 8.5 x 6.5, Scrapbook.com
Stamps: Stampin’ Up! (retired)
Dies: Stampin’ Up! (retired)
Ink: Stampin’ Up!
Blending Brushes: Stampin’ Up!
Versafine Onyx, Simon Says Stamp
Adhesive: Tombow Aqua, Michaels
Card Base & Card Face: Accent 100 lb., Amazon
Do you have any comments or thoughts on this design? Drop me a line in the Comments Section below – I’d love to hear from you!
You can also use the Comments Section to be notified when I release new work.
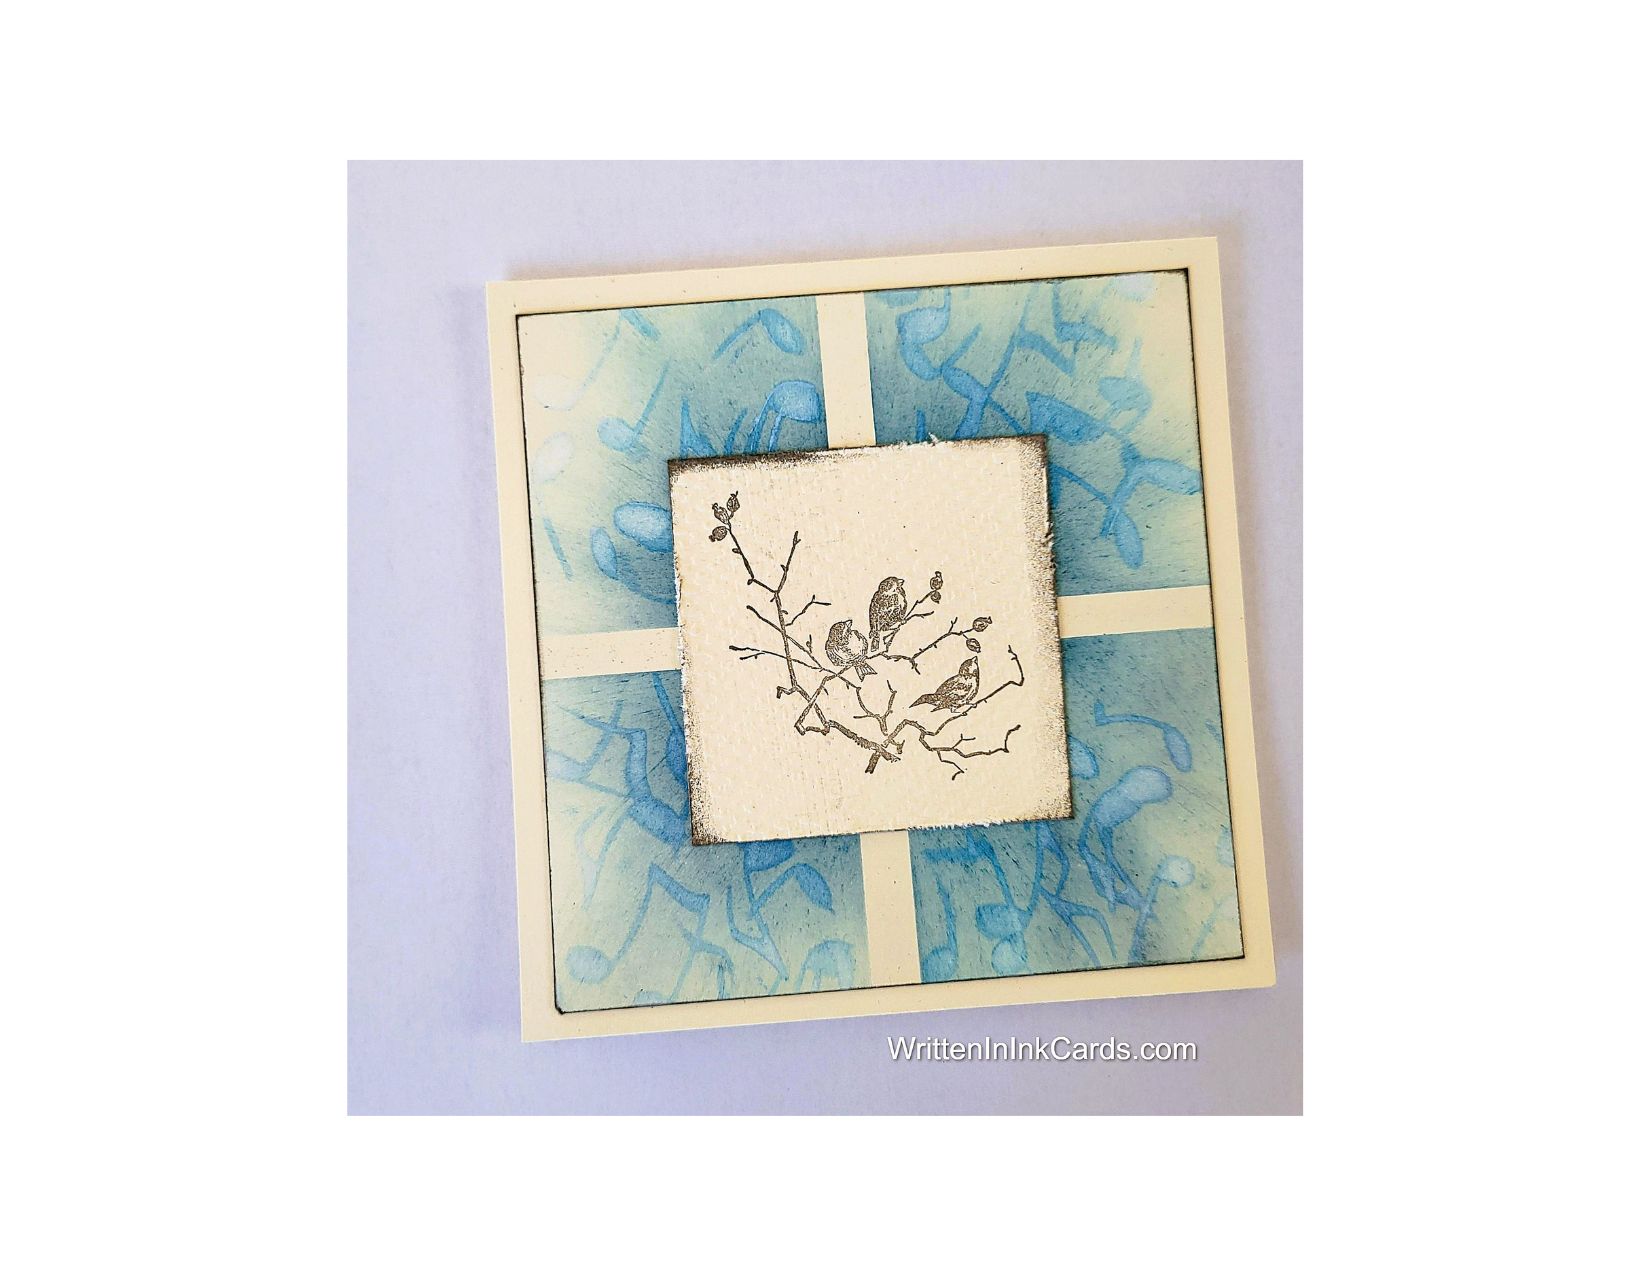
Music stencil