Would you like to experiment with a design like this? You’ll find a supply list below, including a link to the stencils I used from A Colorful Life Designs. Follow the link and use the discount code ChrisFan10 to save 10% on your entire order! (Master Creator Bundles are excluded as they already have a 20% discount built in.)
Let’s get Started:
Card Base: 5.25 x 11, scored and folded at 5.25
Red Border 4.5 x 4.5
Card Face: 4.25 x 4.25
Card Face:
I laid the card face on the grip mat and positioned the trees stencil. I used gray ink and a soft hand across the exposed areas.
I replaced the first stencil with the candle stencil. After masking off the bottom of the candles, I used metallic gold ink on all three holders.
I switched the masking to protect the holders, and also masked off the flames. I pressed my embossing ink pad through the openings for the candles, sprinkled sparkly red embossing powder over top and set it with my heat gun.
After masking off the top of the embossed candles, I used shading brushes to add yellow and red and create candle flames.
Other:
While looking through my sentiments binder, I found this large Merry Christmas sentiment; the large-scale sentiment was perfect for this card.
Assembly
I centered and glued the red border layer on the card base, and then added the card face on top of both.
I added the large sentiment across the middle, as shown.
Final Thoughts:
The candles stencil is a fun, retro item to work with. Using the candles as a group or individually gives you lots of creative options.
In this card I like the pairing of the two stencils – the trees provide just enough detail in the background to fill the empty space. The embossing powder smudged a bit in some of the outlines – I was disappointed to see that (of course, once I had already heat set it).
Supplies: (and links where possible)
I have listed the products I have used and where they can be purchased. It’s a huge marketplace, and in most instances, there are multiple sources and many alternatives to choose from.
Would you like to experiment with a design like this? You’ll find a supply list below, including a link to the stencils I used from A Colorful Life Designs. Follow the link and use the discount code ChrisFan10 to save 10% on your entire order! (Master Creator Bundles are excluded as they already have a 20% discount built in.)
Let’s get Started:
Card Base: 5.25 x 10.5, scored and folded at 5.25
Kraft Border Layer: 5.25 x 5.25
Gold Border Layer: 5 ⅛ x 5 ⅛
Kraft Card Face: 4 ⅞ x 4 ⅞
Card Face:
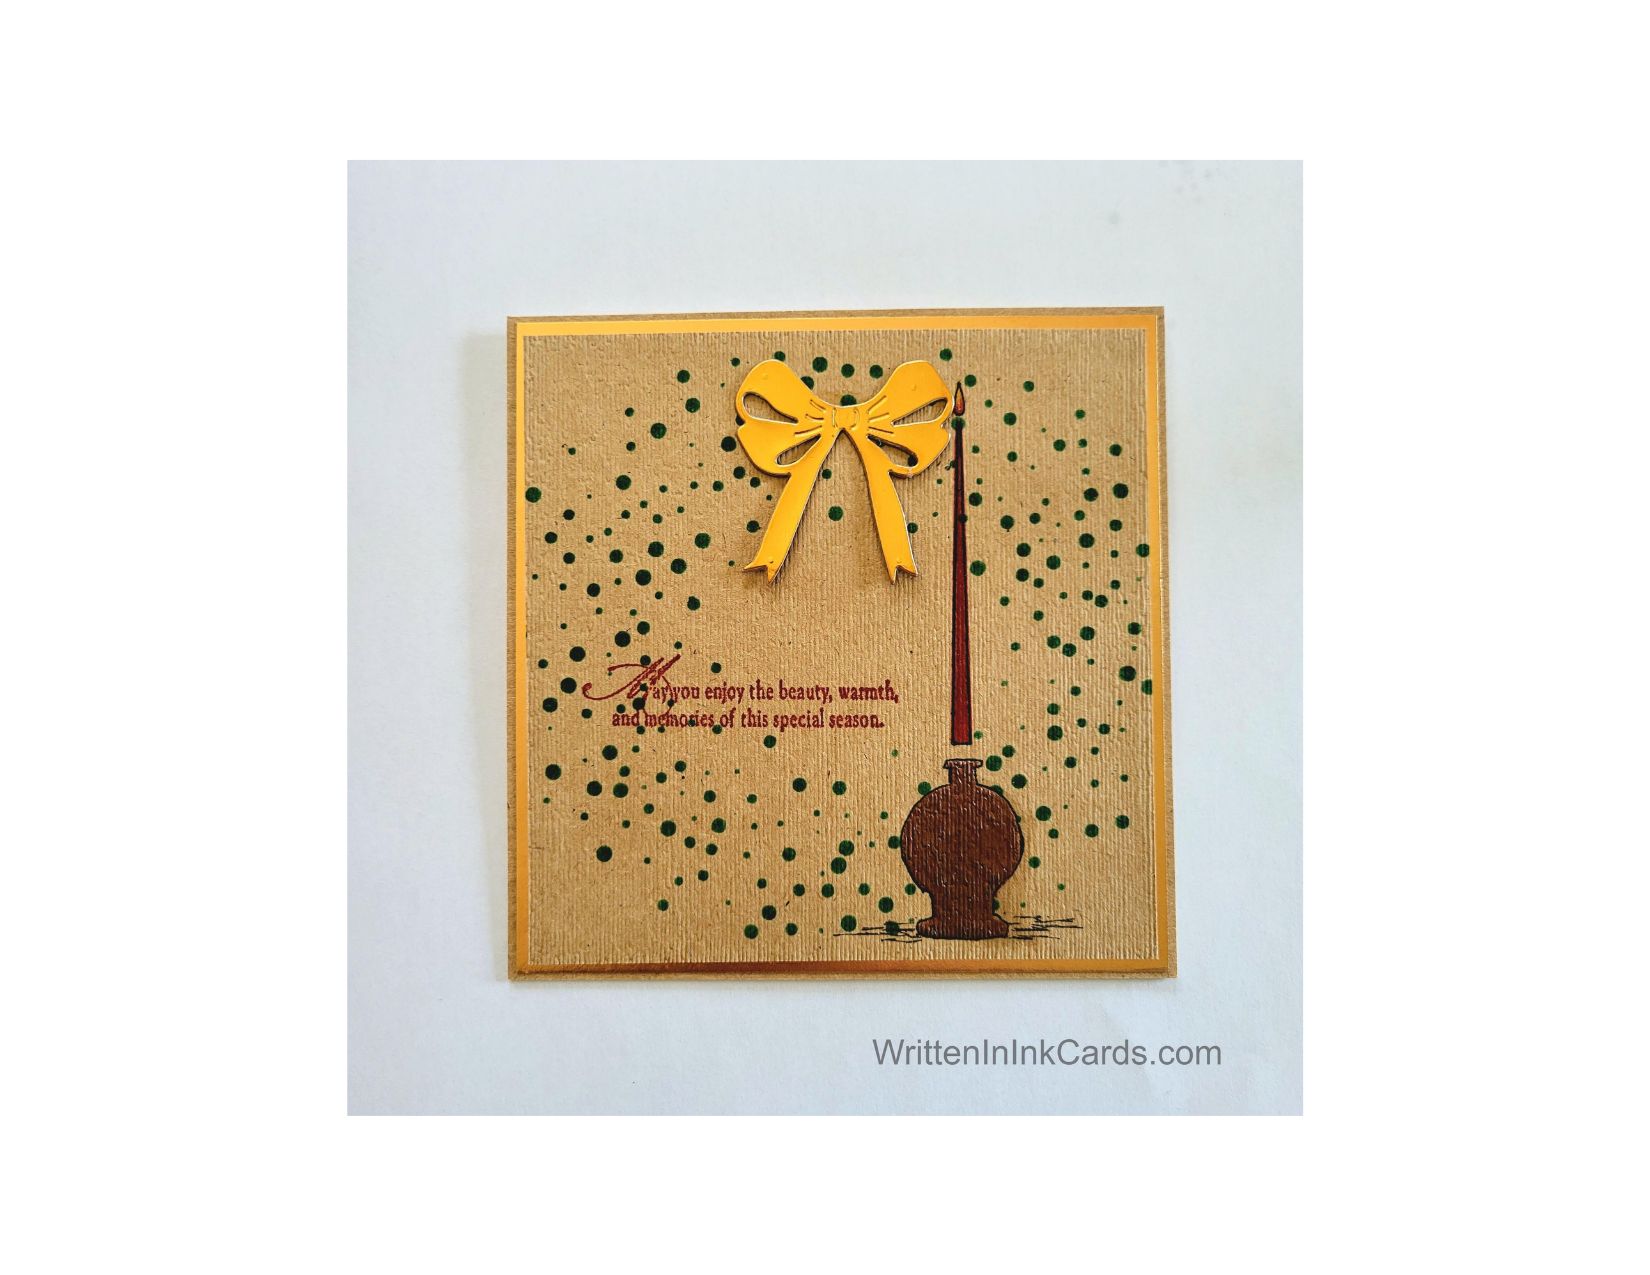
I laid the card face on my grip mat and positioned the wreath stencil. I applied green ink across all exposed areas.
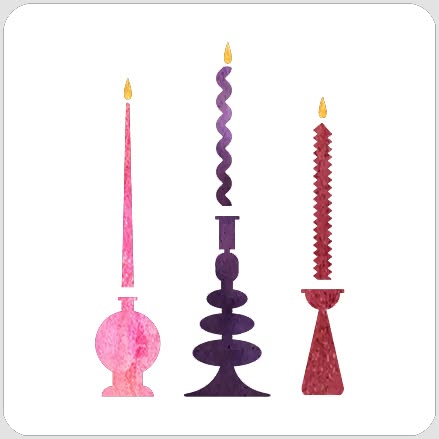
I removed the wreath stencil and positioned the Retro Candles stencil so the one I wanted to use was lined up in the lower right of the card face. (There are three candles on this stencil.)
I masked off the candle and then pressed my Versamark ink pad through the opening for the candle holder. I sprinkled gold embossing powder over the wet ink and set it with my heat gun.
After masking off the top of the candle holder and the flame on top of the candle, I applied red ink to the candle itself.
Next, I masked off the top of the candle, used shading brushes to add yellow ink to create the flame, and then added a touch of red at the base.
I traced all parts of the candle and candle stick with a fineliner to provide definition.
I used a light grey alcohol marker to shade the right-hand side of the candle holder, and a black micro liner to add fine black lines to indicate a surface.
I put the card face into my stamp positioner and added the sentiment in the same red as the candle.
I put the card face in an embossing folder and ran it through my Big Shot to add surface texture.
Other:
I used a die and a scrap of gold foil to create the bow.
Assembly
I glued the kraft border layer to the card base.
I centered the gold border layer on top of these, and then the card face on top of all.
I glued the gold bow to the top of the wreath.
Final Thoughts:
This card has a timeless feel, and I love the kraft/gold foil combination.
Supplies: (and links where possible)
I have listed the products I have used and where they can be purchased. It’s a huge marketplace, and in most instances, there are multiple sources and many alternatives to choose from.
Do you have any comments or thoughts on this design? Drop me a line in the Comments Section below – I’d love to hear from you!
You can also use the Comments Section to be notified when I release new work.
Would you like to experiment with a design like this? You’ll find a supply list below, including a link to the stencils I used from A Colorful Life Designs. Follow the link and use the discount code ChrisFan10 to save 10% on your entire order! (Master Creator Bundles are excluded as they already have a 20% discount built in.)
Let’s get Started:
Card Base: 5.25 x 10.5, scored and folded at 5.25
Kraft Border Layer: 5.25 x 5.25
Gold Border Layer: 5 ⅛ x 5 ⅛
Kraft Card Face: 4 ⅞ x 4 ⅞
Card Face:
I laid the card face on my grip mat and positioned the wreath stencil. I applied green ink across all exposed areas.
I removed the wreath stencil and positioned the Retro Candles stencil so the one I wanted to use was lined up in the lower right of the card face. (There are three candles on this stencil.)
I masked off the candle and then pressed my Versamark ink pad through the opening for the candle holder. I sprinkled gold embossing powder over the wet ink and set it with my heat gun.
After masking off the top of the candle holder and the flame on top of the candle, I applied red ink to the candle itself.
Next, I masked off the top of the candle, used shading brushes to add yellow ink to create the flame, and then added a touch of red at the base.
I traced all parts of the candle and candle stick with a fineliner to provide definition.
I used a light grey alcohol marker to shade the right-hand side of the candle holder, and a black micro liner to add fine black lines to indicate a surface.
I put the card face into my stamp positioner and added the sentiment in the same red as the candle.
I put the card face in an embossing folder and ran it through my Big Shot to add surface texture.
Other:
I used a die and a scrap of gold foil to create the bow.
Assembly
I glued the kraft border layer to the card base.
I centered the gold border layer on top of these, and then the card face on top of all.
I glued the gold bow to the top of the wreath.
Final Thoughts:
This card has a timeless feel, and I love the kraft/gold foil combination.
Supplies: (and links where possible)
I have listed the products I have used and where they can be purchased. It’s a huge marketplace, and in most instances, there are multiple sources and many alternatives to choose from.