
Would you like to experiment with a design like this? You’ll find a supply list below, including a link to the stencil I used from A Colorful Life Designs. Follow the link and use the discount code ChrisFan10 to save 10% on your entire order! (Master Creator Bundles are excluded as they already have a 20% discount built in.)
Let’s get Started:
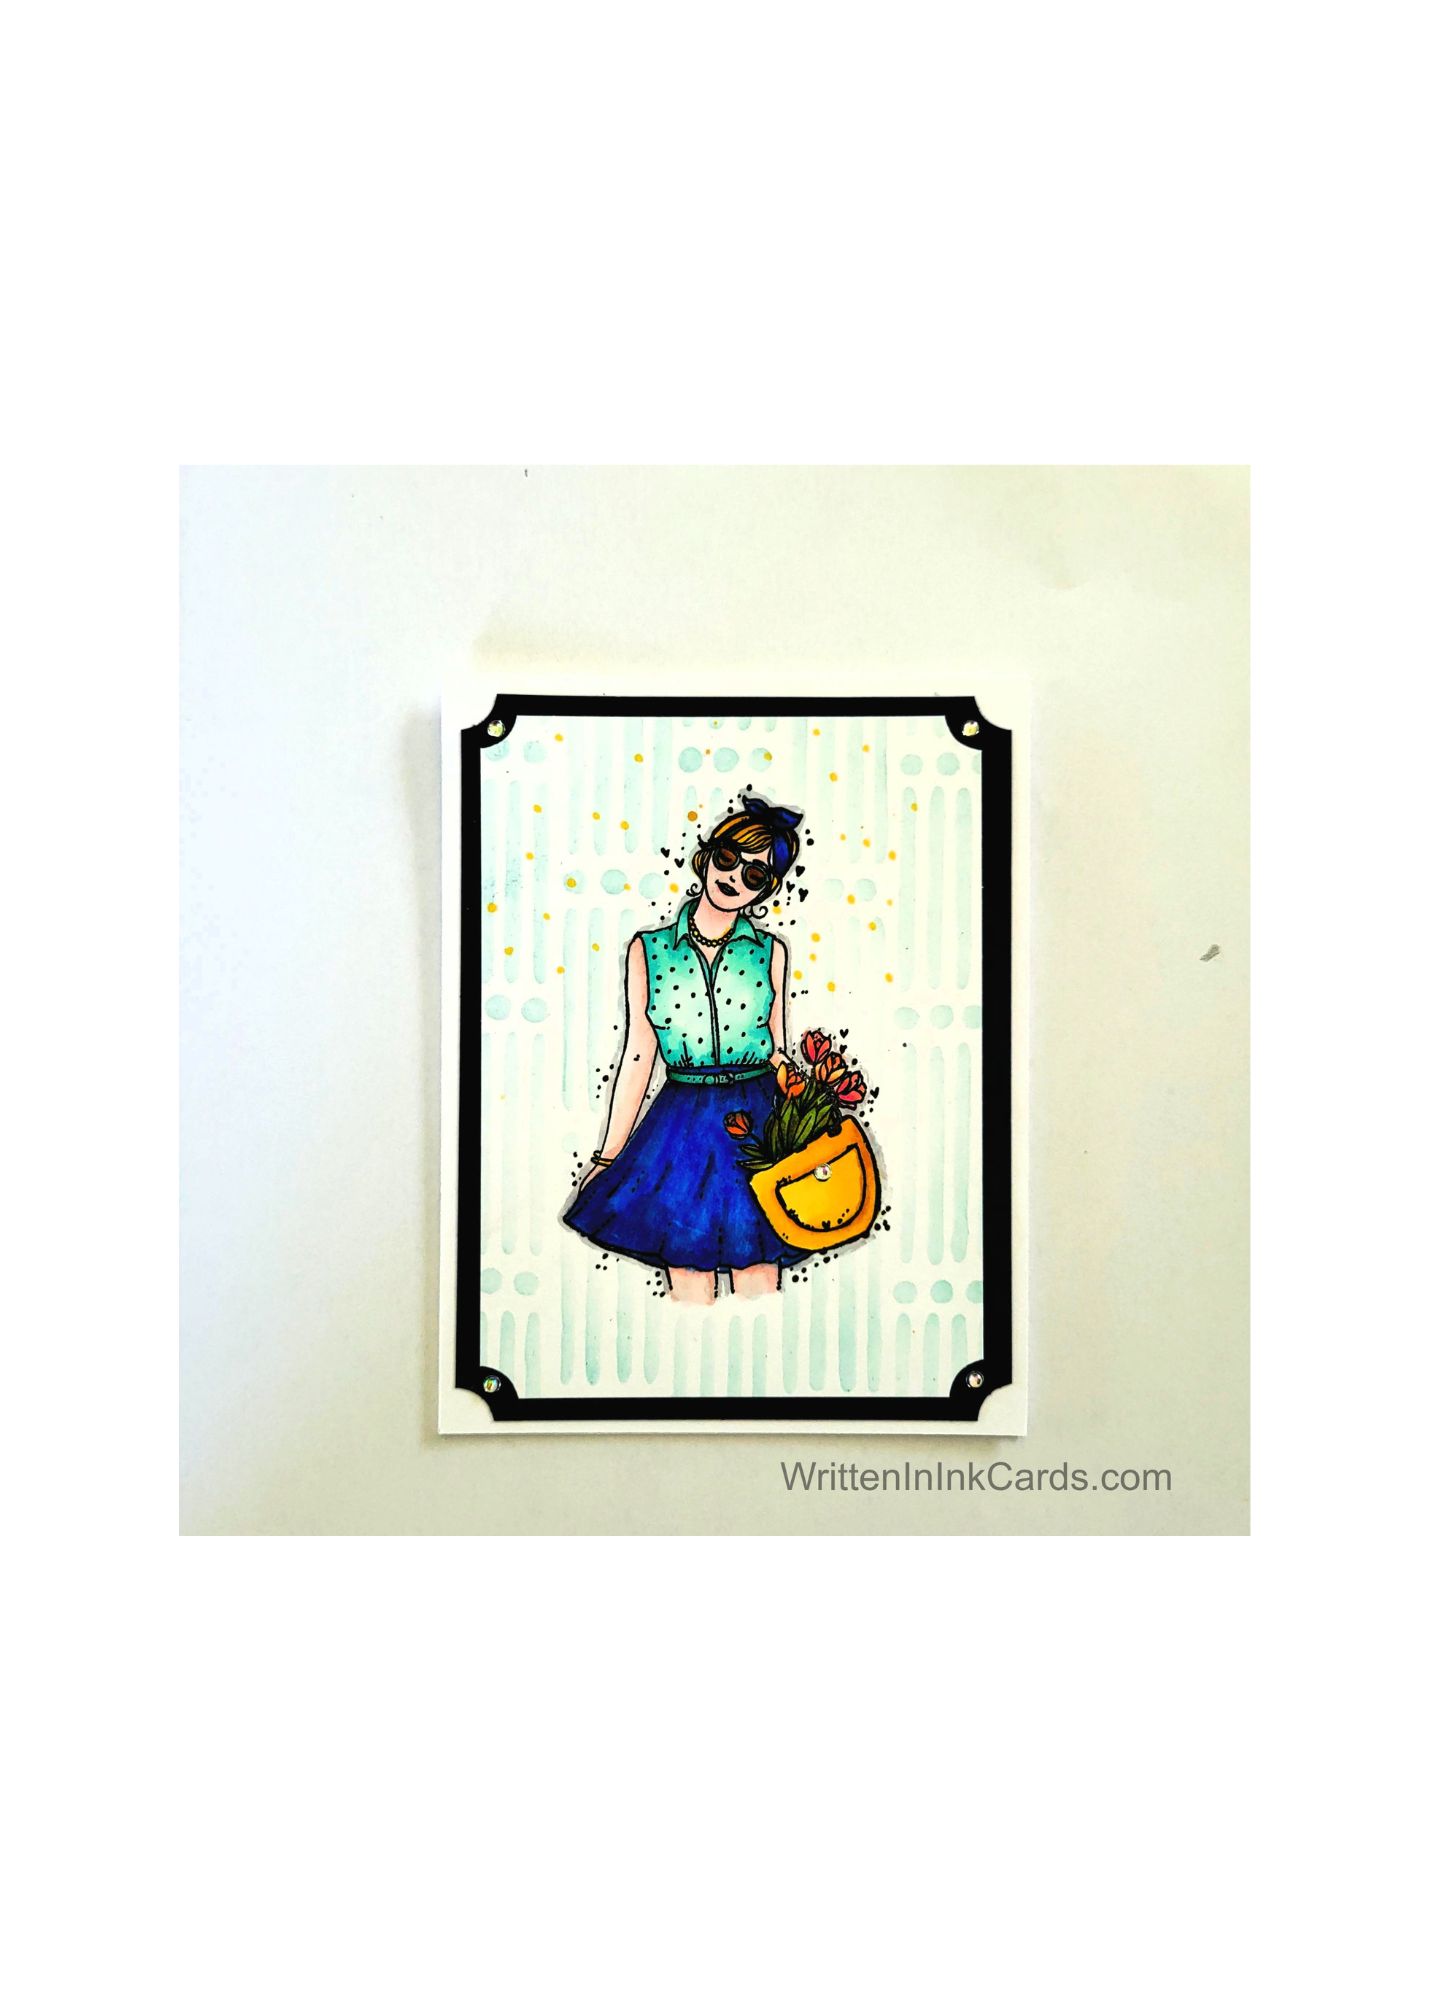
Card Base: 5.5 x 8.5, scored and folded at 4.25
Border Layer: 5.25 x 4
Card Face: 5 x 3.75
Card Face:
- I placed the card face in my stamp positioner and stamped the image with Memento ink.
- I coloured the image with alcohol markers.
I made an error colouring her eyes/glasses:- while adding the fllesh tones behind her glasses I touched the green, and it was transferred to her skin. I couldn’t fix it entirely, so I made the best of the situation by turning them into sunglasses.
When I was almost done colouring, I noticed a couple of spots of yellow ink on the card face, above the girl. Rather than toss it – wasting materials and time – I added more yellow dots, turning the boo boo into a design detail.
- I moved the card face to my grip mat and positioned the stencil. I avoided inking over the stamped and coloured image, but used light aqua ink on all other exposed areas on the stencil.
- I traced around the girl with a light grey marker – this made her stand out more from the background.
- I used a corner chomper on each corner.
Other:
- I used the same chomper on the border layer.
Assembly
- I glued the border layer to the card base and added the card face on top centering both layers carefully.
- I added a small round embellishment to each corner, as well as one over the clasp on the purse.
Final Thoughts:
This is such a happy pairing – the stencil and stamp work really well together.
I will add a sentiment when it’s time to send the card – right now I don’t know how I want to use it.
I’m glad I was able to fix the errors on the fly and salvage the card.
Supplies: (and links where possible)
I have listed the products I have used and where they can be purchased. It’s a huge marketplace, and in most instances, there are multiple sources and many alternatives to choose from.
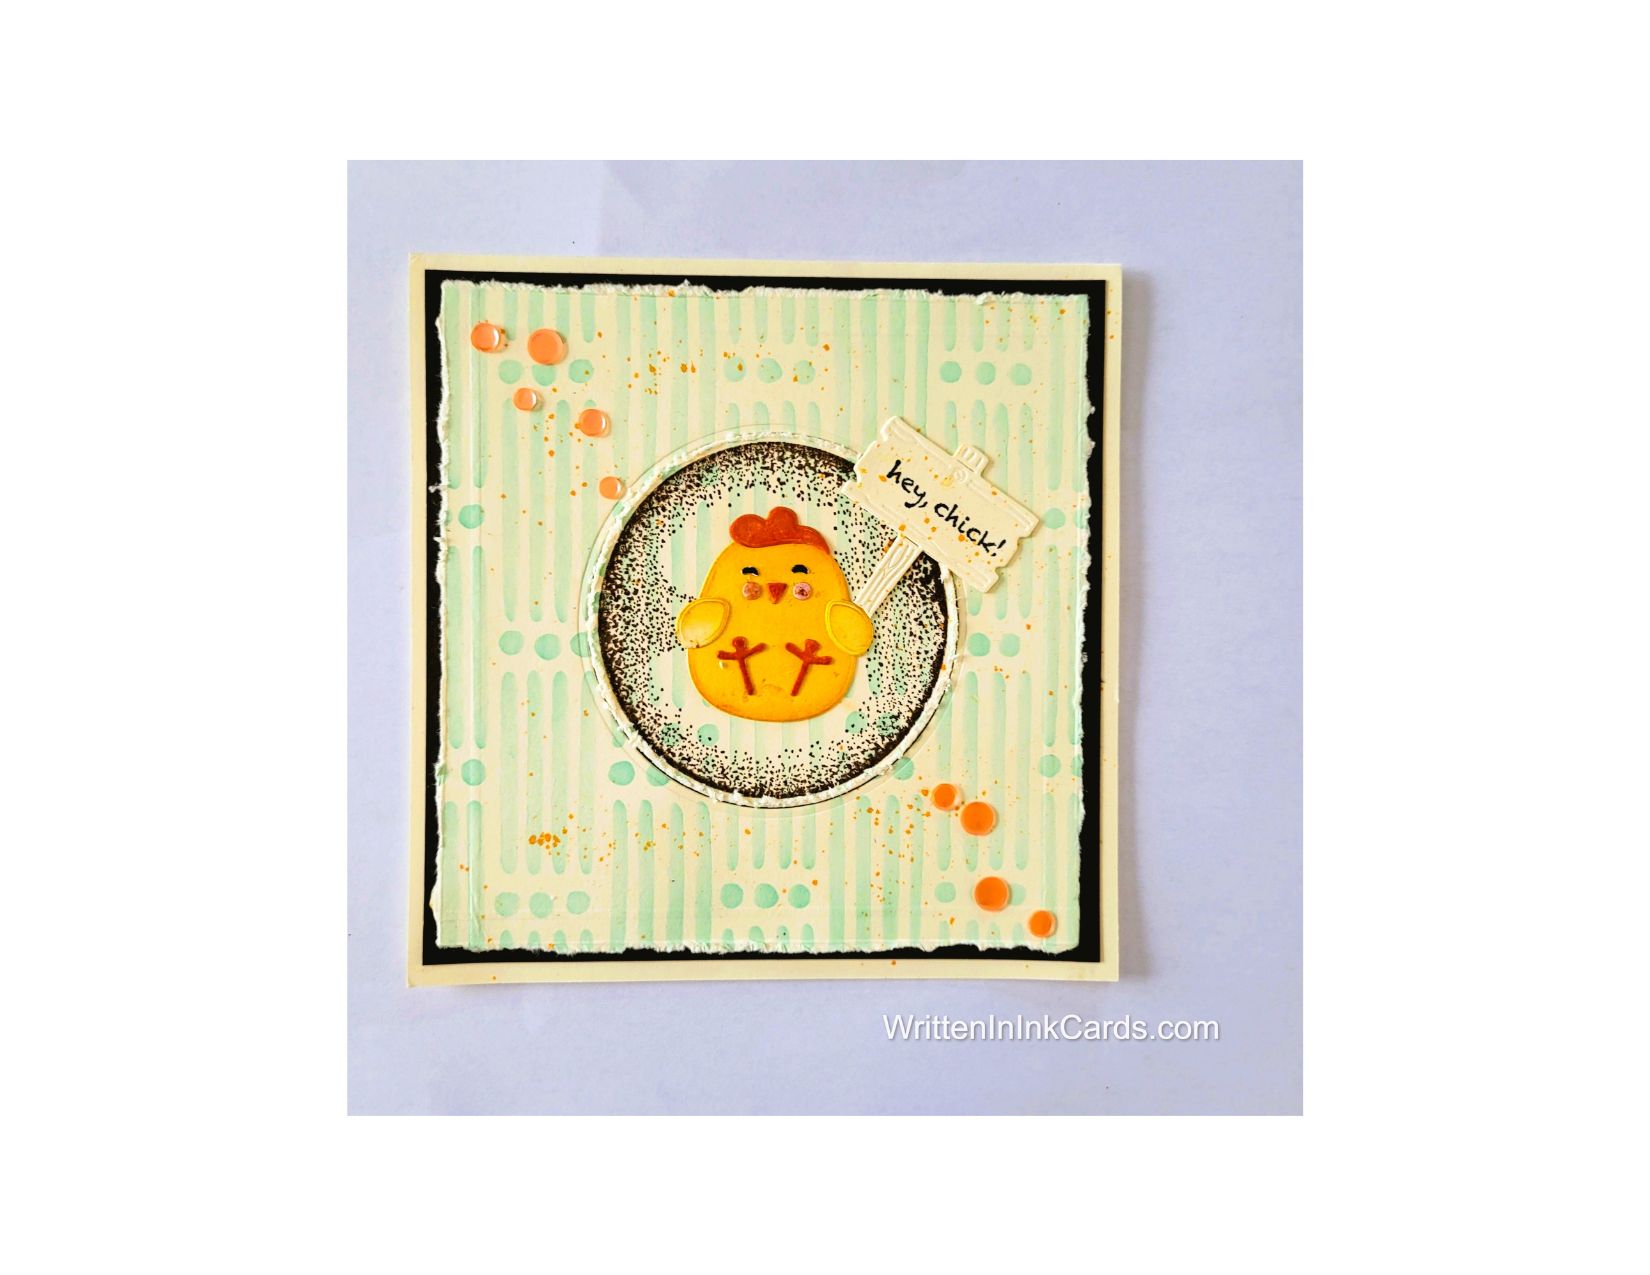
Stencil: Lines and Dots, A Colorful Life Designs
Stamps: Hello Sunshine Girl, Unity Stamps
Ink: Stampin’ Up!
Blending Brushes: Stampin’ Up!
Memento Ink: Stampin’ Up!
Alcohol Markers:
Stampin’ Blends: Stampin’ Up!
Copics: Wallacks
Adhesive: Tombow Aqua, Michaels
Card Base & Card Face: Accent 100 lb., Amazon
Do you have any comments or thoughts on this design? Drop me a line in the Comments Section below – I’d love to hear from you!
You can also use the Comments Section to be notified when I release new work.
Lines and Dots