
handWould you like to experiment with a design like this? You’ll find a supply list below, including a link to the stencil I used from A Colorful Life Designs. Follow the link and use discount code ChrisFan10 to save 10% on your entire order! (Master Creator Bundles are excluded as they already have a 20% discount built in.)
Let’s get Started:
Card Base: 5.5 x 8.5, scored and folded at 4.25
Black Border: 5.5 x 4.25
Card Face: 5.5 x 4 1/8
Card Face:
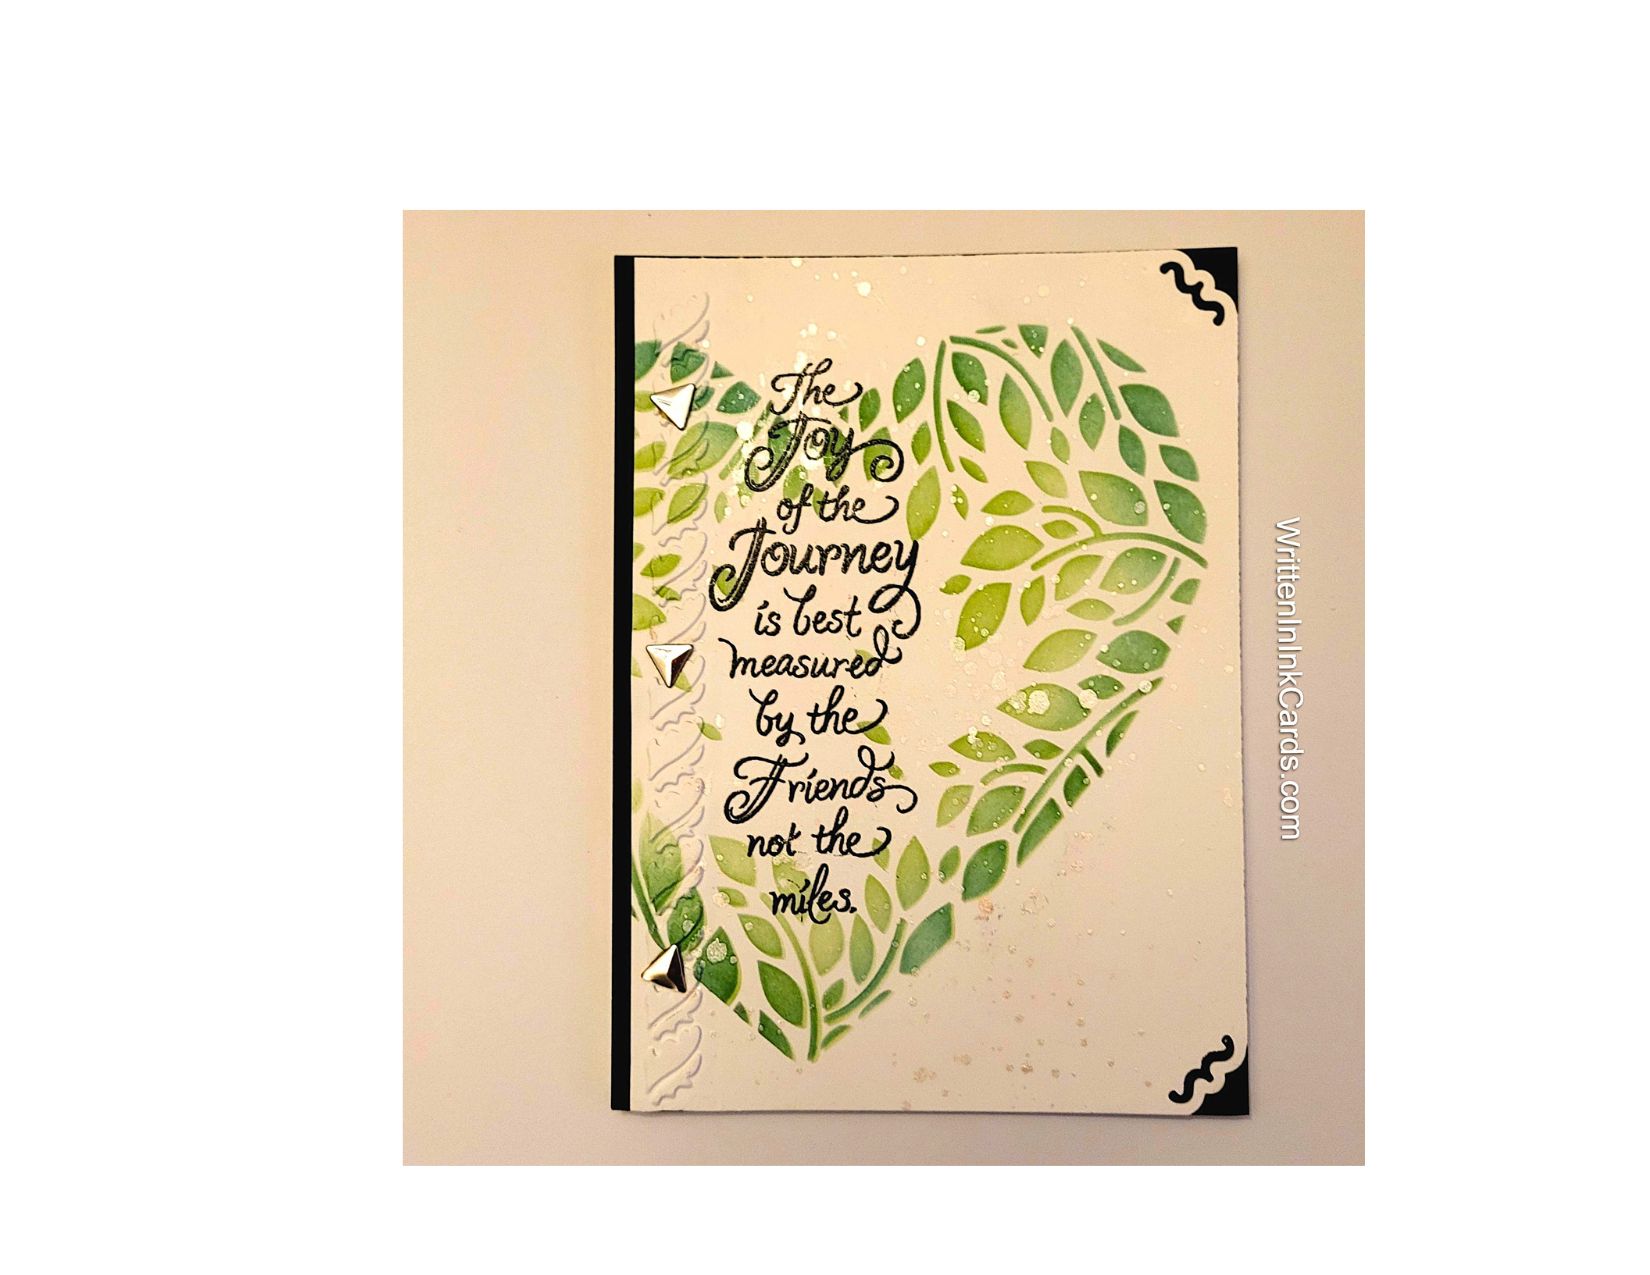
- I laid the card face onto my Grip Mat and positioned the stencil so that it was hanging off the left-hand side.
- I applied light green ink across all open areas, and then applied dark green ink around the edges, building up intensity gradually.
- I put the card face into the stamp positioner and added the sentiment with Versafine Onyx.
- I sprinkled the ink with clear embossing powder while it was still wet, and set it with my heat gun. This intensified the sentiment, making it stand out from the leafy background.
- I positioned a very narrow embossing folder (½” wide) on the left-hand side of the card face and ran this through the Big Shot.
- I spattered white metallic watercolour over the card face.
- I used a punch on both top and bottom corners of the right-hand edge of the card face.
Assembly
- I glued the black border layer to the card base.
- I glued the card face on top of these, aligning snugly on the right-hand edge and leaving a ⅛” border on the left.
- I added three small metallic embellishments to the left-hand edge, on top of the embossing.
Final Thoughts:
The various colours and textures work well together in this design.
Supplies: (and links where possible)
I have listed which products I have used, and where they may be purchased. It’s a huge marketplace and in most instances, there are multiple sources and many alternatives to choose from.
Stencil: Leafy Heart Frame, A Colorful Life Designs
Waffle Flower Grip Mat, 8.5 x 6.5, Scrapbook.com
Clear Embossing Powder, Wow, Simon Says Stamp
Stamps: The Joy of the Journey, Stampendous , Amazon
Metallic Water Colour: Amazon
Ink: Stampin’ Up!
Blending Brushes: Stampin’ Up!
Versafine Onyx, Simon Says Stamp
Adhesive: Tombow Aqua, Michaels
Card Base & Card Face: Accent 100 lb., Amazon
Do you have comments or thoughts to share on this design? Drop me a line in the Comments Section below – I’d love to hear from you!
You can also use the Comments Section to be notified when I release new work
Leafy Heart Frame by A Colorful Life Designs