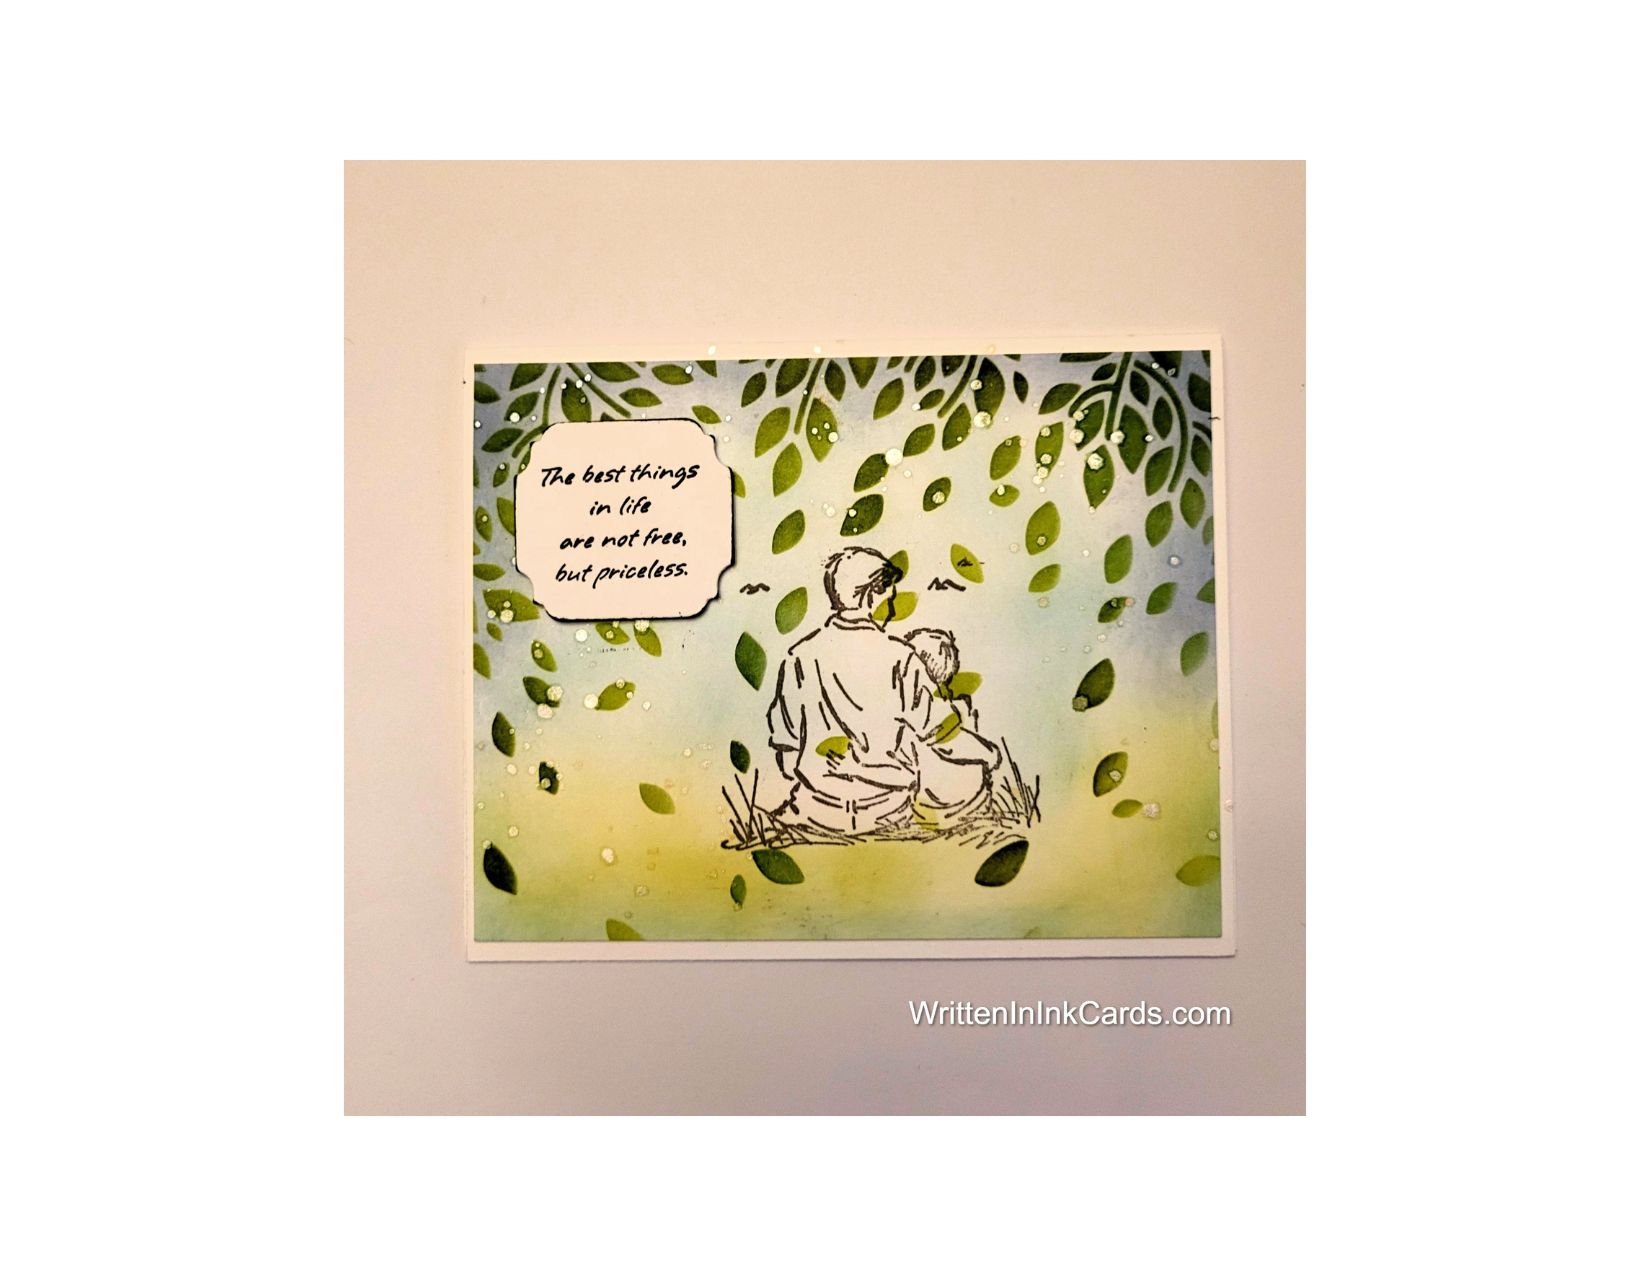

Would you like to experiment with a design like this? You’ll find a supply list below, including a link to the stencil I used from A Colorful Life Designs. Follow the link and use discount code ChrisFan10 to save 10% on your entire order! (Master Creator Bundles are excluded as they already have a 20% discount built in.)
Let’s get Started:
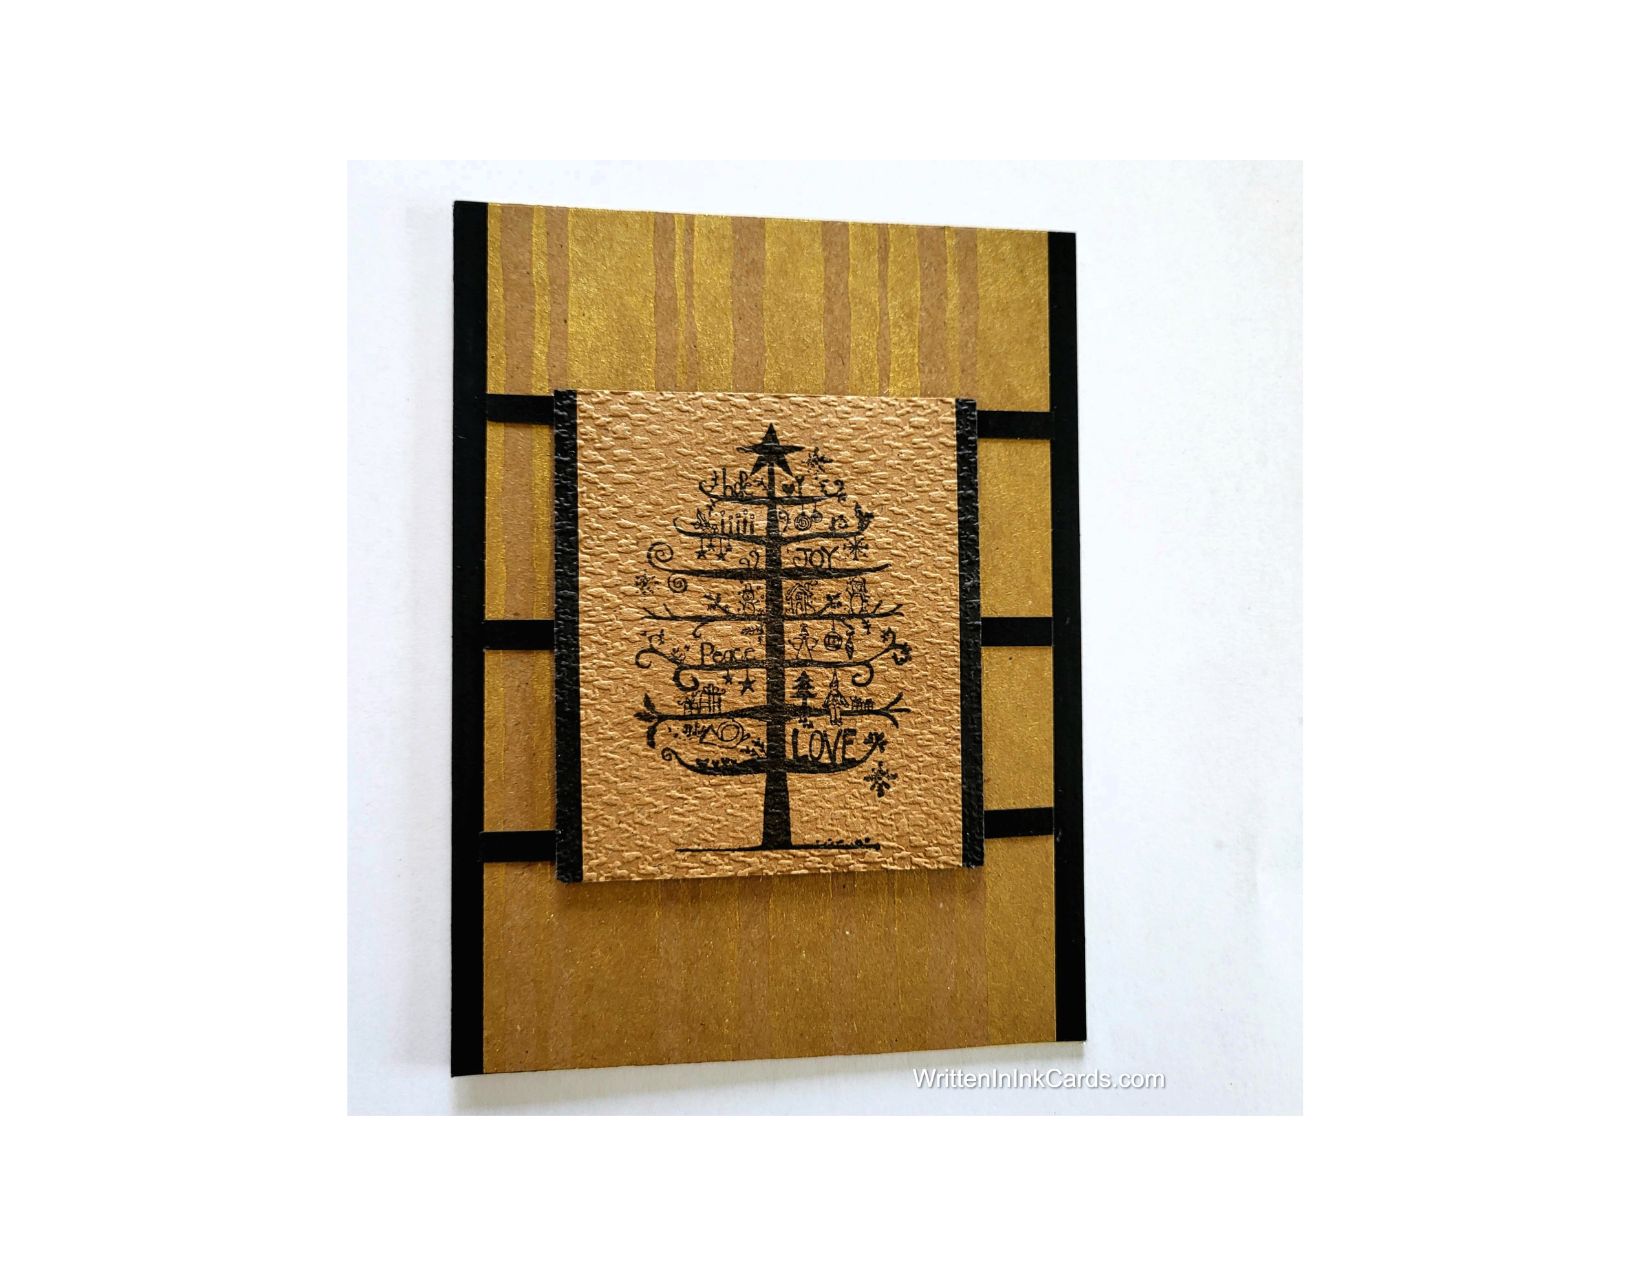
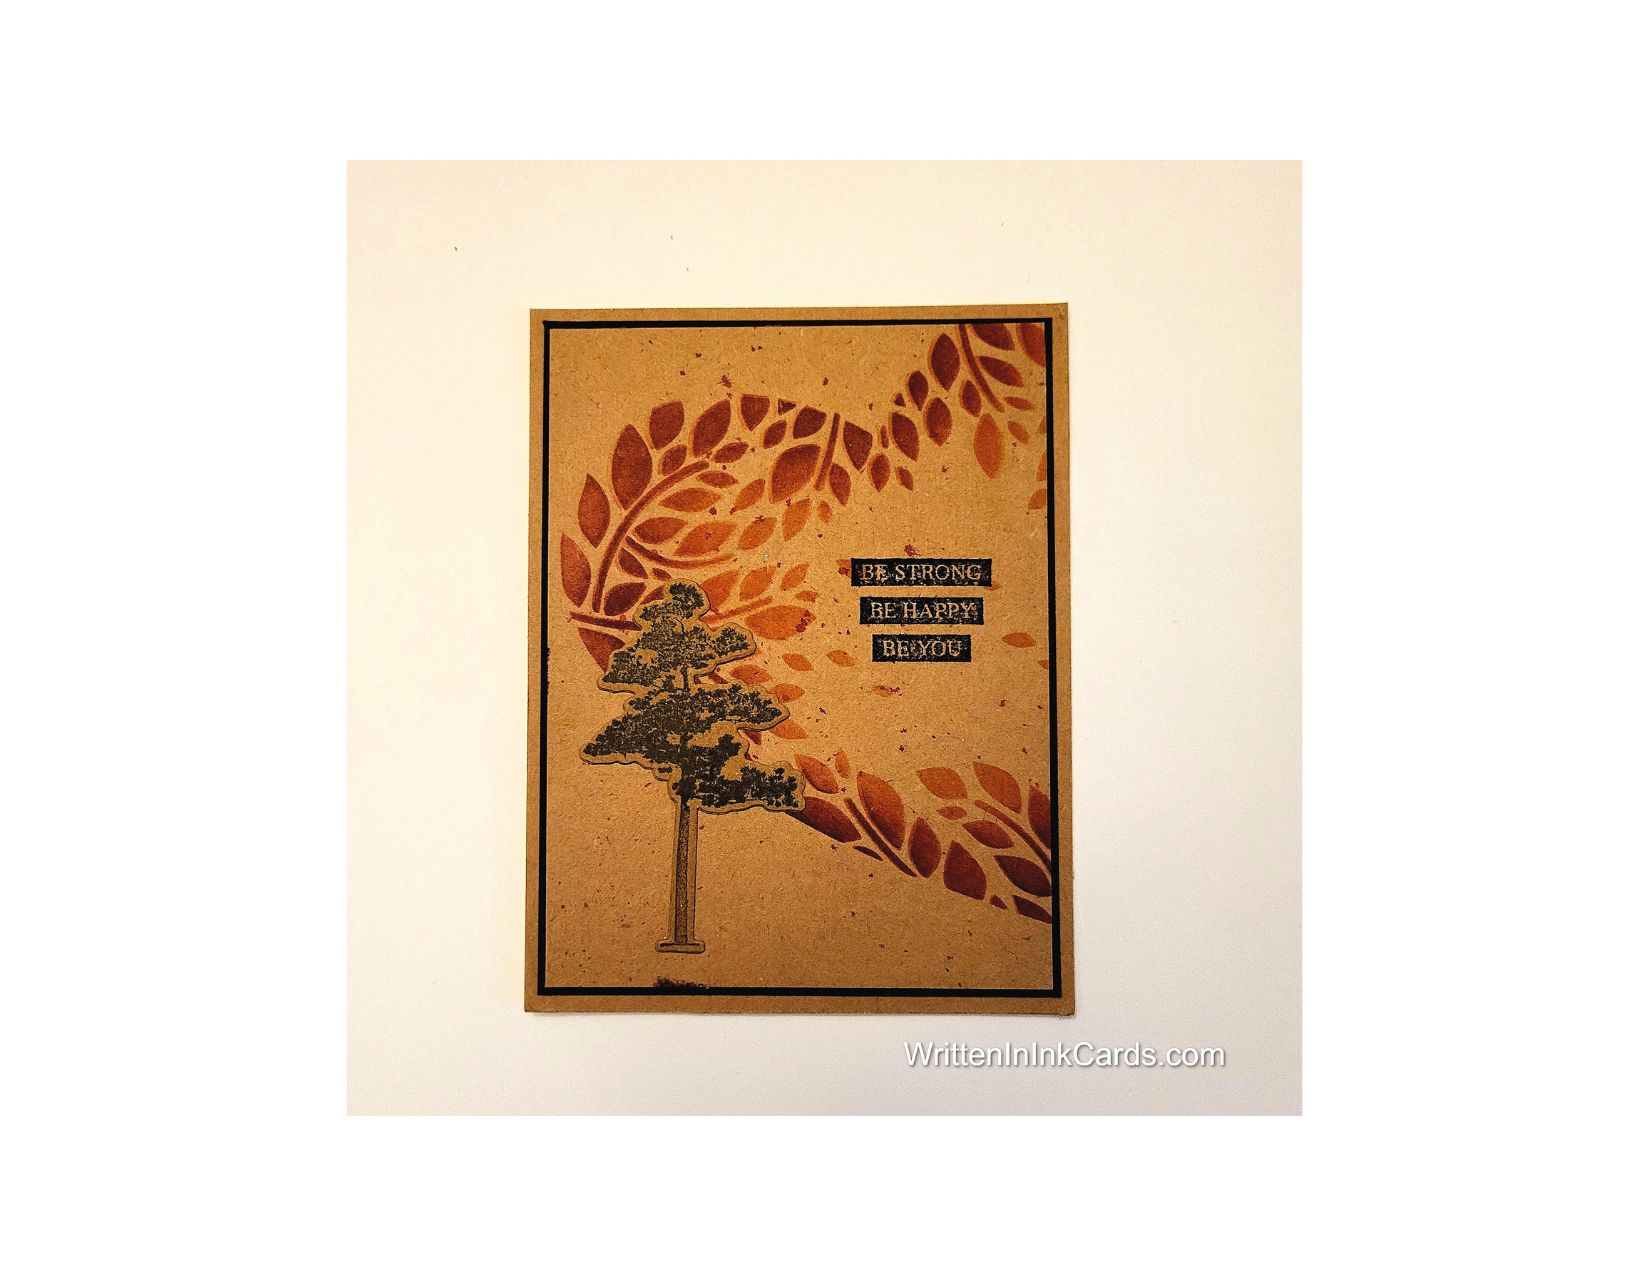
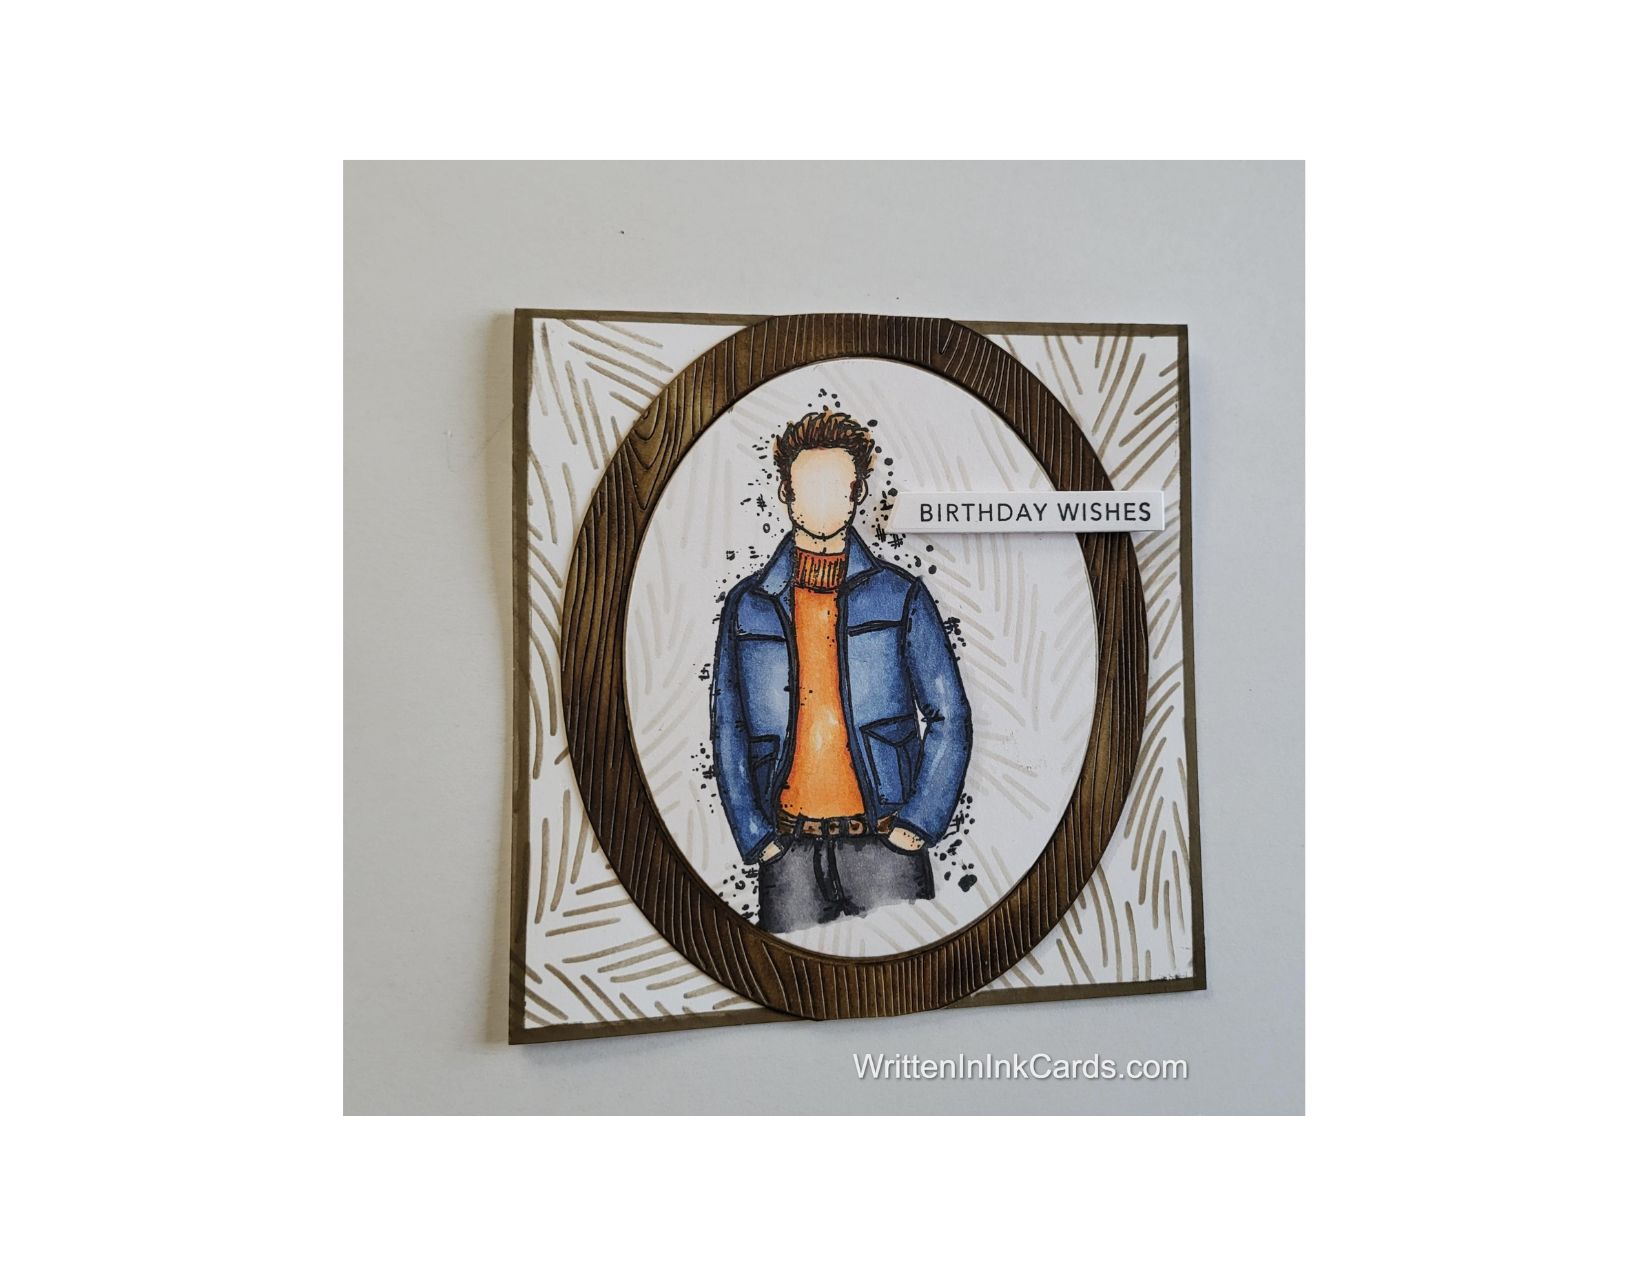
Card Base: 5.25 x 10.5, scored at 5.25
Border Layer: 5 x 5
Card Face: 5 x 5
Frame: 5 x 5 (before die cutting)
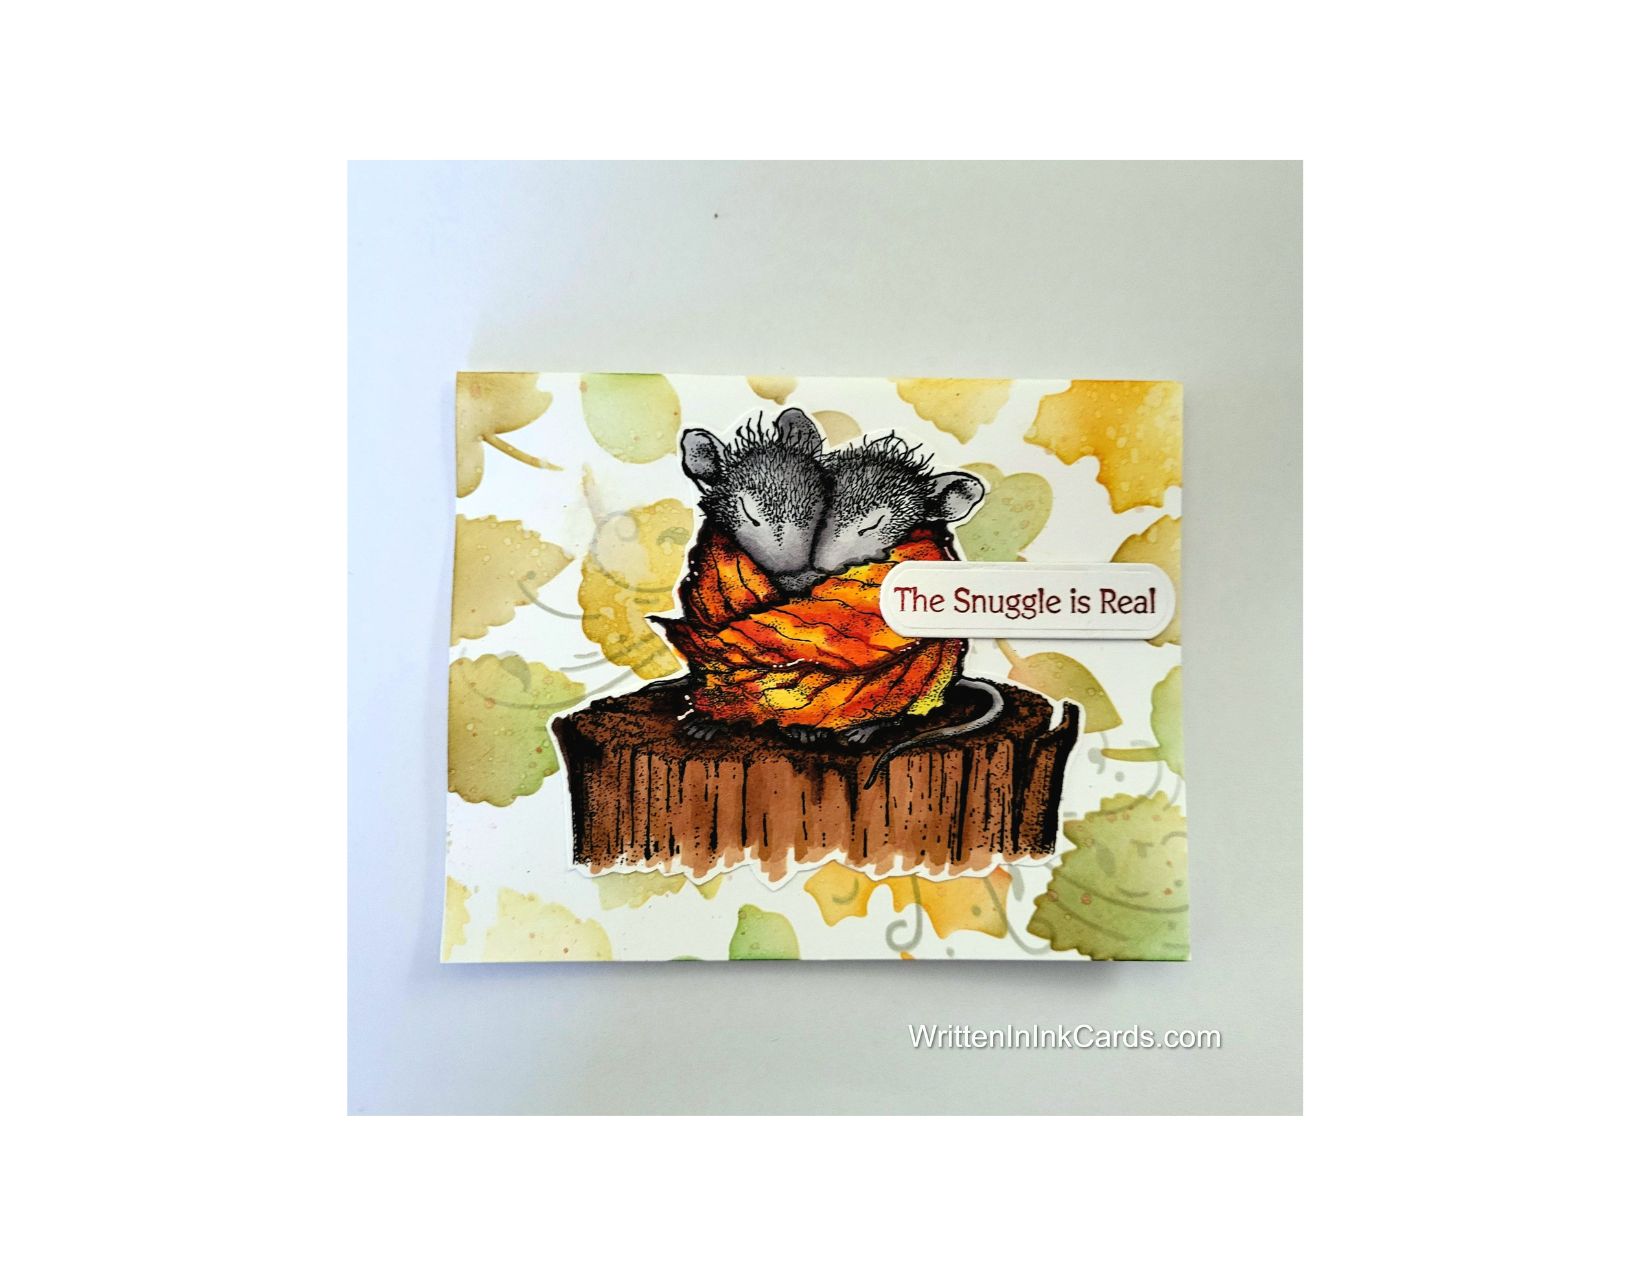
I had stamped and coloured this image, then set it aside in my “someday” pile. This stencil gave me the perfect opportunity (and the inspiration) to put this handsome fellow to use.
Card Face:
- I laid the card face down on the Grip Mat and positioned the stencil. I applied brown ink with a light, careful hand – avoiding the pre-coloured figure.
- Using the frame die as a guide, I cut the card face down to a size slightly smaller than the finished frame would be.
Other:
- I put the border layer onto the Grip Mat and positioned the stencil once again. I used the same brown ink with a heavier hand on this piece, covering all exposed areas.
- Next, I worked on the piece for the frame: I started with white cardstock, positioned the die, and ran it through the Big Shot.
- After removing the cardstock from the die, I used a medium brown ink over the entire frame, allowing a random variation in the depth of tone.
- I finished this off by bringing in a dark brown ink and using it here and there on the frame, increasing the variation in tone.
- I selected a sentiment from my Sentiment binder (I love having them ready and waiting when I need one).
Assembly
- I glued the border layer to the card base, centering it on all sides.
- I glued the frame on top of the cut-down card face.
- I glued this new combination on top of the border layer, centering carefully.
- I put dimensional foam on the back of the sentiment, and put it in place as shown.
Final Thoughts:
This is so far from my first thoughts about how to use this stencil – but how perfect is this for a masculine card?
I’m really happy with the way this turned out.
Supplies: (and links where possible)
I have listed which products I have used, and where they may be purchased. It’s a huge marketplace and in most instances, there are multiple sources and many alternatives to choose from.
Stencil: Close Up Branches, A Colorful Life Designs
Waffle Flower Grip Mat, 8.5 x 6.5, Scrapbook.com
Stamps: Zeke Guy, Unity Stamps
Dies: Oval Woodgrain Frame, Hero Arts, Amazon
Ink: Stampin’ Up!
Blending Brushes: Stampin’ Up!
Versafine Onyx, Simon Says Stamp
Memento Ink: Stampin’ Up!
Alcohol Markers:
Stampin’ Blends: Stampin’ Up!
Copics: Wallacks
Adhesive: Tombow Aqua, Michaels
Card Base & Card Face: Accent 100 lb., Amazon
Do you have comments or thoughts to share on this design? Drop me a line in the Comments Section below – I’d love to hear from you!
You can also use the Comments Section to be notified when I release new work.
Close Up Branches by A Colorful Life Designs