Tag: butterflies

  • Create a Stunning Butterfly Card with Stencils

    Create a Stunning Butterfly Card with Stencils

    Would you like to experiment with a design like this? You’ll find a supply list below, including a link to the stencil I used from A Colorful Life Designs.  Follow the link and use the discount code ChrisFan10 to save 10% on your entire order! (Master Creator Bundles are excluded as they already have a 20% discount built in.)

    Let’s get Started:

    Card Base: 5.5 x 8.5, scored and folded at 4.25

    Card Face:  5.25 x 4

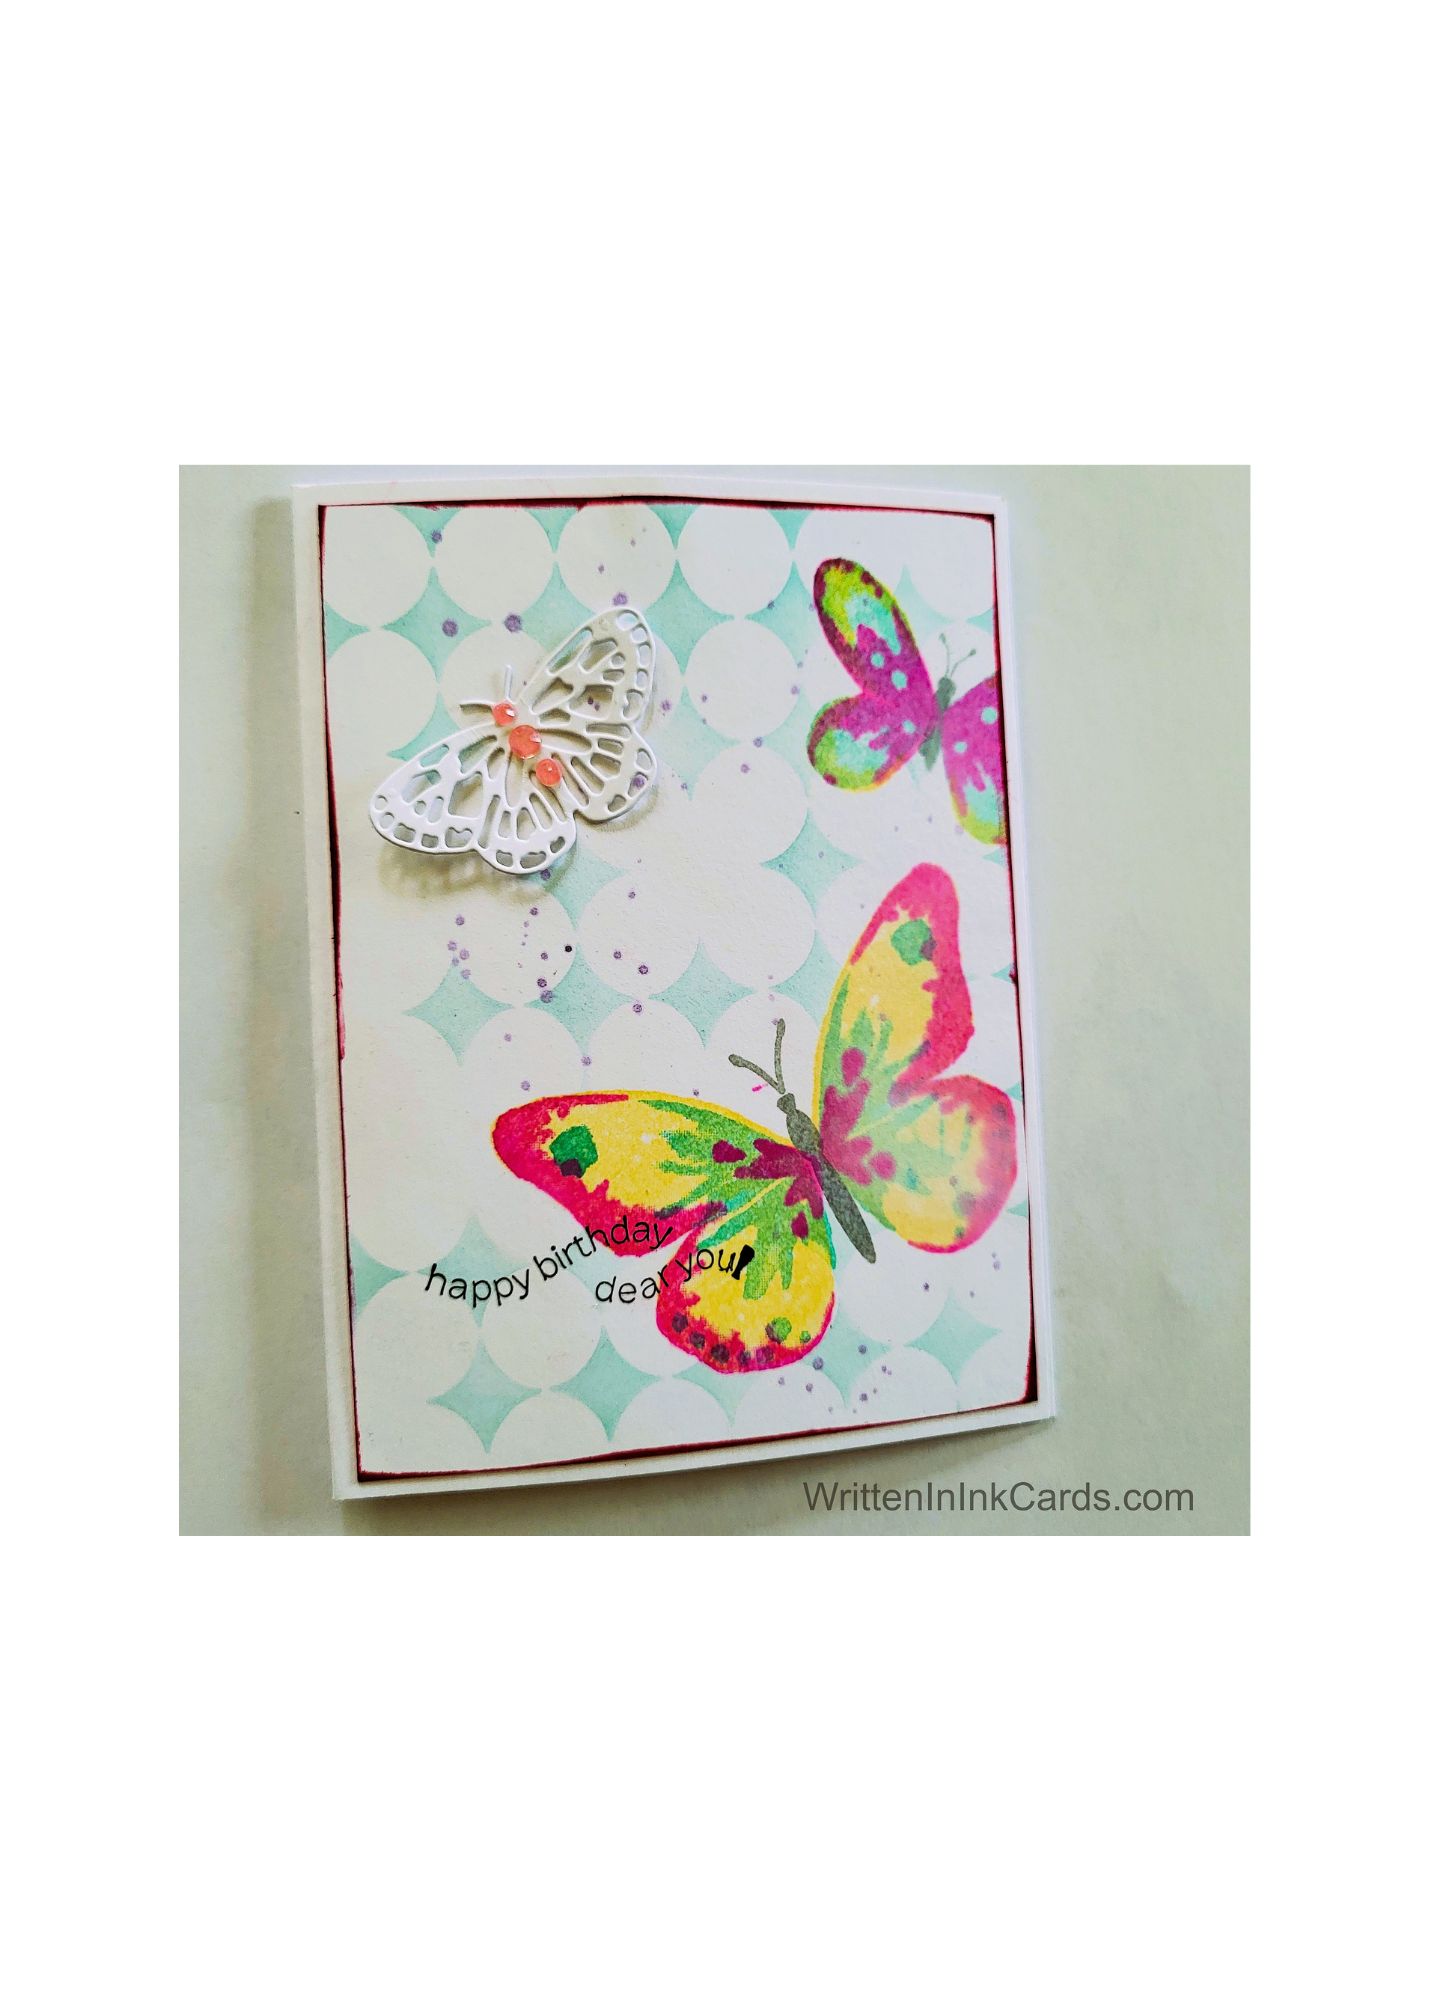
    This card began with a card face I had already created and then set aside because I just couldn’t decide how to finish it. I had stamped the butterflies (using triple-layer stamping to achieve the colours) with a set called Watercolour Wings; to intensify the soft edges in the faux watercolour, I spritzed the panel with water, allowing the colours to blend and bleed a little.

    Card Face:

    • I laid the card face on the grip mat and positioned the stencil. 
    • Avoiding the butterflies,  I applied light blue with a soft hand, allowing the depth of colour to vary during application.
    • After covering the butterflies with scraps of copy paper, I added purple spatter using metallic watercolour paint.
    • I put the card face into the stamp positioner and added the sentiment in black,  stamping 3x to get the saturation and visibility I wanted.
    • I ran the edges of the card face over my black ink pad, gently bending them here and there to let the ink move into the card face.

    Other:

    • I die-cut a white butterfly from scrap cardstock,   and coloured the body orange.
    •   I used a white gel pen to add detail to the orange.

    Assembly

    • I put dimensional foam on the back of the card face, and then centered it on the card base.
    • I glued the white butterfly towards the upper left of the card face.

    Final Thoughts:

    I normally use a very minimal palette with my cards  (2 colours max),  but I love this colourful card.  Although this isn’t a cloud stencil, the use of blue behind the butterflies createss the suggestion of a blue and white sky.

    Supplies: (and links where possible)

       I have listed the products I have used and where they can be purchased. It’s a huge marketplace, and in most instances, there are multiple sources and many alternatives to choose from.

    Stencil: Mid Century Minimalist,  A Colorful Life Designs

    Stamps:  Watercolor Wings,  Stampin’ Up!  (retired)

    Ink: Stampin’ Up!

    Blending Brushes: Stampin’ Up! 

    Versafine Onyx, Simon Says Stamp

    Metallic Watercolour Paint:   Amazon

    Adhesive: Tombow Aqua, Michaels

    Card Base & Card Face: Accent 100 lb., Amazon 

    Do you have any comments or thoughts on this design?  Drop me a line in the Comments Section below –  I’d love to hear from you!

    You can also use the Comments Section to be notified when I release new work.

    Mid Century Minimalist

  • Create Stunning Cards with Butterfly Stencils and Embossing Powder

    Create Stunning Cards with Butterfly Stencils and Embossing Powder

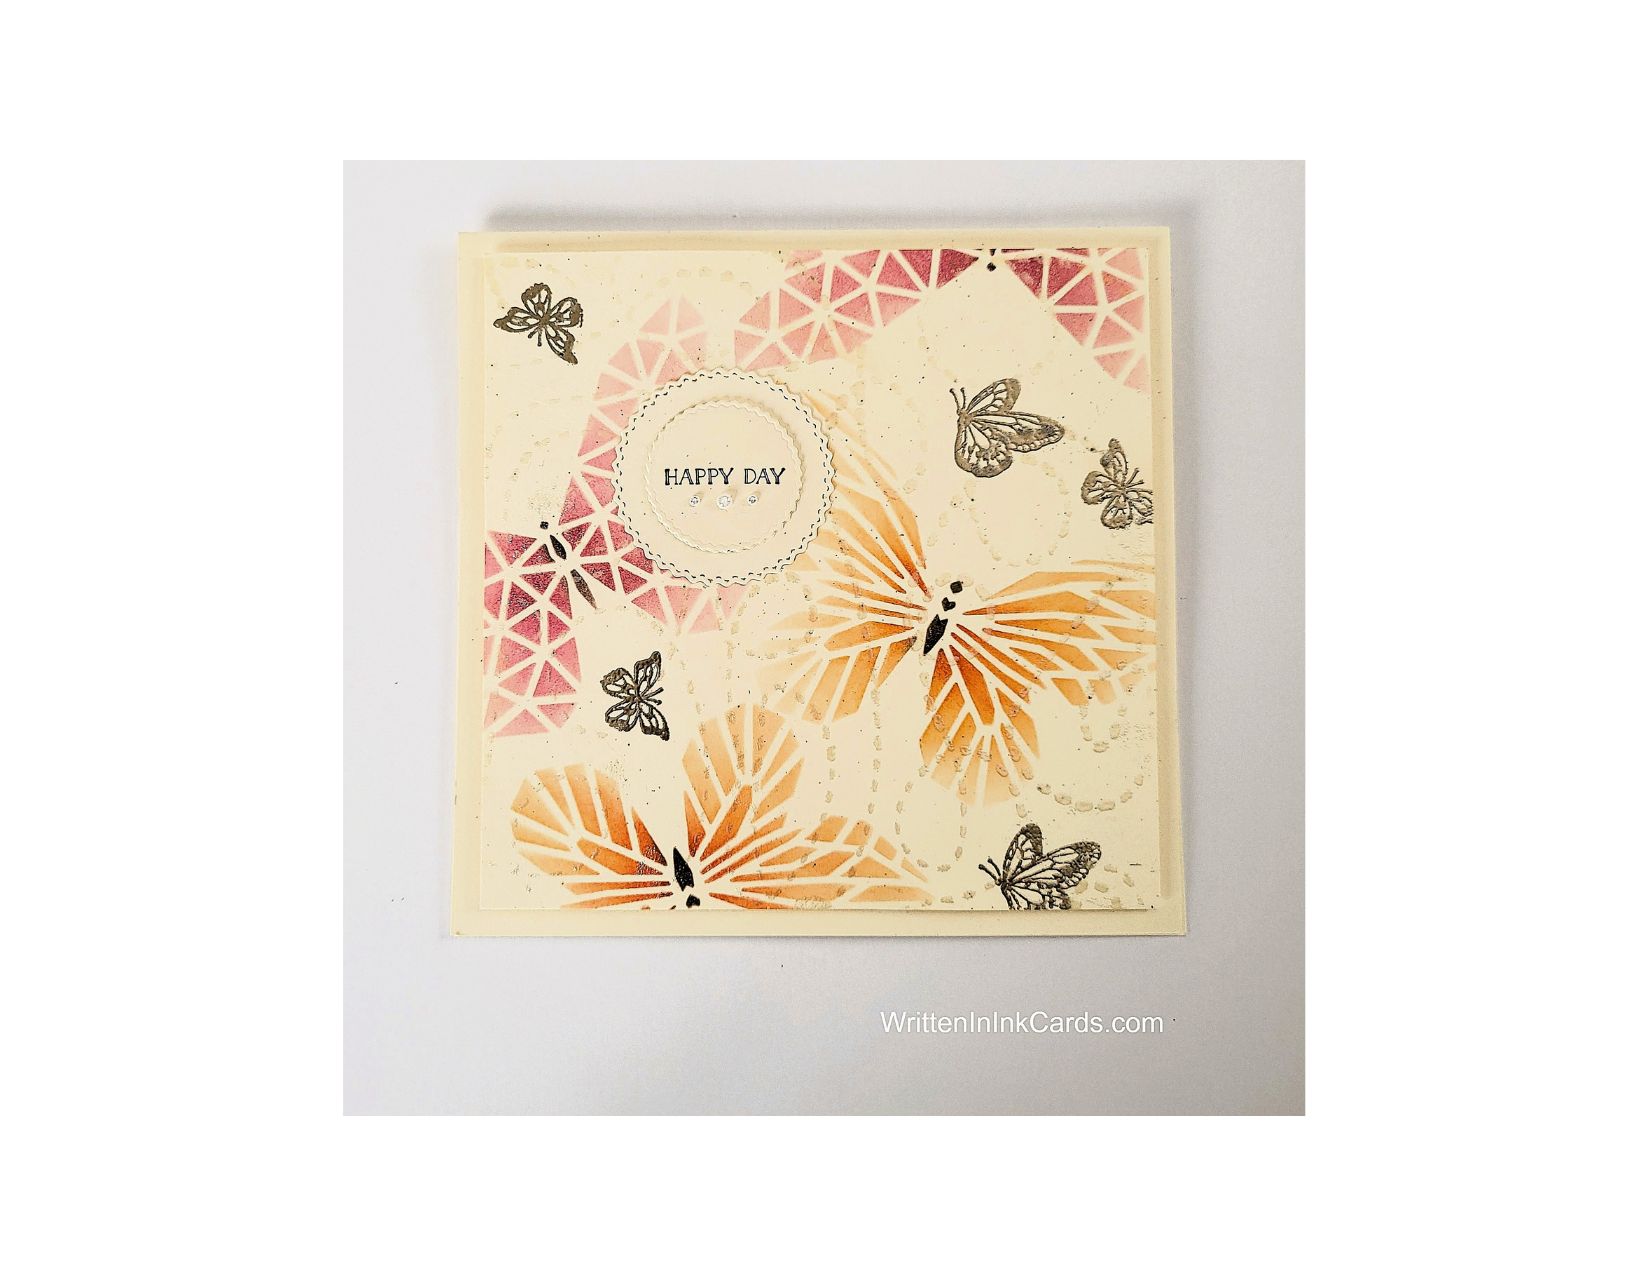
    Would you like to experiment with a design like this? You’ll find a supply list below, including a link to the stencils I used from A Colorful Life Designs.  Follow the link and use discount code ChrisFan10 to save 10% on your entire order! (Master Creator Bundles are excluded as they already have a 20% discount built in.)

    Let’s get Started:

    Card Base: 5.25 x 10.5,  scored and folded at 5.25

    Card Face:  5 x 5

    Card Face:

    • I laid the card face down on the Grip Mat and positioned the butterfly stencil.   I used both orange and pink for the stencilled butterflies, using more ink and additional pressure in the center of each one, allowing the colour to fade as it moved out towards the edge of the wings.
    • After the ink was dry, I stamped the small butterflies with Versamark embossing ink, sprinkled Platinum embossing powder over them, and set them with my heat gun.
    • I positioned the dotted stencil on the card face, allowing it to go over some of the butterflies. I sprinkled pearl embossing powder over this and set it with my heat gun.

    Other:

    • I stamped the sentiment used a small circle die to cut it out.
    • I used a coordinating, larger circle die to cut a second circle.

    Assembly

    • I put dimensional foam on the back of the card face and positioned it on the card base.
    • I glued the two circles together with the sentiment on top, and then glued this new combination to the card face as shown.
    • I glued three tiny pearls under the sentiment.

    Final Thoughts:

    The two embossing powders add a lovely sheen to the finished card.

    The use of pearlized embossing powder for the second stencil resulted in a subtle but pretty texture.

    Supplies: (and links where possible)

       I have listed which products I have used, and where they may be purchased. It’s a huge marketplace, and in most instances, there are multiple sources and many alternatives to choose from.

    Stencils:

    Geometric Butterflies:  A Colorful Life Designs

    Buzz Path,  A Colorful Life Designs

    Waffle Flower Grip Mat, 8.5 x 6.5, Scrapbook.com

    Versamark Embossing Ink: Simon Says Stamp

    Metallic Platinum Embossing Powder,  Wow, R&R Scrapbooking

    Vintage Pearl Embossing Powder, Ranger:  R&R Scrapbooking

    Ink: Stampin’ Up!

    Blending Brushes: Stampin’ Up! 

    Versafine Onyx, Simon Says Stamp

    Adhesive: Tombow Aqua, Michaels

    Recollections 110 lb., Michaels

    Do you have any comments or thoughts on this design?  Drop me a line in the Comments Section below –  I’d love to hear from you!

    You can also use the Comments Section to be notified when I release new work.

    Geometric Butterflies

    Buzz Path