Tag: belatedbirthdaycard

  • Make Up for a Belated Birthday with a Fun Card

    Make Up for a Belated Birthday with a Fun Card

    Would you like to experiment with a design like this? You’ll find a supply list below, including a link to the stencil I used from A Colorful Life Designs.  Follow the link and use the discount code ChrisFan10 to save 10% on your entire order! (Master Creator Bundles are excluded as they already have a 20% discount built in.)

    Let’s get Started:

    Card Base: 5.5 x 8.5, scored and folded at 4.25

    Card Face:  5 .5 x 4 ⅛

    Card Face:

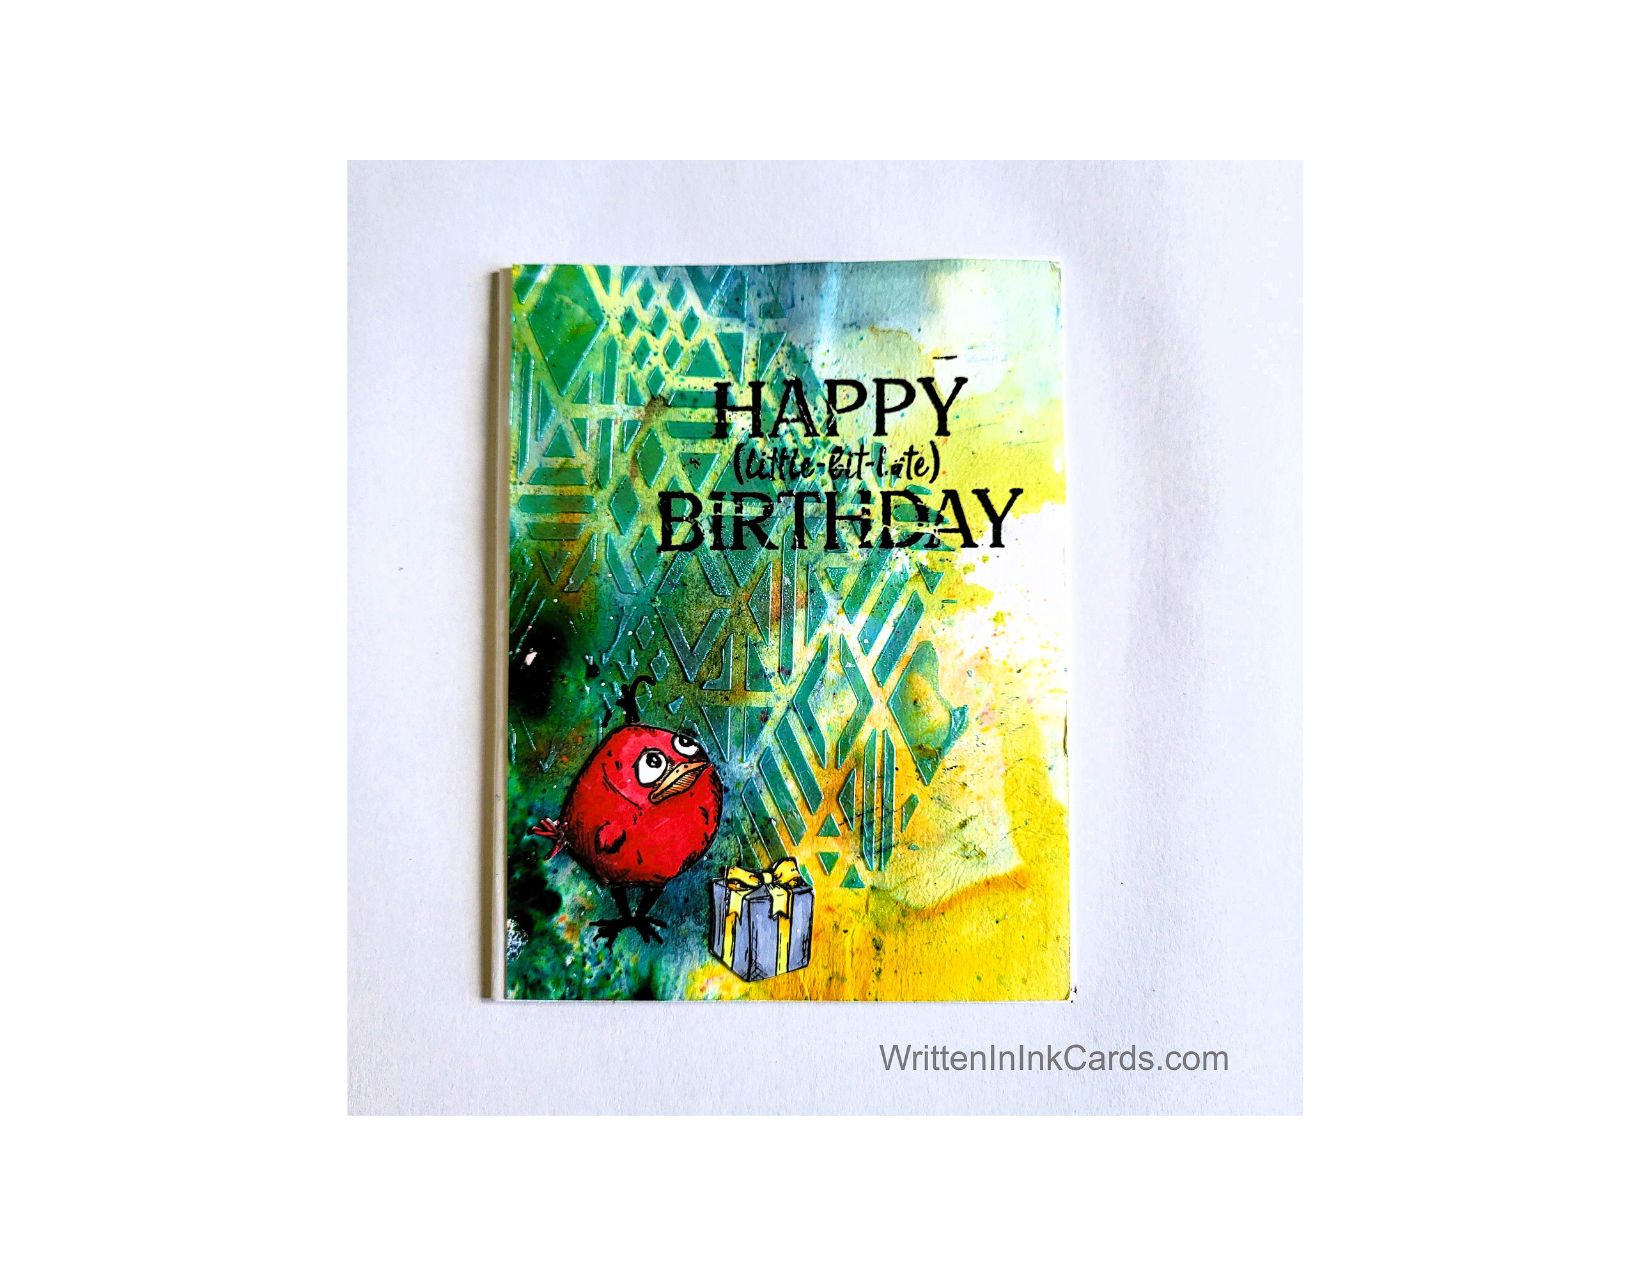
    This card face began as a gel print  (one of many in my stash!)

    • I placed the card face on a piece of scrap paper and positioned the stencil.  I secured both with low-tack tape, and then added embossing paste through the openings in the stencil. 

     I only allowed partial coverage with the paste to maintain some of the interest created by the original background.

    • I put the card face into my stamp positioner and added the sentiment with Versafine Onyx.  I stamped several times to get good coverage,  and then sprinkled on black embossing powder and set it with my heat gun.

    Versafine is a pigment ink and stays wet long enough to use embossing powder successfully.

    Other:

    • I had previously stamped the bird and the present, and coloured them with alcohol markers; I just had to fussy cut them to get them ready for the card.

    Assembly

    • I glued the card face to the card base,  aligning to the right-hand edge, which left a narrow white border on the left.
    • I glued the bird and the gift in place as shown.
    • I added legs to the bird using a fineliner.  (The legs on the stamped image are too fine to cut out –  this is a super easy solution.)

    Final Thoughts:

    I loved this colourful card face and was hesitant to use it for fear of not liking the result. The details added have enough presence to stand out against all that colour –  so I’m happy with the result.

    Supplies: (and links where possible)

       I have listed the products I have used and where they can be purchased. It’s a huge marketplace, and in most instances, there are multiple sources and many alternatives to choose from.

    Stencil: (see images below)

    Intricate Diamonds, A Colorful Life Designs

    Black Embossing Powder,  Wow,  R& R Scrapbooking

    Stamps: Mini Bird Crazy and Things, Stampers Anonymous, Amazon

    Ink: Stampin’ Up!

    Blending Brushes: Stampin’ Up! 

    Versafine Onyx, Simon Says Stamp

    Fineliner:  Amazon

    Memento Ink: Stampin’ Up!

    Alcohol Markers:

         Stampin’ Blends: Stampin’ Up!

         Copics:  Wallacks

    Adhesive: Tombow Aqua, Michaels

    Card Base & Card Face: Accent 100 lb., Amazon 

    Do you have any comments or thoughts on this design?  Drop me a line in the Comments Section below –  I’d love to hear from you!

    You can also use the Comments Section to be notified when I release new work.

    Intricate Diamonds

  • Create Stunning Daisy Cards with Simple Stenciling Techniques

    Create Stunning Daisy Cards with Simple Stenciling Techniques

    xx

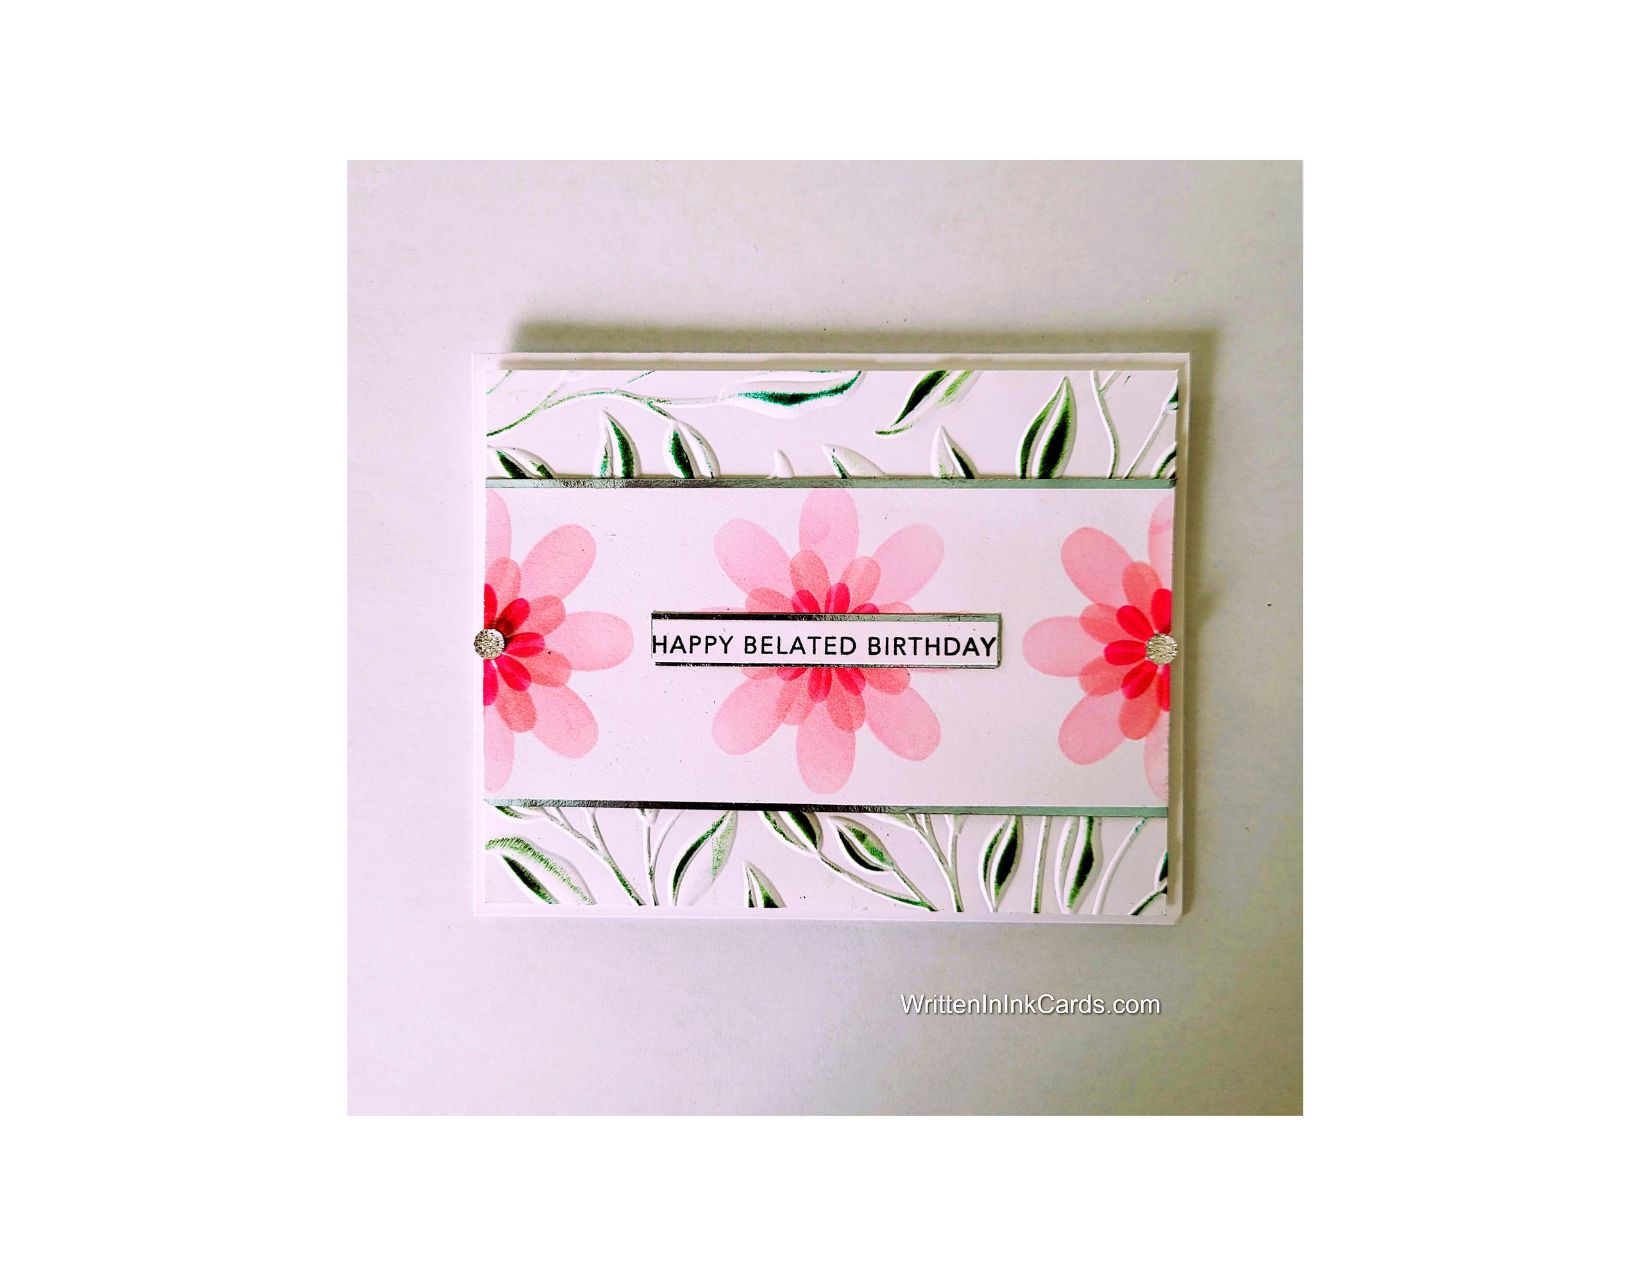
    Would you like to experiment with a design like this? You’ll find a supply list below, including a link to the stencil I used from A Colorful Life Designs.  Follow the link and use discount code ChrisFan10 to save 10% on your entire order! (Master Creator Bundles are excluded as they already have a 20% discount built in.)

    Let’s get Started:

    Card Base: 5.5 x 8.5, scored and folded at 4.25

    Border Layer: 5.25 x 4

    Card Face:  5.25  x 2.25

    Hollographic card stock:  5.25 x ⅛” (2)

    This stencil includes 3 separate daisies,  in 3 sizes.

    Card Face:

    • I laid the card face on my grip mat and positioned the largest daisy in the center of the strip:  I  applied light pink ink with a soft hand.
    • I repositioned the stencil and repeated the steps first on the left-hand side, then on the right.  I stencilled just over half of the flower on each side.
    • I positioned the middle-sized flower over the center daisy and applied the same ink,  with a heavier hand this time.  
    • I repeated this step on both of the other daisies.
    • I positioned the smallest flower over the middle daisy and applied ink, but this time I switched to a more vibrant pink.
    • I repeated this step with each of the other flowers.

    Other:

    • I placed the border layer cardstock in an embossing folder and ran it through my Big Shot.
    • I used two green ink pads to apply colour to the raised leafy pattern, lightly running them over the embossed sections.
    • I stamped the sentiment onto a piece of scrap cardstock with Versafine Onyx and trimmed it into a narrow strip.
    • I trimmed a scrap of holographic cardstock to be the same length as the sentiment,  but ⅓” wider (to allow a narrow border).

    Assembly

    • I put dimensional foam tape on the back of the border layer and adhered it to the card base.
    • I glued the card face in place on top of this, centering vertically.
    • I glued the narrow holographic strips in place on either side of the card face.
    • I glued the sentiment to it’s holographic border,  and glued these in place over the center of the middle daisy.
    • I put a large gem in the center of both the left and right flowers.

    Final Thoughts:

    This stencil was on my wish list for a long time:  I’m so glad I finally got it and got this design out of my head!     I really like the layered ink in the daisies, and the two-toned leaves are really effective (even though they aren’t showing in the photo, LOL).

    Supplies: (and links where possible)

       I have listed which products I have used, and where they may be purchased. It’s a huge marketplace, and in most instances, there are multiple sources and many alternatives to choose from.

    Stencil: Daisy Trio,  A Colorful Life Designs

    Waffle Flower Grip Mat, 8.5 x 6.5, Scrapbook.com

    Versamark Embossing Ink: Simon Says Stamp

    Clear Embossing Powder,  Wow,  Simon Says Stamp

    Ink: Stampin’ Up!

    Blending Brushes: Stampin’ Up! 

    Versafine Onyx, Simon Says Stamp

    Adhesive: Tombow Aqua, Michaels

    Holographic Cardstock:  Michaels

    Card Base & Card Face: Accent 100 lb., Amazon  

    Do you have any comments or thoughts on this design?  Drop me a line in the Comments Section below –  I’d love to hear from you!

    You can also use the Comments Section to be notified when I release new work.

    Daisy Trio