
Would you like to experiment with a design like this? You’ll find a supply list below, including a link to the stencil I used from A Colorful Life Designs. Follow the link and use the discount code ChrisFan10 to save 10% on your entire order! (Master Creator Bundles are excluded as they already have a 20% discount built in.)
Let’s get Started:
Card Base: 5.5 x 8.5, scored and folded at 4.25
Card Face: 5.25 x 4
Card Face:
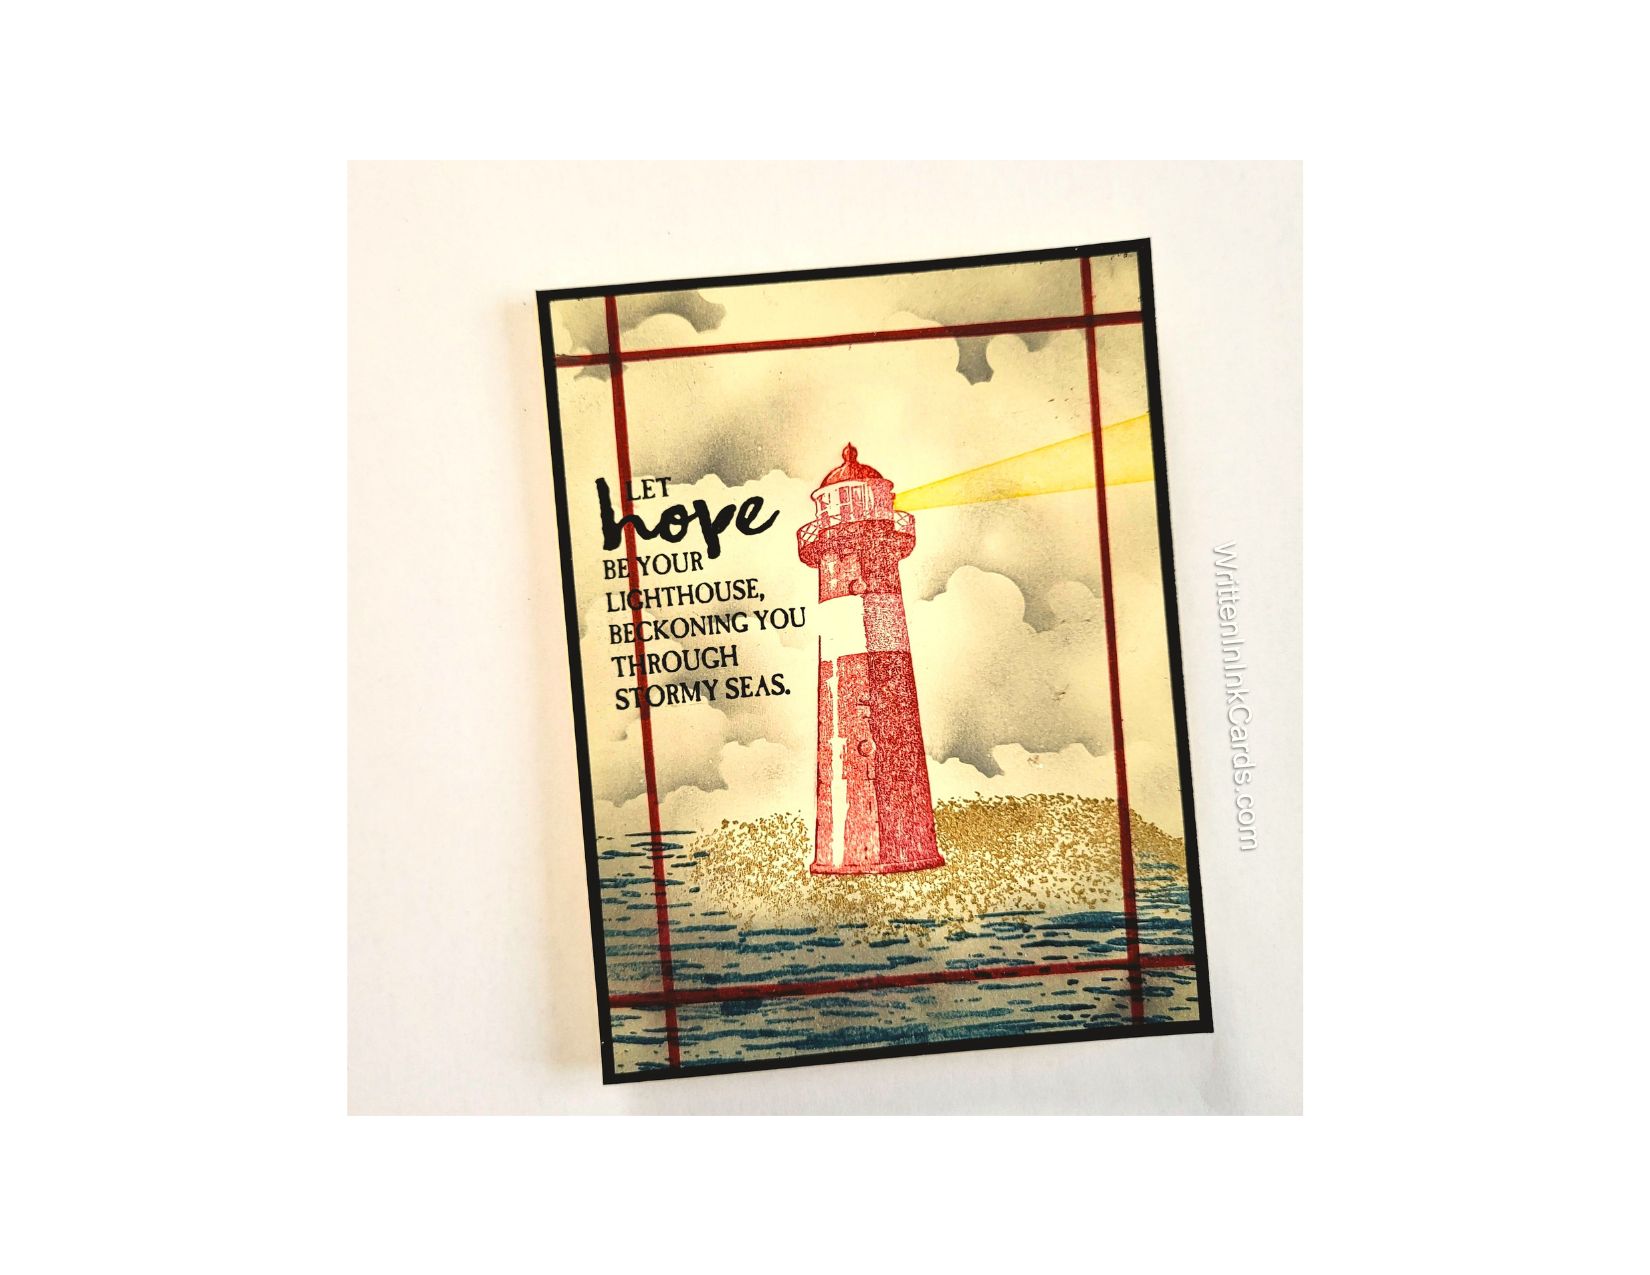
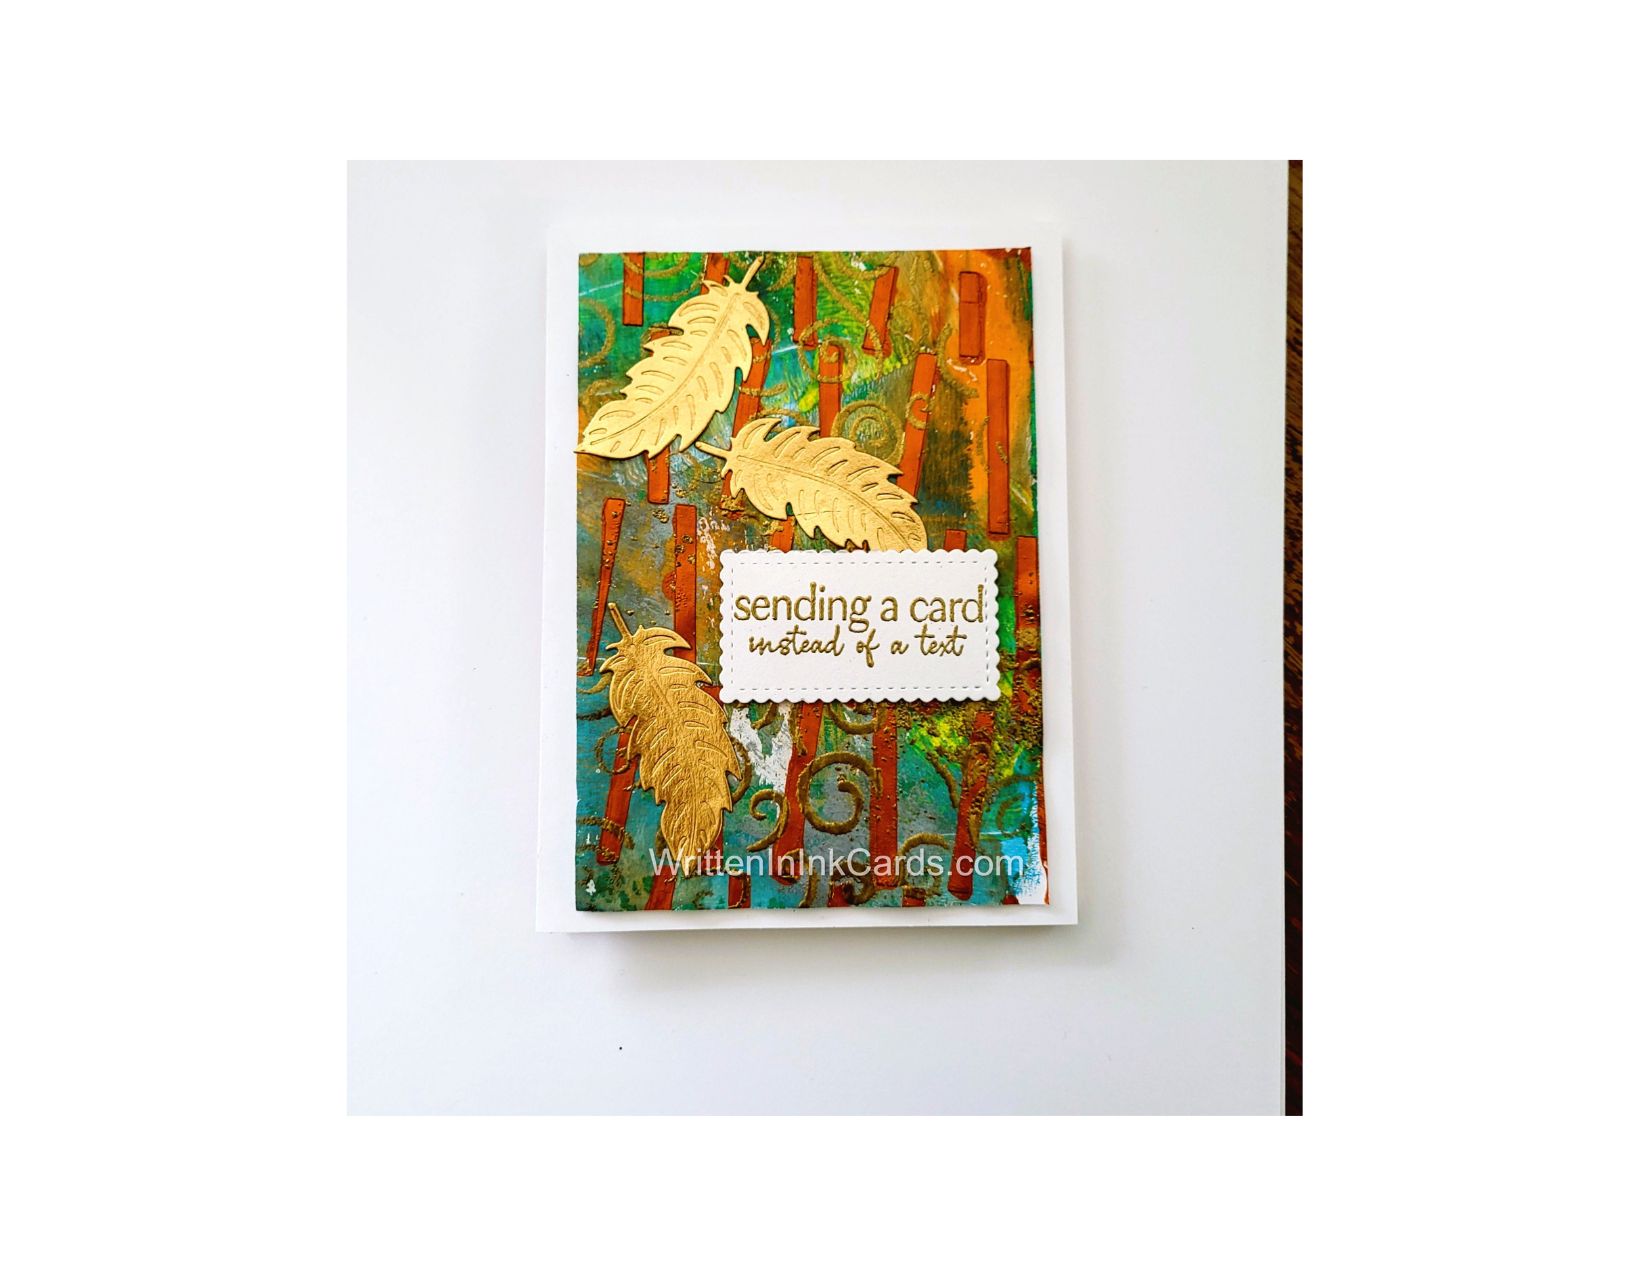
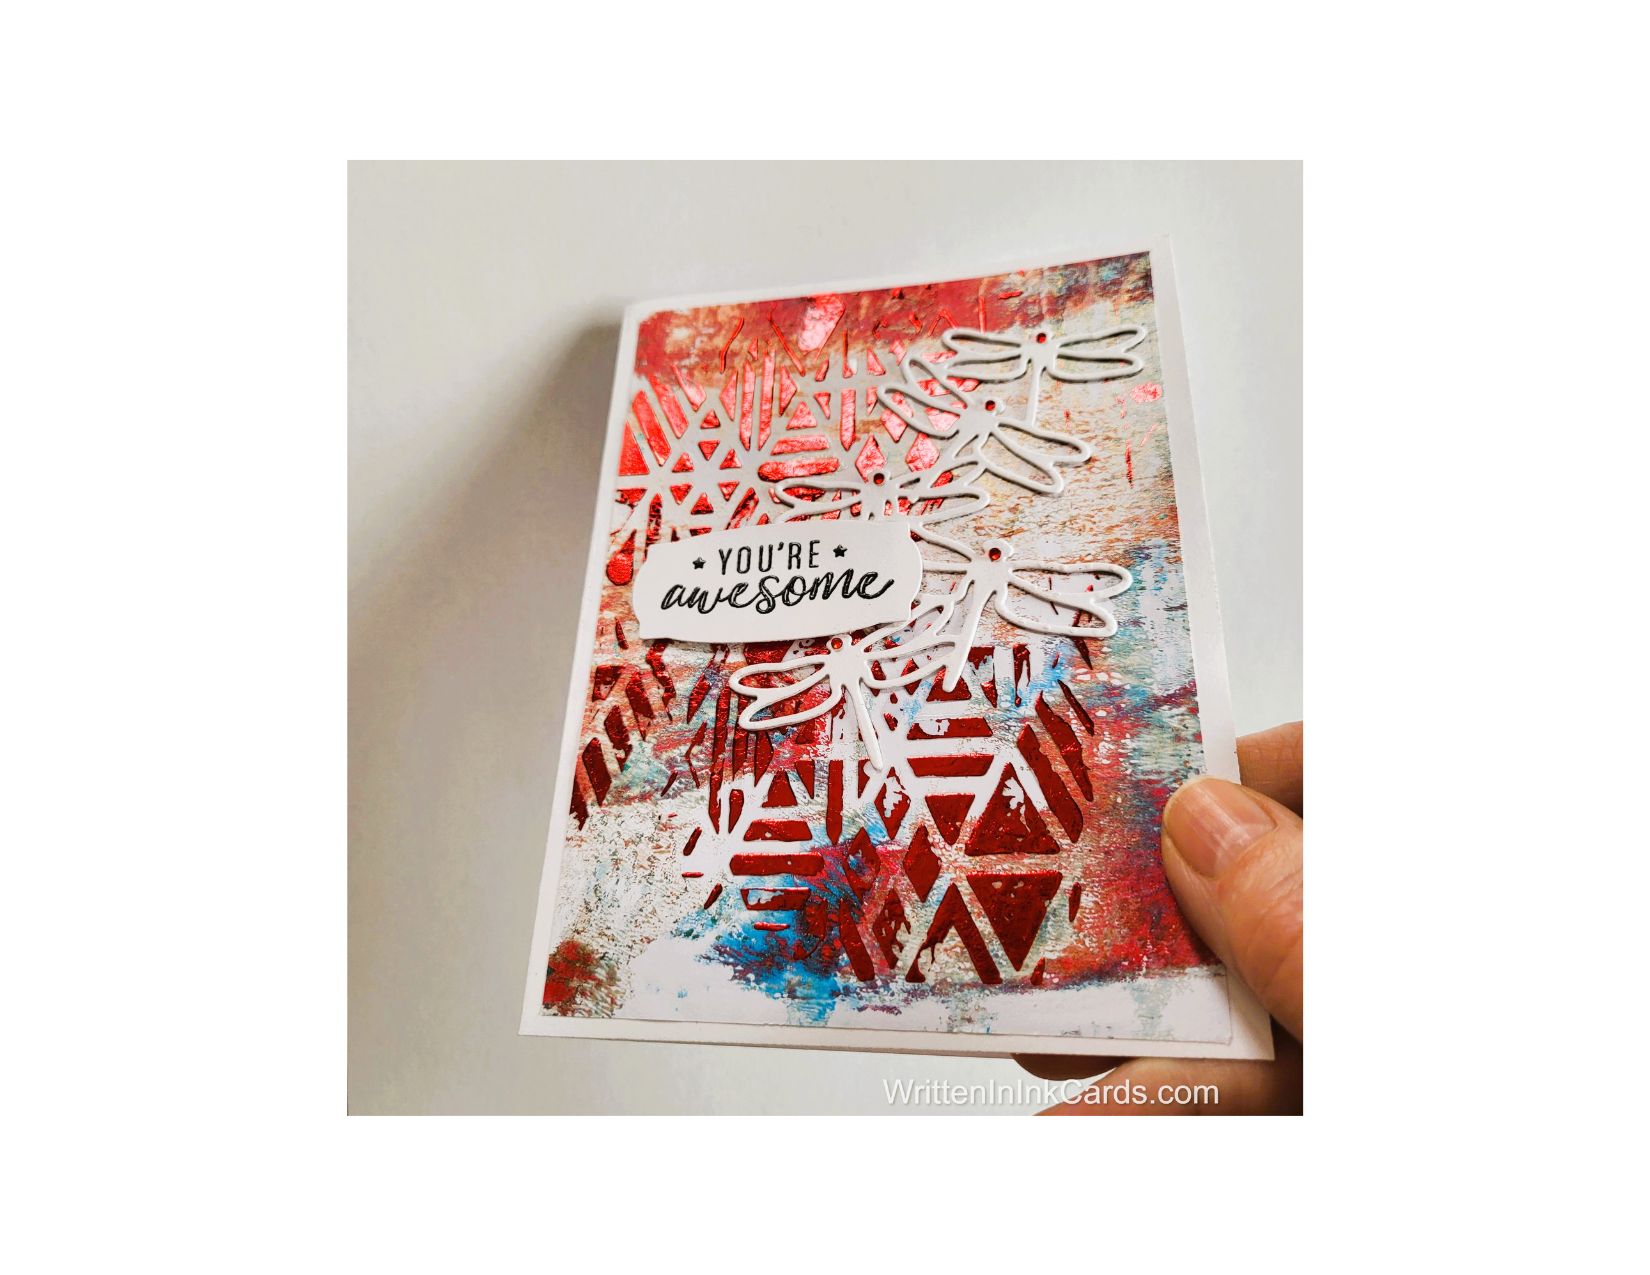
This card began with a gel print that I liked: just a mixture of red, blue, and gold (which appears brown in the image), but I liked the result and decided to create a card with it.
- I laid the card face (gel print) down on scrap paper and positioned the stencil.
- After securing both with Mint Tape, I applied Duo Gel to some of the open areas in the stencil. I didn’t want to cover the print entirely, but rather to accent what was already there, so I was selective in where I added the gel.
- I removed the stencil and placed it into water immediately (Duo Gel dries into a very sticky permanent adhesive – keeping it wet until I can scrub it off saved my stencil.)
- I put the card face aside to dry.
- Once the gel had dried, I laid a piece of red transfer foil over the area and ran it through my Big Shot. The pressure from the rollers caused the foil to stick to the dried gel: when I pulled the piece off of the card face, the foiled pattern stayed behind.
Other:
- I used a scrap of white cardstock and a die to cut two sets of the dragonflies, and then glued them together.
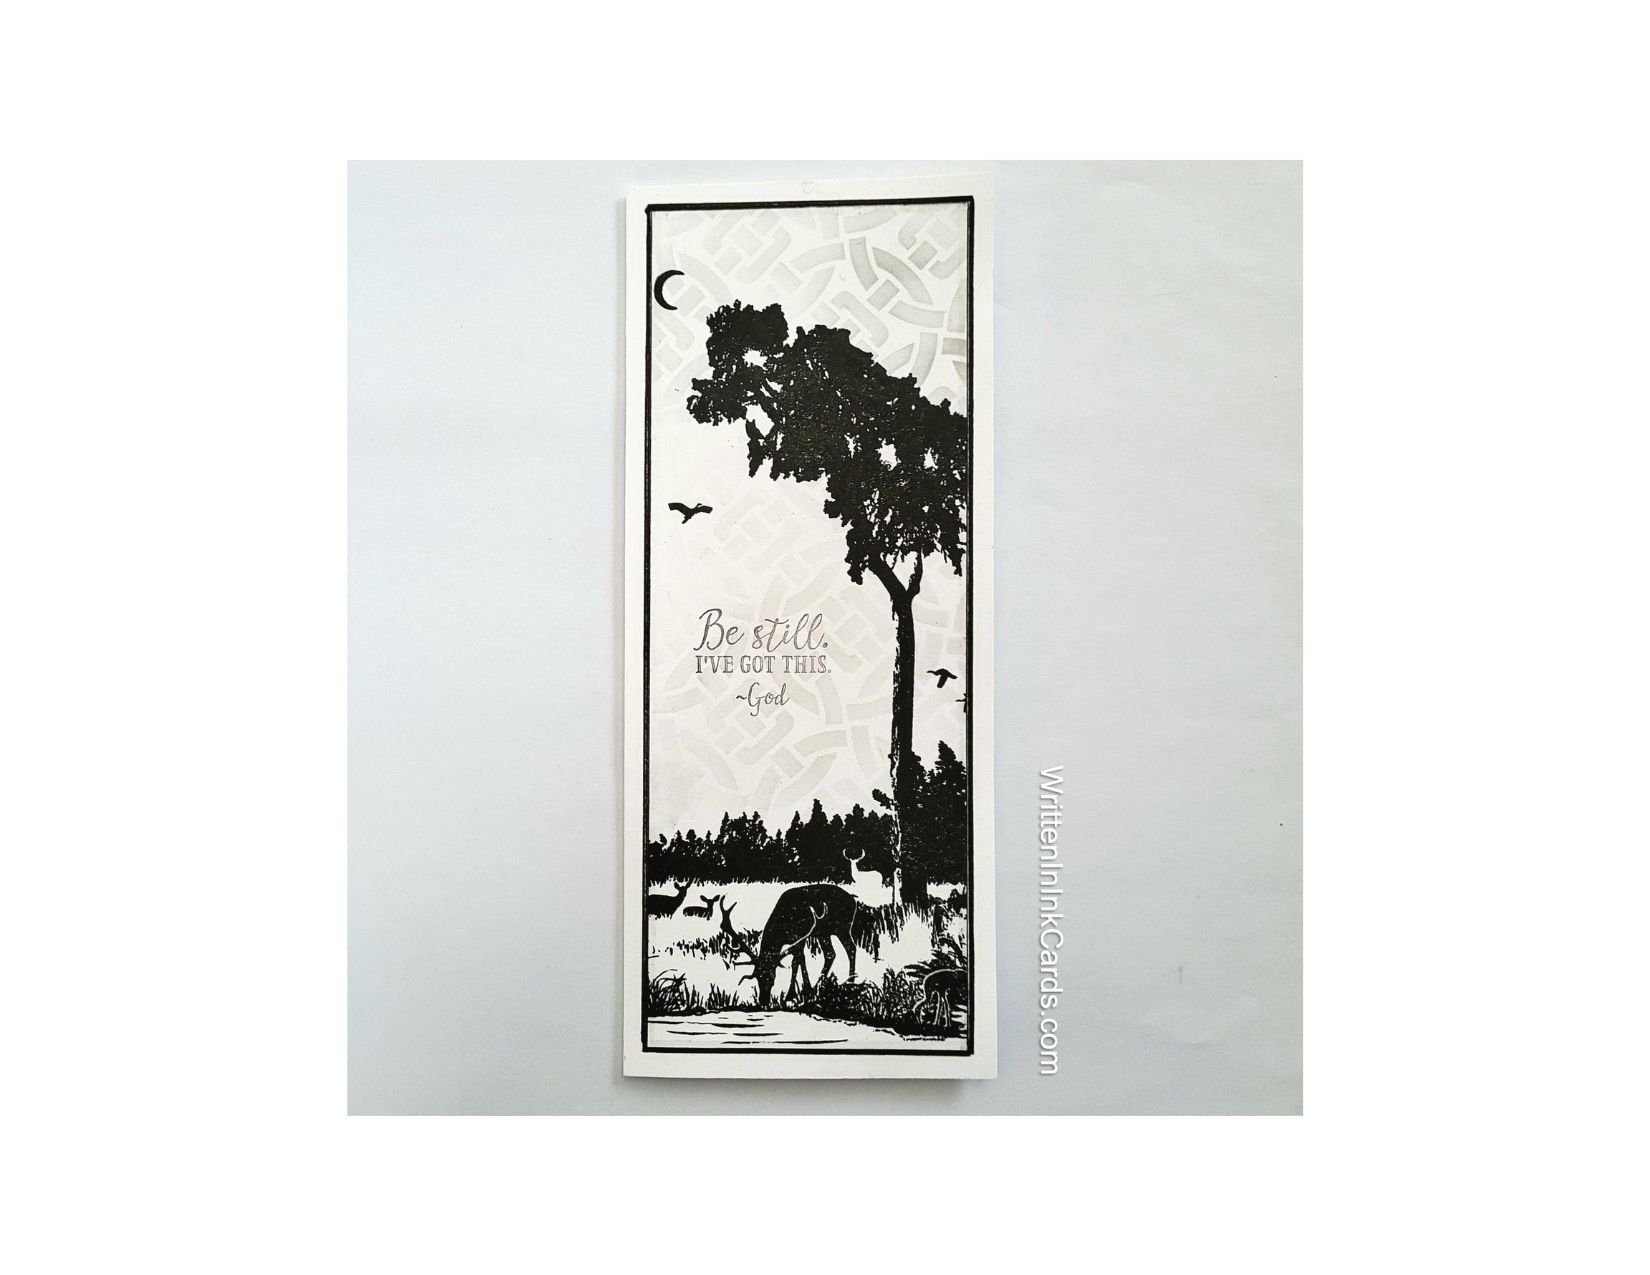
- I looked through my sentiments binder and selected the one you see in the image: I thought that this card could be for almost any occasion, and I liked the size and shape of the sentiment for this design.
Assembly
- I centered and glued the card face onto the card base.
- I glued the dragonflies and sentiment on as shown.
- I added a tiny red rhinestone to each dragonfly.
Final Thoughts:
I’m really happy with this card: the red foil compliments the background nicely, without overwhelming the design.
Supplies: (and links where possible)
I have listed the products I have used and where to purchase them. It’s a huge marketplace, and in most instances, there are multiple sources and many alternatives to choose from.
Stencil: Intricate Diamonds, A Colorful Life Designs
Waffle Flower Grip Mat, 8.5 x 6.5, Scrapbook.com
Stamps: Stampin’ Up! (retired)
Dies: Stampin’ Up! (retired)
Duo Gel: Deco Foil, R&R Scrapbooking
Red Transfer Foil: Deco Foil, R&R Scrapbooking
Versafine Onyx, Simon Says Stamp
Adhesive: Tombow Aqua, Michaels
Card Base & Card Face: Accent 100 lb., Amazon
Do you have any comments or thoughts on this design? Drop me a line in the Comments Section below – I’d love to hear from you!
You can also use the Comments Section to be notified when I release new work.
Intricate Diamonds