Category: Christmas

  • Easy Steps to Craft a Santa Card

    Easy Steps to Craft a Santa Card

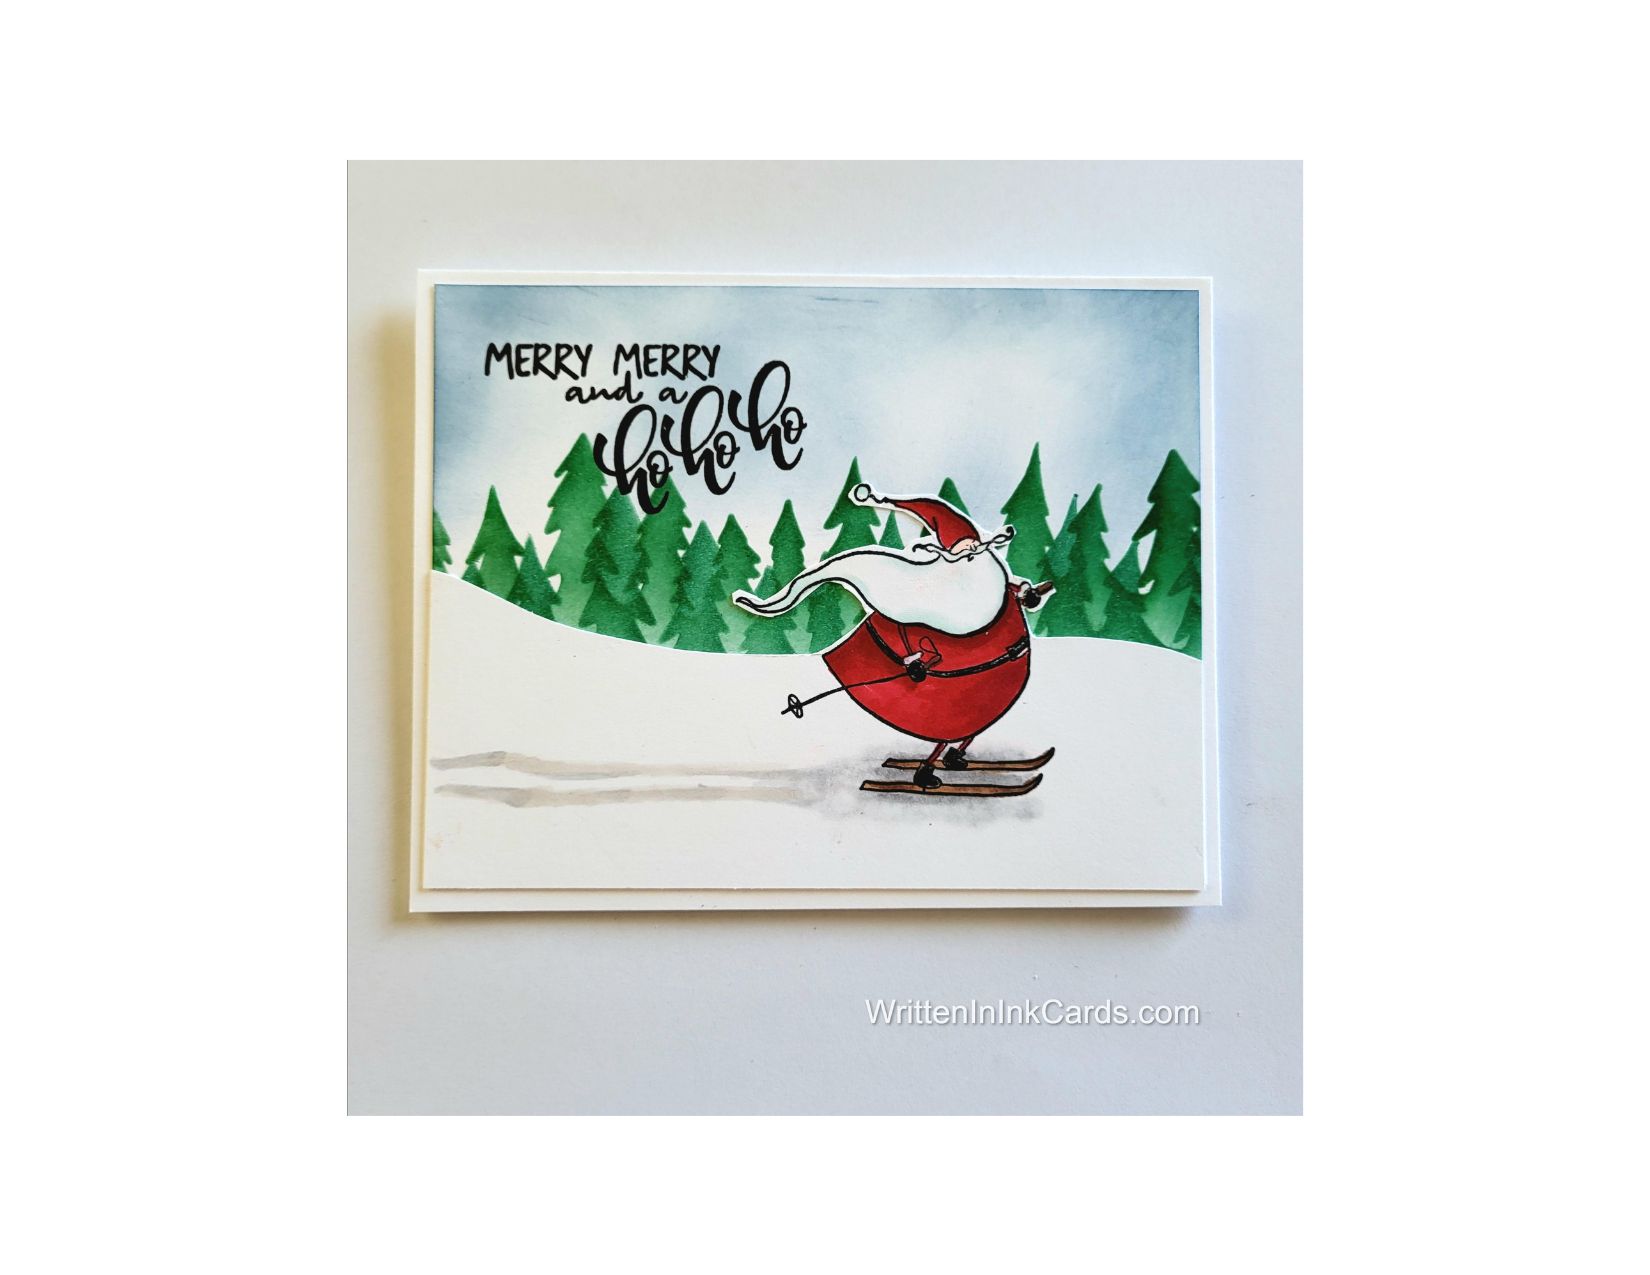
    Even the Big Guy needs a break and some fresh air every now and then!

    Would you like to experiment with a design like this? You’ll find a supply list below, including a link to the stencil I used from A Colorful Life Designs.  Follow the link and use discount code ChrisFan10 to save 10% on your entire order! (Master Creator Bundles are excluded as they already have a 20% discount built in.)

    Let’s get Started:

    Card Base: 5.5 x 8.5, scored and folded at 4.25

    Stamped Layer: 5.25 x 4

    Card Face:  5.25 x 4 

    Card Face:

    • I brushed blue ink onto the top two-thirds of the the card face, allowing variations in depth to create the look of clouds.
    • I placed the card face onto the grip mat,  and positioned the stencil about ¾ of the way down the card face.  I used green ink to create the tree line.
    • I shifted the stencil up and over (to allow the trees to fall in between those in the first row) and created a second row, overlapping where necessary.
    • I put the card face into the stamp positioner and added the sentiment in the upper left, using Versafine Onyx.

    Other:

    • I stamped  Santa on the second piece of cardstock, placing him towards the bottom right.
    • I coloured this with alcohol markers, adding a shadow under him and the ski track behind him in the snow as well.
    • I drew a curved hillside behind Santa,  and then cut along that line and also carefully cut around the upper half of Santa.

    Assembly

    • I glued the card face to the card base,  and the layer with the cut out Santa on top of these.

    Final Thoughts:

    This is such a cute combination –  the style of the tree stencil works with Santa so very well.  I really like this one.

    Supplies: (and links where possible)

       I have listed which products I have used, and where they may be purchased. It’s a huge marketplace and in most instances, there are multiple sources and many alternatives to choose from.

    Stencil: Christmas Tree Edger #1,  A Colorful Life Designs

    Waffle Flower Grip Mat, 8.5 x 6.5, Scrapbook.com

    Stamps: Jolly Santas, Colorado Craft Co., (retired)

    Ink: Stampin’ Up!

    Blending Brushes: Stampin’ Up! 

    Versafine Onyx, Simon Says Stamp

    Memento Ink: Stampin’ Up!

    Alcohol Markers:

         Stampin’ Blends: Stampin’ Up!

         Copics:  Wallacks

    Adhesive: Tombow Aqua, Michaels

    Card Base & Card Face: Accent 100 lb., Amazon

    Do you have comments or thoughts to share on this design?  Drop me a line in the Comments Section below –  I’d love to hear from you!

    You can also use the Comments Section  to be notified when I release new work

  • Stencils and Diecuts -making masculine cards just got easy

    Stencils and Diecuts -making masculine cards just got easy

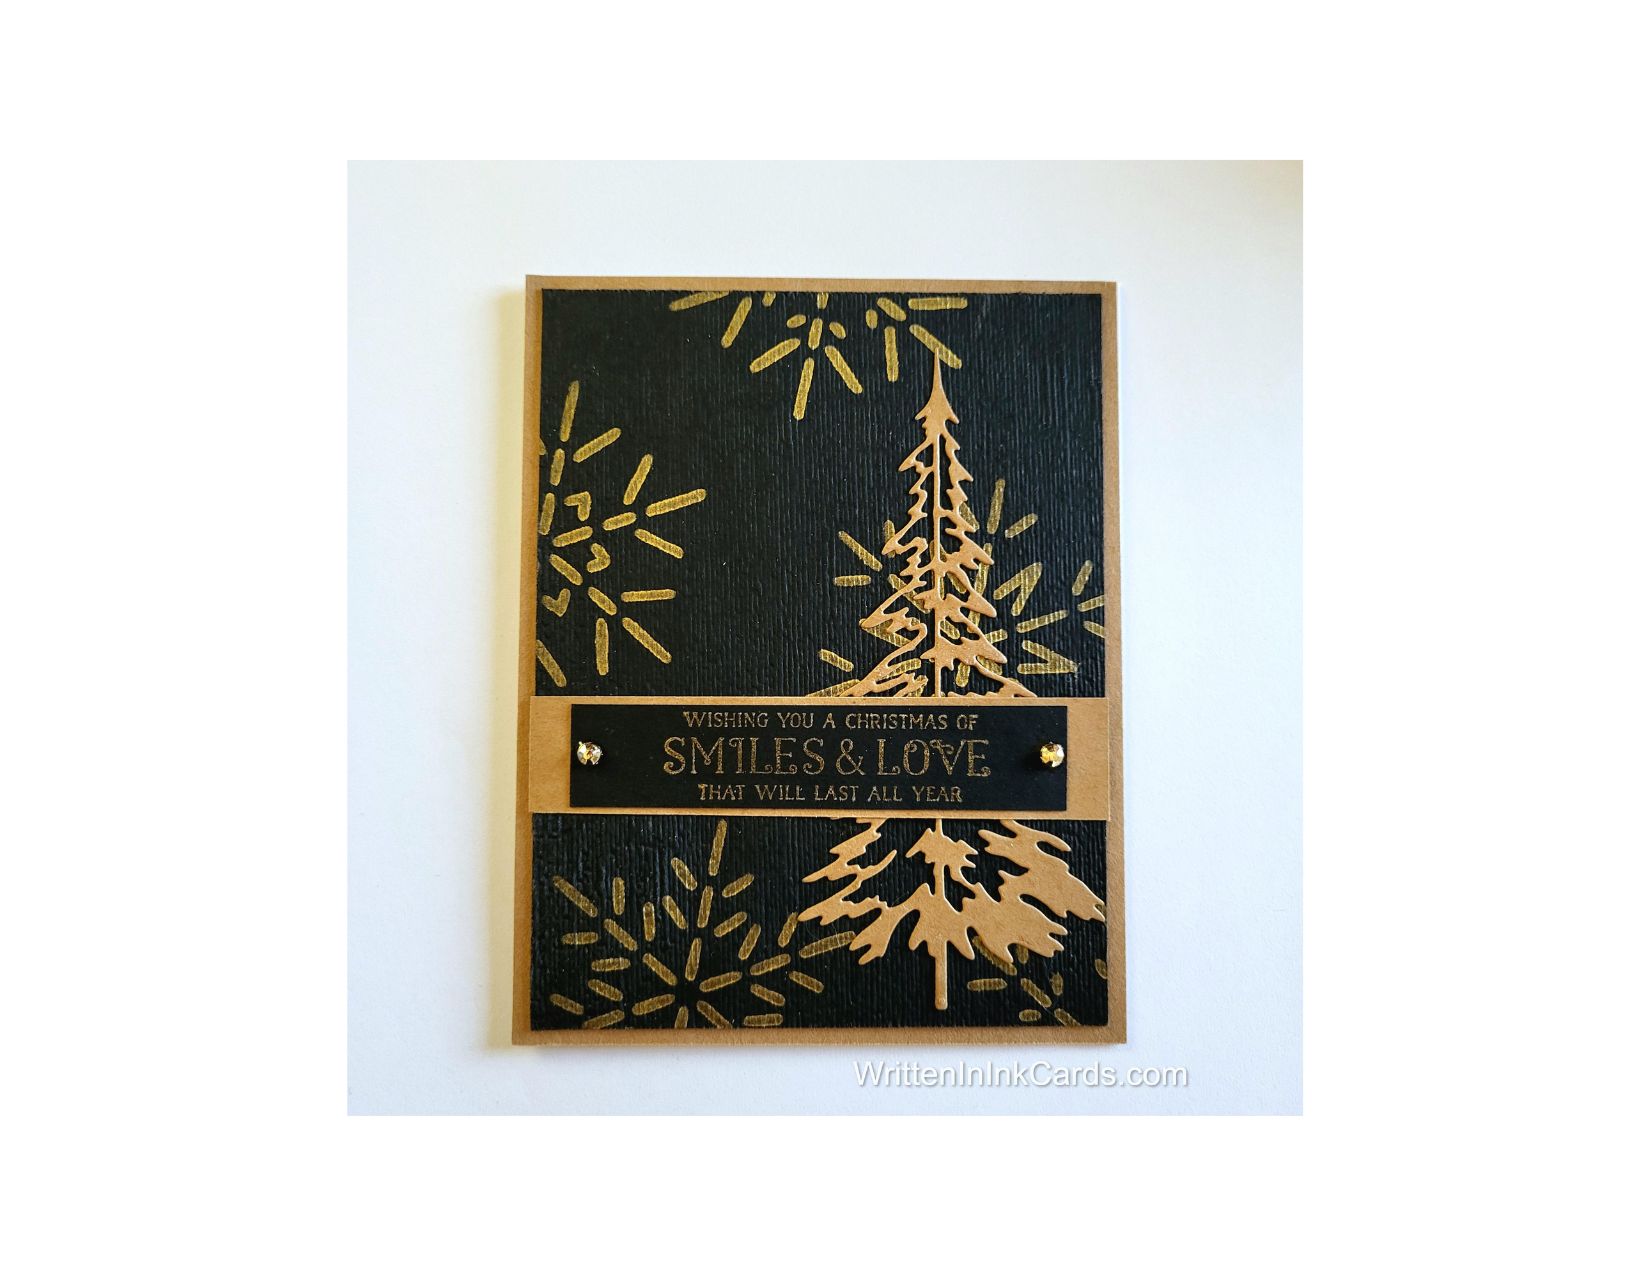
    An elegant masculine card – ready in a snap!

    Would you like to experiment with a design like this? You’ll find a supply list below, including a link to the stencil I used from A Colorful Life Designs.  Follow the link and use discount code ChrisFan10 to save 10% on your entire order! (Master Creator Bundles are excluded as they already have a 20% discount built in.)

    Let’s get Started:

    Card Base: 5.5 x 8.5, scored and folded at 4.25

    Kraft Border: 5.5 x 4.25

    Black Card Face:  5.25 x 4

    Scrap of Kraft Cardstock: .75 x 4

    Card Face:

    • I laid the card face onto my Grip Mat , positioned the stencil and applied metallic gold ink across the exposed surfaces.
    • After allowing the gold ink to dry (it is a very saturated pigment ink) I put the card face into an embossing folder and ran it through the Big Shot to add texture.

    Other:

    • I stamped the sentiment in gold ink on a piece of black cardstock,  and then cut it down to ⅝ x 3
    • I looked through my Bits & Pieces binder and found the tree, previously cut out of kraft and waiting to be used.

    Assembly

    • I glued the black sentiment strip to the kraft strip.
    • I glued the kraft border layer to the card base, and then centered the black card face on both.
    • I glued the tree in place on the right hand side as shown.
    • I glued the sentiment strip in place over the tree, just below the center of the card.
    • I added a metallic embellishment on either side of the sentiment.

    Final Thoughts:

    This was a fast & easy card to put together; it has a very masculine feel due to the colours used.

    I love the way gold and kraft play off of each other.

    Supplies: (and links where possible)

       I have listed which products I have used, and where they may be purchased. It’s a huge marketplace and in most instances, there are multiple sources and many alternatives to choose from.

    Stencil: Fine Snowflakes,  A Colorful Life Designs

    Waffle Flower Grip Mat, 8.5 x 6.5, Scrapbook.com

    Dies:  Woodlands,  Tim Holtz, Amazon

    Ink: Lisa Horton Metallic Ink,  Glitter & Ink

    Blending Brushes: Stampin’ Up! 

    Adhesive: Tombow Aqua, Michaels

    Card Base & Card Face: Accent 100 lb., Amazon

    Do you have comments or thoughts to share on this design?  Drop me a line in the Comments Section below –  I’d love to hear from you!

    You can also use the Comments Section  to be notified when I release new work

    Fine Snowflakes by A Colorful Life Designs

  • A retro Christmas card is easy to create with these supplies

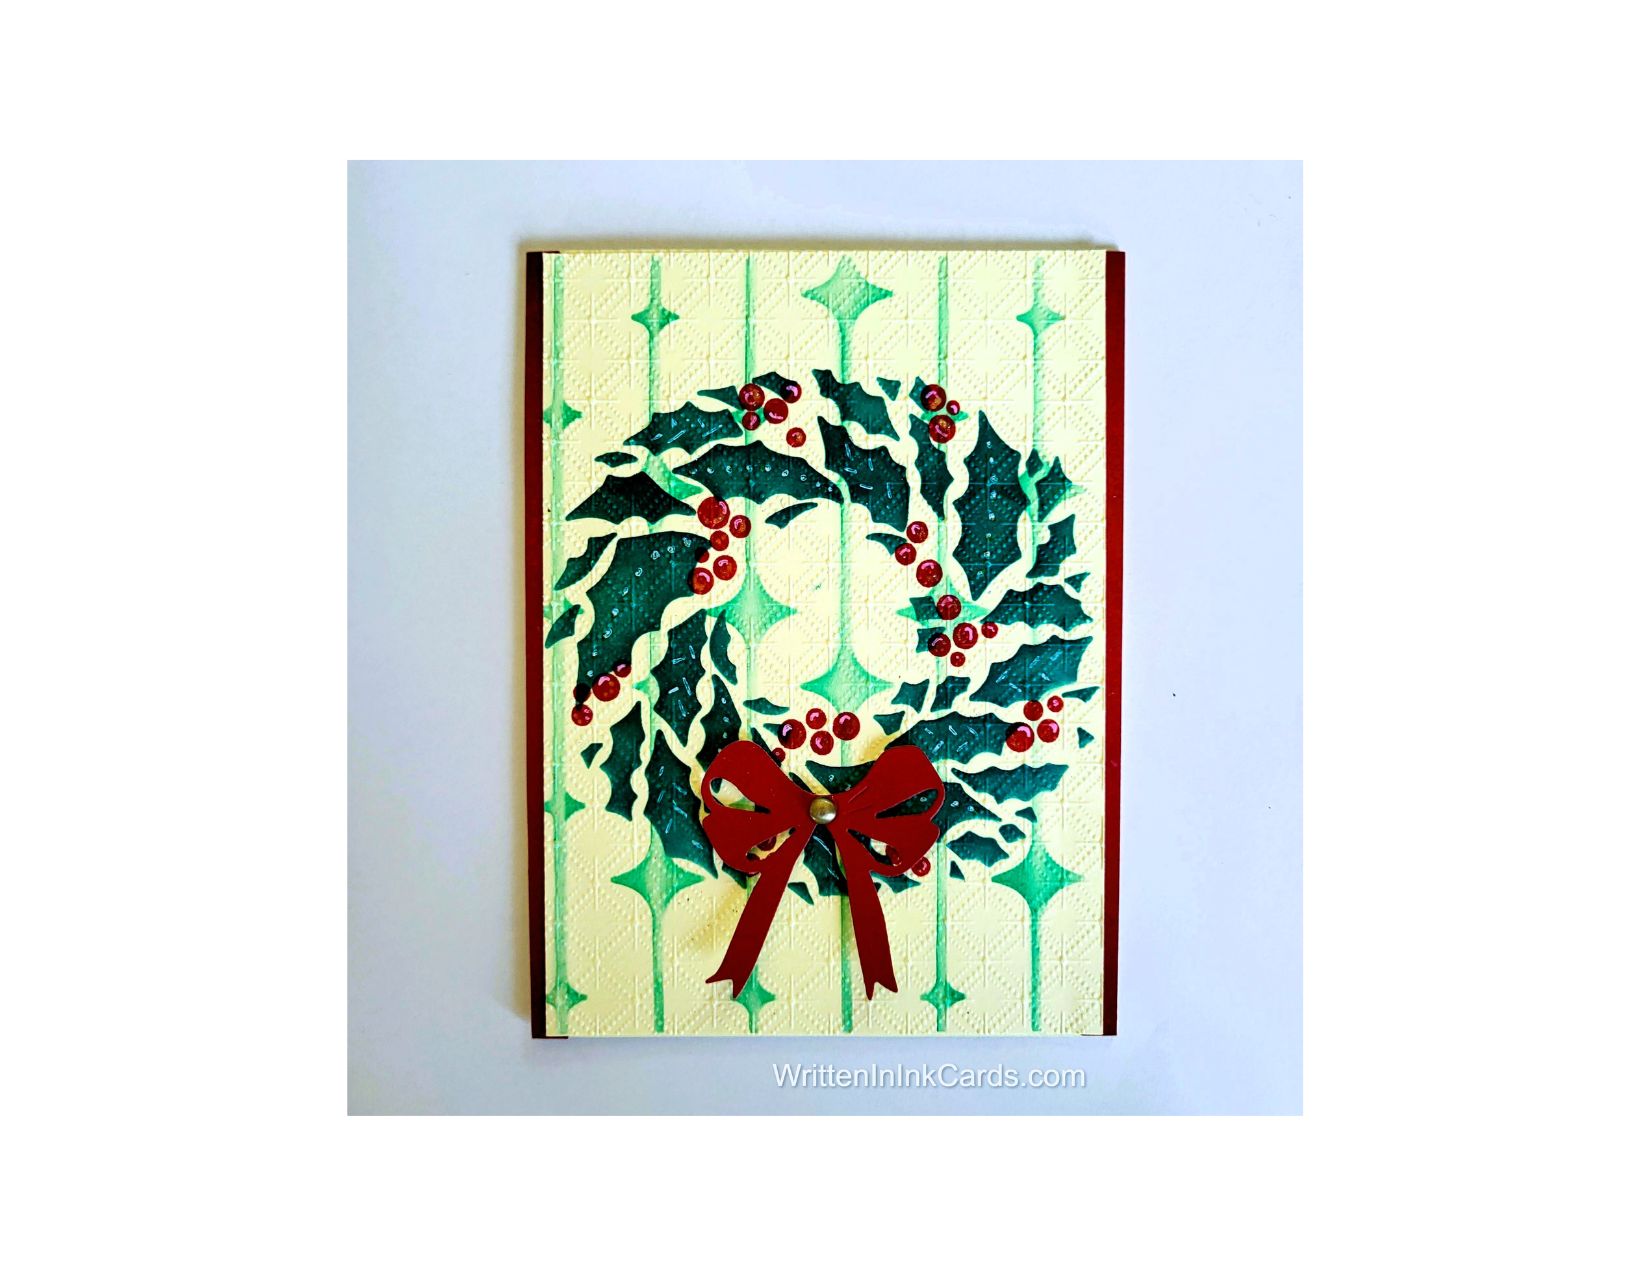
    A retro Christmas card is easy to create with these supplies

    Would you like to experiment with a design like this? You’ll find a supply list below, including a link to the stencils I used from A Colorful Life Designs.  Follow the link and use discount code ChrisFan10 to save 10% on your entire order! (Master Creator Bundles are excluded as they already have a 20% discount built in.)

    Let’s get Started:

    Card Base: 5.5 x 8.5, scored and folded at 4.25

    Border Layer: 5.5 x 4.25

    Card Face: 5.5 x 4

    Card Face:

    • I laid the card face on the Grip Mat and positioned the Atomic Strands stencil.  I used light green ink across the entire surface.
    • After removing this stencil,  I positioned the wreath on the card face: I applied dark green ink across all exposed areas
    • I repositioned the stencil to place the berries where they belonged on the wreath and applied red ink across all exposed areas.
    • Using a white gel pen, I added accents to both the leaves and the berries.
    • I put the card face into an embossing folder and ran it through the Big Shot, creating depth and visual interest.

    Other:

    • I used a scrap piece of red cardstock to create the bow, securing a die to the paper and running it through the Big Shot.

    Assembly

    • I glued the red border layer to the card base,  and centered the card face on top of these.
    • I glued the bow in place, and then added a small metallic gem to the center as a finishing touch.

    Final Thoughts:

    I love the retro feel of the Mid Century Atomic Strands stencil,  and I think it creates a wonderful vintage feel for this card.

    Supplies: (and links where possible)

       I have listed which products I have used, and where they may be purchased. It’s a huge marketplace and in most instances, there are multiple sources and many alternatives to choose from.

    Stencils:

         Mid Century Atomic Strands, A Colorful Life Designs
         Layered Holly Berry Wreath, A Colorful Life Designs

    Waffle Flower Grip Mat, 8.5 x 6.5, Scrapbook.com

    Dies:  Bow Toppers, Scrapbook.com

    Ink: Stampin’ Up!

    White Gel Pens, Arteza,  Amazon

    Blending Brushes: Stampin’ Up! 

    Adhesive: Tombow Aqua, Michaels

    Cream Card Base & Card Face: Recollections 100 lb.,Michaels

    Do you have comments or thoughts to share on this design?  Drop me a line in the Comments Section below –  I’d love to hear from you!

    You can also use the Comments Section  to be notified when I release new work

    Mid Century Atomic Strands from A Colorful Life Designs