Category: Gal Pals

  • Create a cute,cheeky birthday hug –  and share a giggle!

    Create a cute,cheeky birthday hug – and share a giggle!

    you’re old

    Would you like to experiment with a design like this? You’ll find a supply list below, including a link to the stencil I used from A Colorful Life Designs.  Follow the link and use discount code ChrisFan10 to save 10% on your entire order! (Master Creator Bundles are excluded as they already have a 20% discount built in.)

    Let’s get Started:

    Card Base: 5.5 x 8.5, scored and folded at 4.25

    5.5 x 4.25

    Card Face:

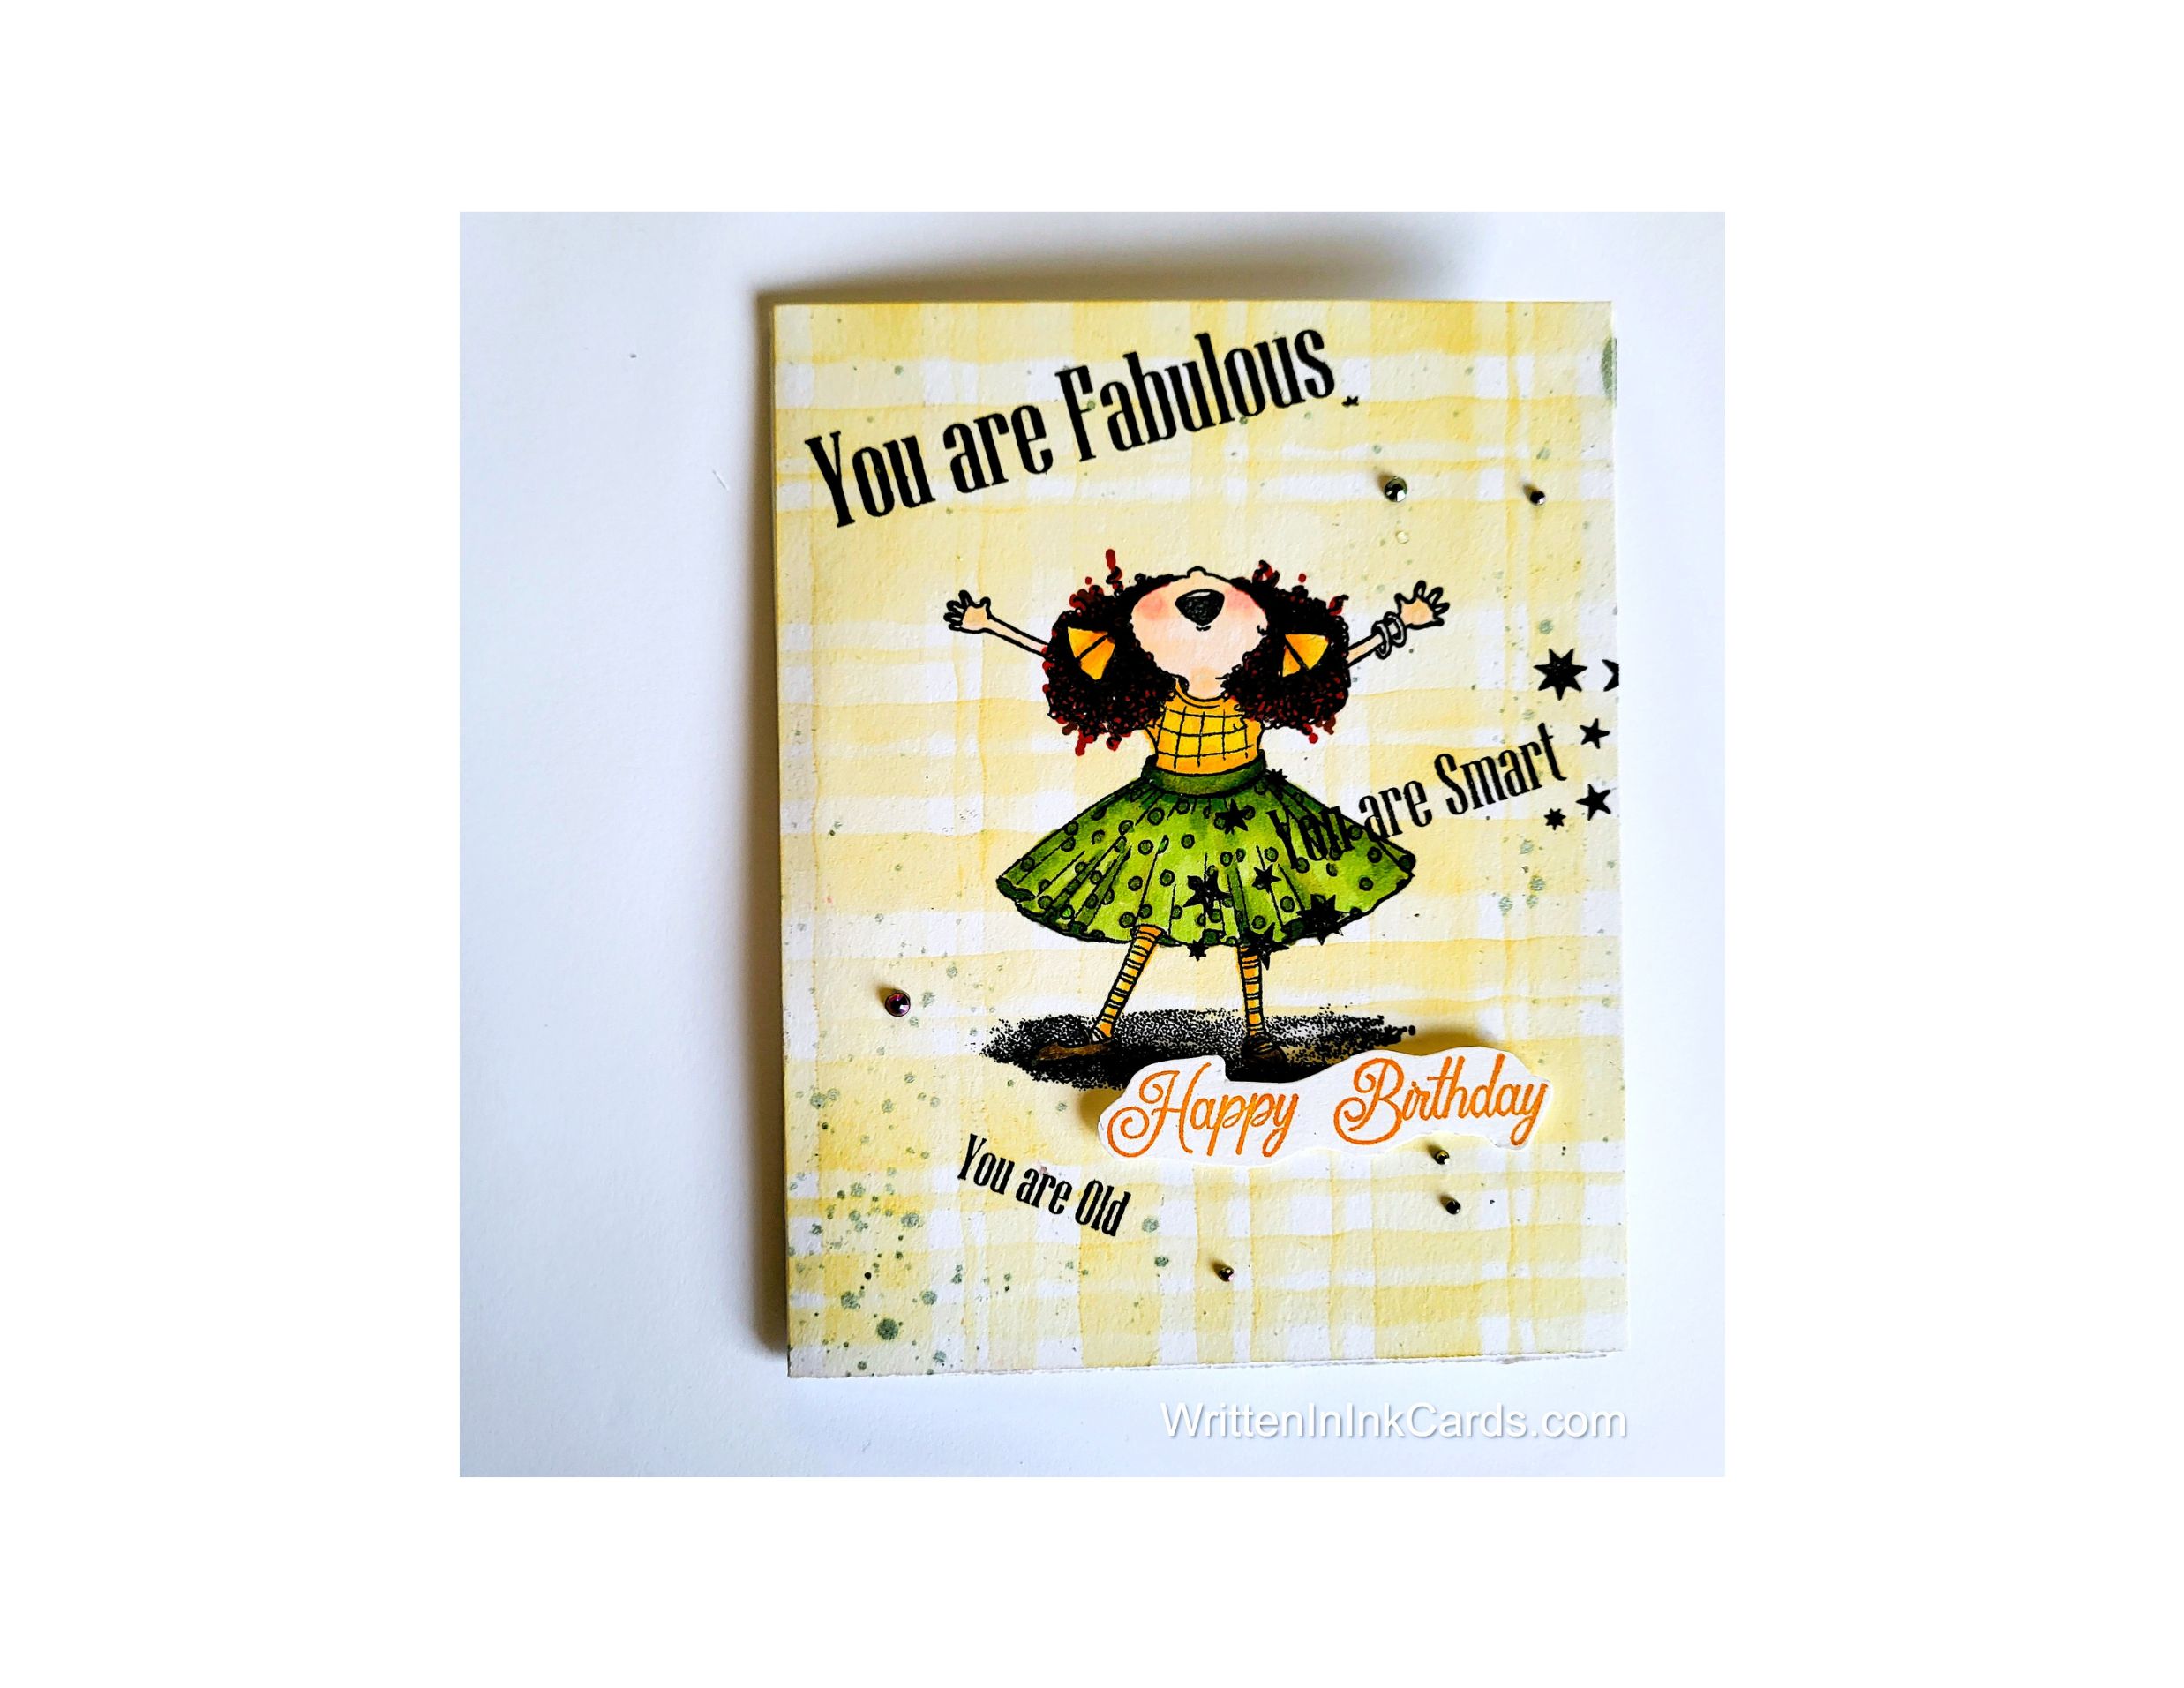
    • I laid the card face down on the Grip Mat and then positioned the stencil with the lines running vertically.  
    • I  used a soft yellow ink and a light hand to create the pattern.
    • I removed the stencil and rotated it so that the lines were running horizontally,  and again applied soft yellow ink with a light hand.
    • Voila –  a fun plaid had been created!
    • After removing the stencil, I put the card face into my stamp positioner and stamped the girl using black Memento ink.   I coloured her using alcohol markers.
    • I placed the three lines of sentiment as shown in the picture:  they were placed very deliberately, even though they have a random appearance.
    • (The sentiments are all on one stamp,  and I had to mask carefully to scatter them on the card face.)
    • I spattered a bit of green ink across the card face.

    Assembly

    • I glued the card face to the card base.
    • I glued small gems here and there on the card face. 

    Final Thoughts:

    I love this cute wee girl –   she can take on so many moods,  depending on what kind of card you want to create.  The plaid created with the stencil is a great background for her.

    Supplies: (and links where possible)

       I have listed which products I have used, and where they may be purchased. It’s a huge marketplace and in most instances, there are multiple sources and many alternatives to choose from.

    Stencil:  Drizzled Lines, a Colorful Life Designs

    Waffle Flower Grip Mat, 8.5 x 6.5, Scrapbook.com

    Stamps: 

        Joyful Echoes, Unity Stamps

        Sentiment: Technique Junkies  (no longer in business)

    Ink: Stampin’ Up!

    Blending Brushes: Stampin’ Up! 

    Versafine Onyx, Simon Says Stamp

    Memento Ink: Stampin’ Up!

    Alcohol Markers:

         Stampin’ Blends: Stampin’ Up!

         Copics:  Wallacks

    Adhesive: Tombow Aqua, Michaels

    Card Base & Card Face: Accent 100 lb., Amazon

    Do you have comments or thoughts to share on this design?  Drop me a line in the Comments Section below –  I’d love to hear from you!

    You can also use the Comments Section  to be notified when I release new work

  • A  handmade card that celebrates the sparkle in your life

    A handmade card that celebrates the sparkle in your life

    Would you like to experiment with a design like this? You’ll find a supply list below, including a link to the stencil I used from A Colorful Life Designs.  Follow the link and use discount code ChrisFan10 to save 10% on your entire order! (Master Creator Bundles are excluded as they already have a 20% discount built in.)

    Let’s get Started:

    Card Base: 5.5 x 8.5, scored and folded at 4.25

    Border Layer: 5.25 x 4

    Card Face:  5 1/8 x 3 7/8

    Card Face

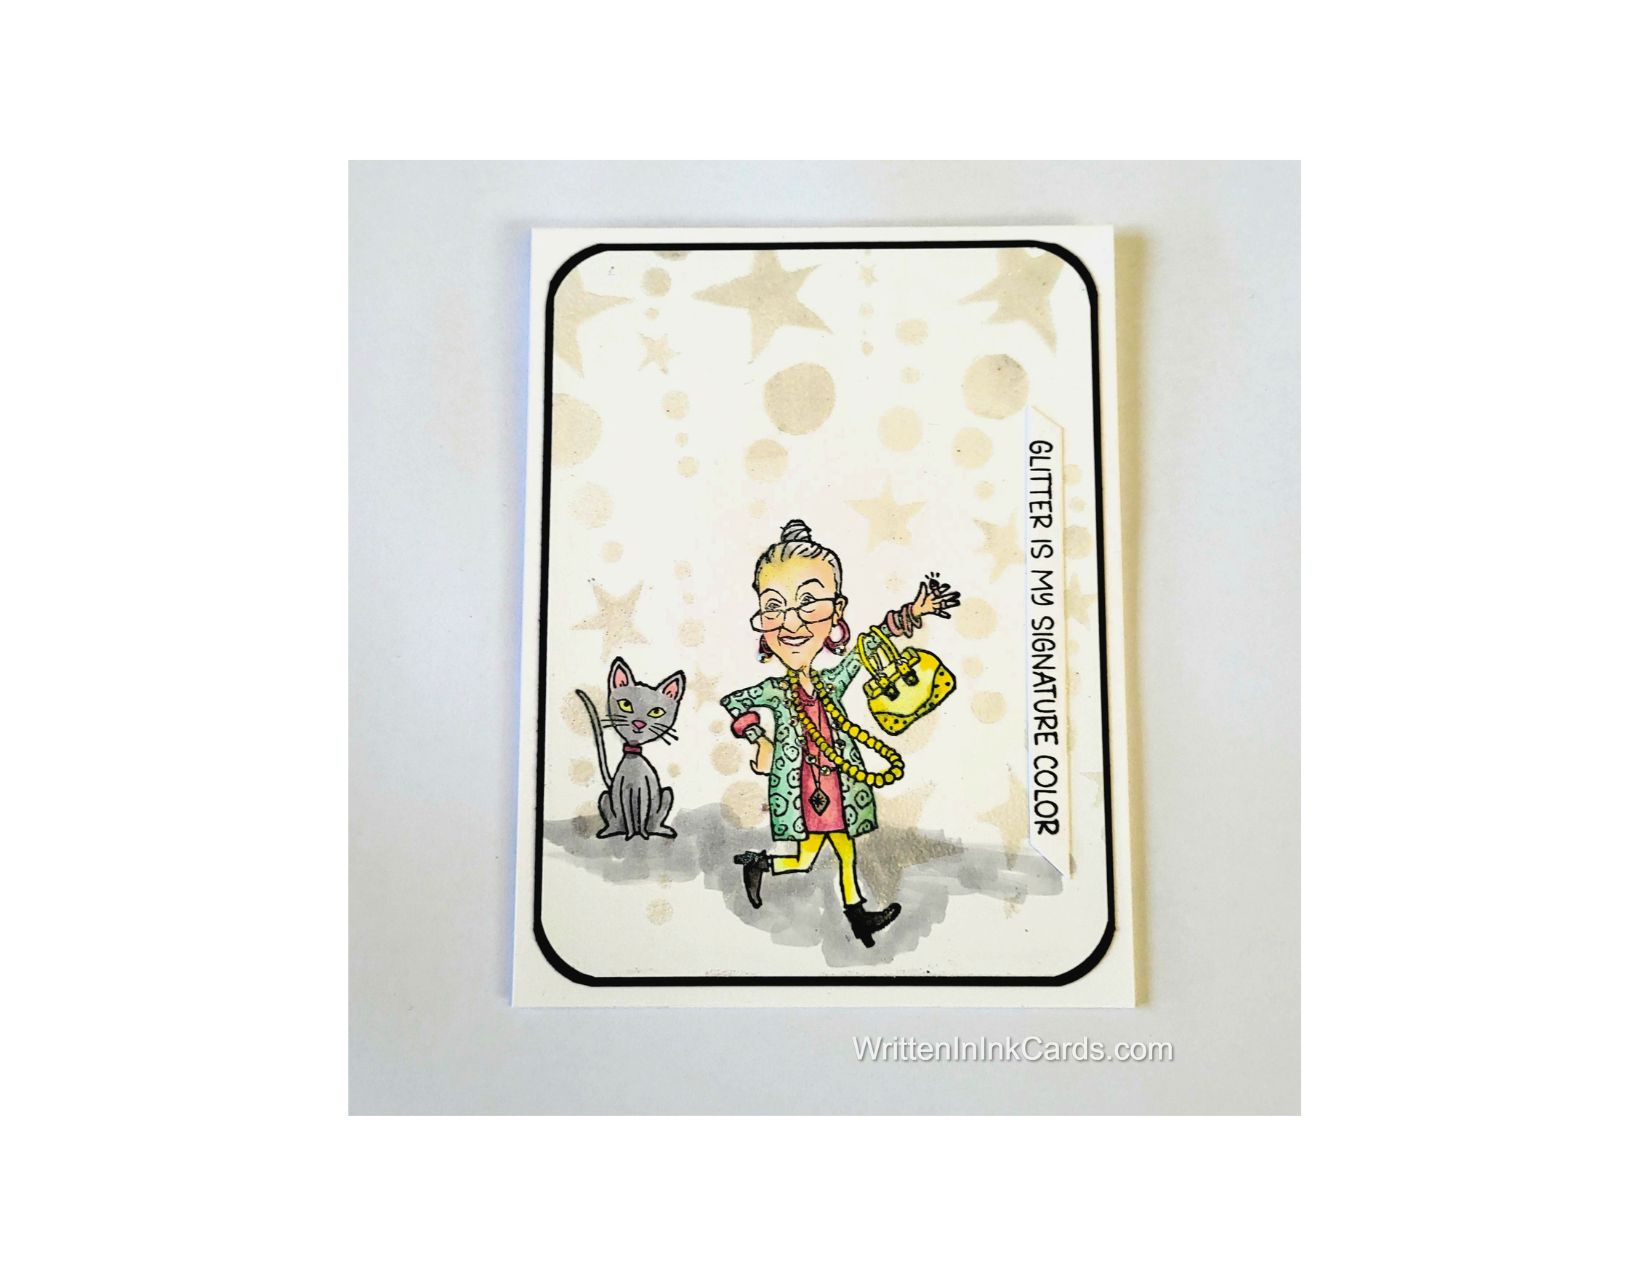
    • I stamped the images onto the card face with Memento ink:  I was using my stamp positioner,  which allowed me to stamp a couple of times to get a good, crisp image.
    • I coloured the images with alcohol markers.
    • I positioned the card face on the grip mat and placed the stencil over it.
    • I pressed Versamark embossing ink through the stencil,  avoiding the images.
    • I sprinkled holographic embossing powder over the wet ink and set it with my heat gun.
    • I rounded the corners of the card face with a punch.

    Other:

    • I stamped the sentiment with Versafine Onyx and added clear embossing powder, setting it with my heat gun.
    • I rounded the corners of the black border layer with the same punch I had used on the card face.

    Assembly

    • I glued the border layer to the card base and added the card face on top of these, centring both layers appropriately.
    • I added tiny (tiny!) rhinestones to each bead of the necklace,  as well as to the earrings. Because – how can you celebrate sparkle without including it on the card?! They don’t show up in the photo,  but they add a nice bit of “glitter,”  which works nicely with the sentiment.
    • I experimented with the placement of the sentiment, in the end deciding to place it vertically on the right-hand side of the card face as shown.

    Final Thoughts:

    I love the whimsy in this card,  created by that fabulous Old Gal  and the placement of the sentiment.

    Supplies: (and links where possible)

       I have listed which products I have used, and where they may be purchased. It’s a huge marketplace and in most instances, there are multiple sources and many alternatives to choose from.

    Stencil:  Ocean Stars,  A Colorful Life Designs

    Waffle Flower Grip Mat, 8.5 x 6.5, Scrapbook.com

    Versamark Embossing Ink: Simon Says Stamp

    Hollographic Embossing Powder: Ranger,Simon Says Stamp

    Clear Embossing Powder: Wow,  Simon Says Stamp

    Stamps:

       You’ve Got Style,  Stampin’ Up!   (retired)

       Glitter,  A Colorful Life Designs  (retired)

    Ink: Stampin’ Up!

    Blending Brushes: Stampin’ Up! 

    Versafine Onyx, Simon Says Stamp

    Memento Ink: Stampin’ Up!

    Alcohol Markers:

         Stampin’ Blends: Stampin’ Up!

         Copics:  Wallacks

    Adhesive: Tombow Aqua, Michaels

    Card Base & Card Face: Accent 100 lb., Amazon

    Do you have comments or thoughts to share on this design?  Drop me a line in the Comments Section below –  I’d love to hear from you!

    You can also use the Comments Section  to be notified when I release new work

    Ocean Stars by a Colorful Life Designs

    Use ChrisFan10 to save!