
Would you like to experiment with a design like this? You’ll find a supply list below, including a link to the stencisl I used fromA Colorful Life Designs. Follow the link and use the discount code ChrisFan10 to save 10% on your entire order! (Master Creator Bundles are excluded as they already have a 20% discount built in.)
Would you like to experiment with a design like this? You’ll find a supply list below, including a link to the stencil I used from A Colorful Life Designs. Follow the link and use the discount code ChrisFan10 to save 10% on your entire order! (Master Creator Bundles are excluded as they already have a 20% discount built in.)
Let’s get Started:
Card Base: 5.5 x 8.5, scored and folded at 4.25
Card Face: 5.25 x 4 (after die-cutting)
Card Face:
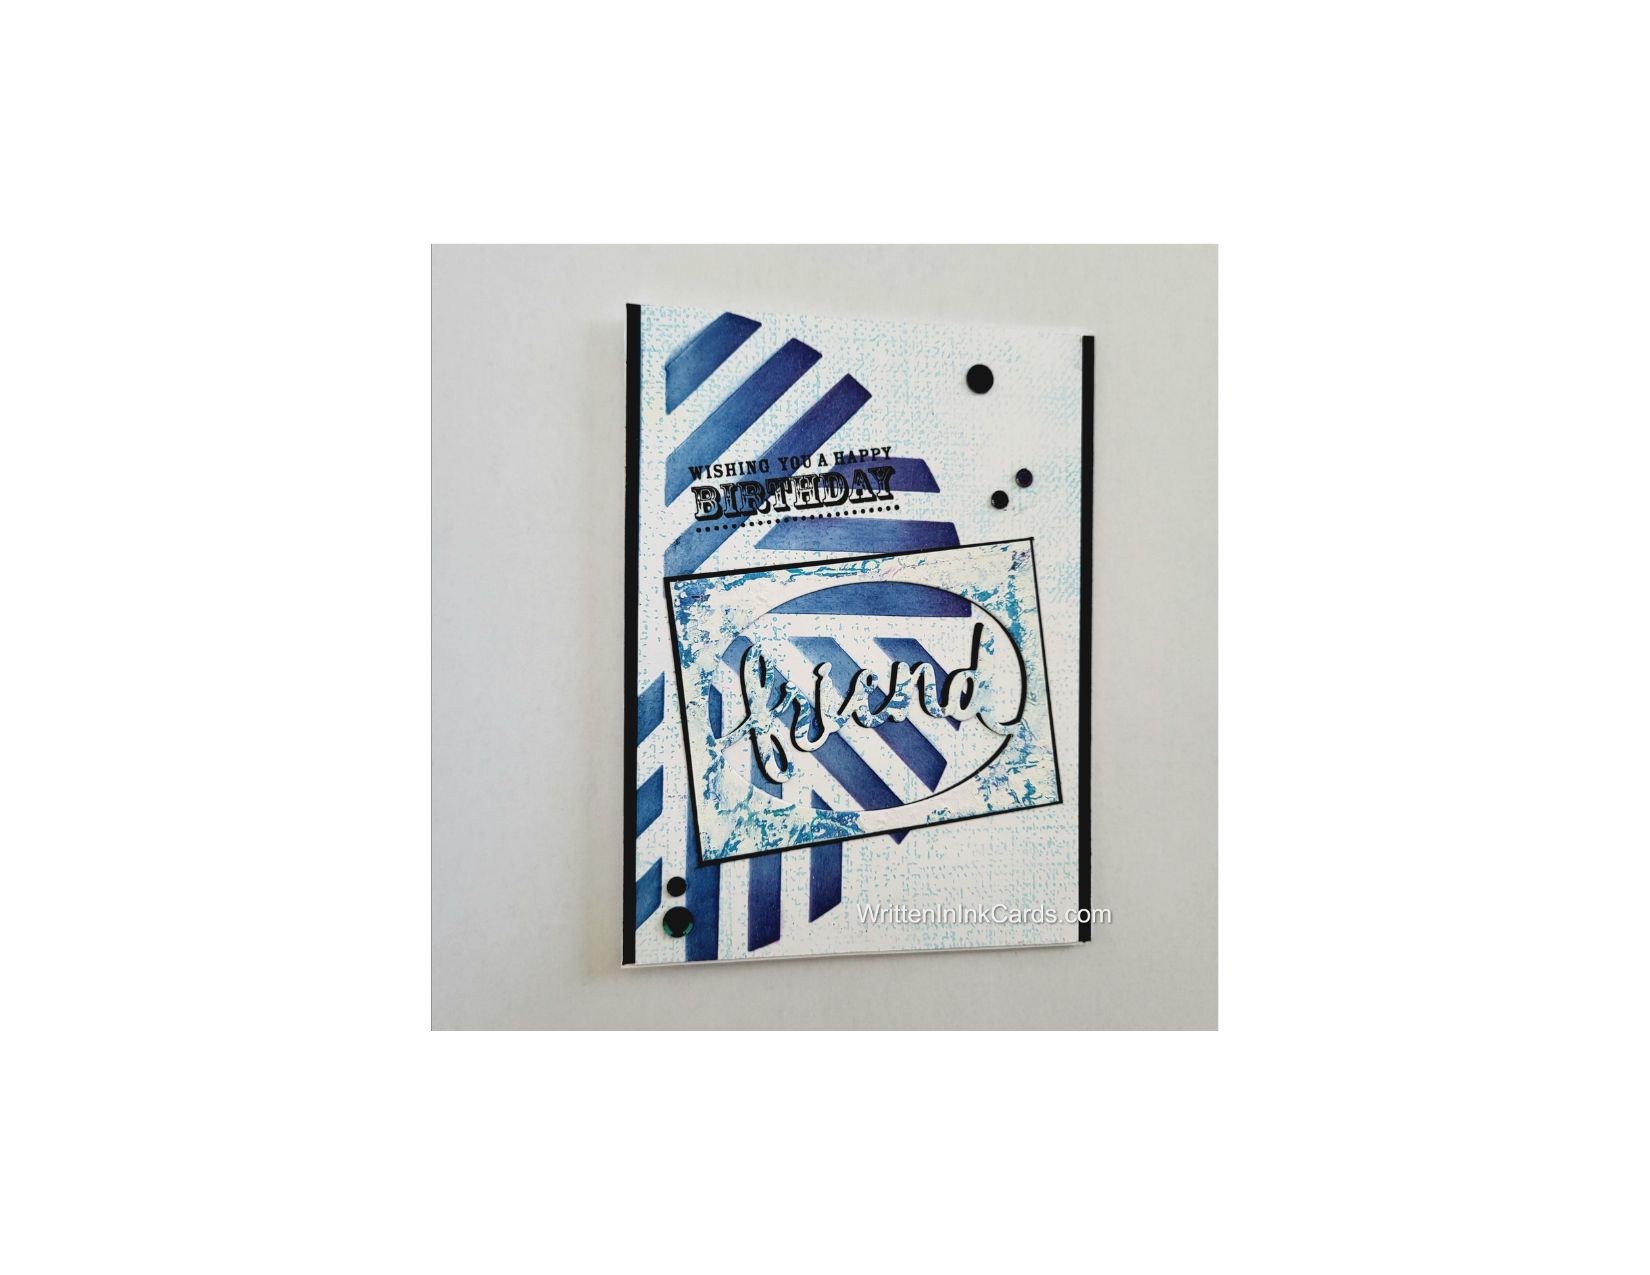
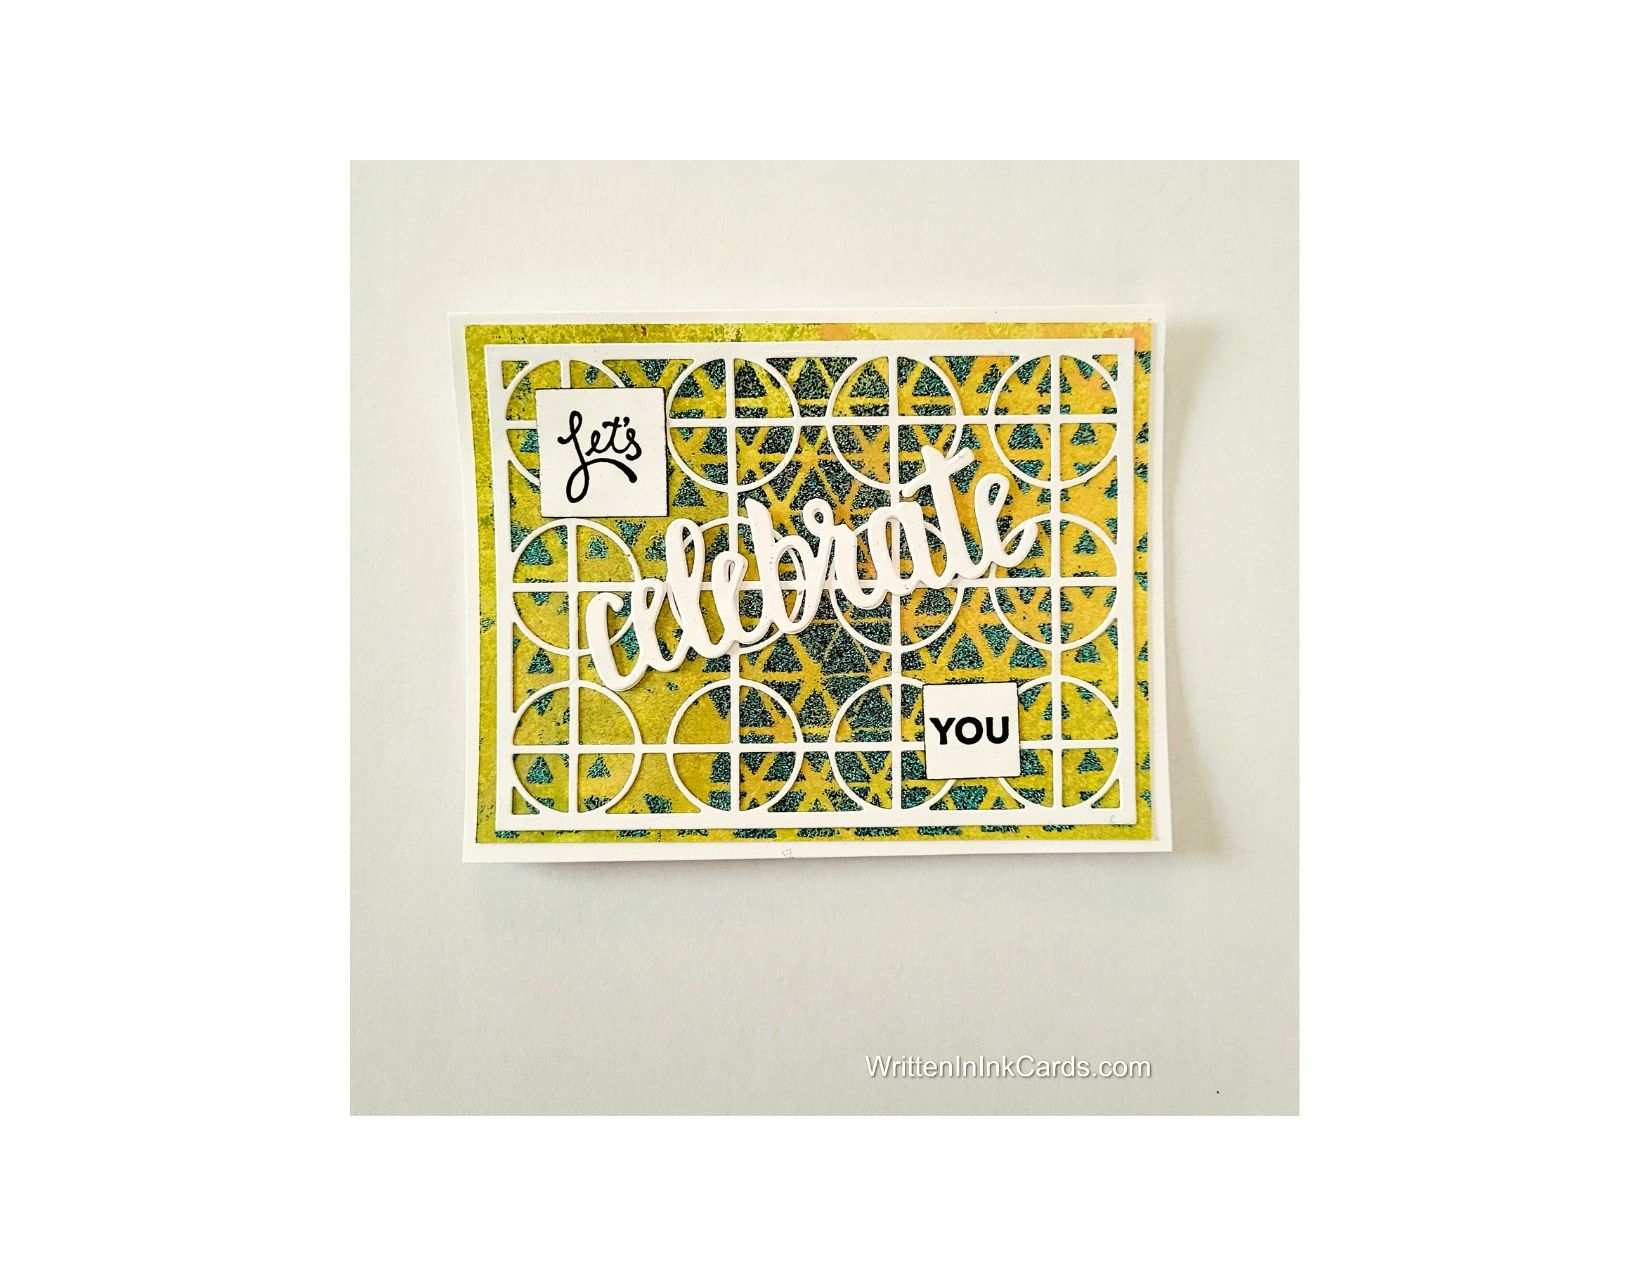
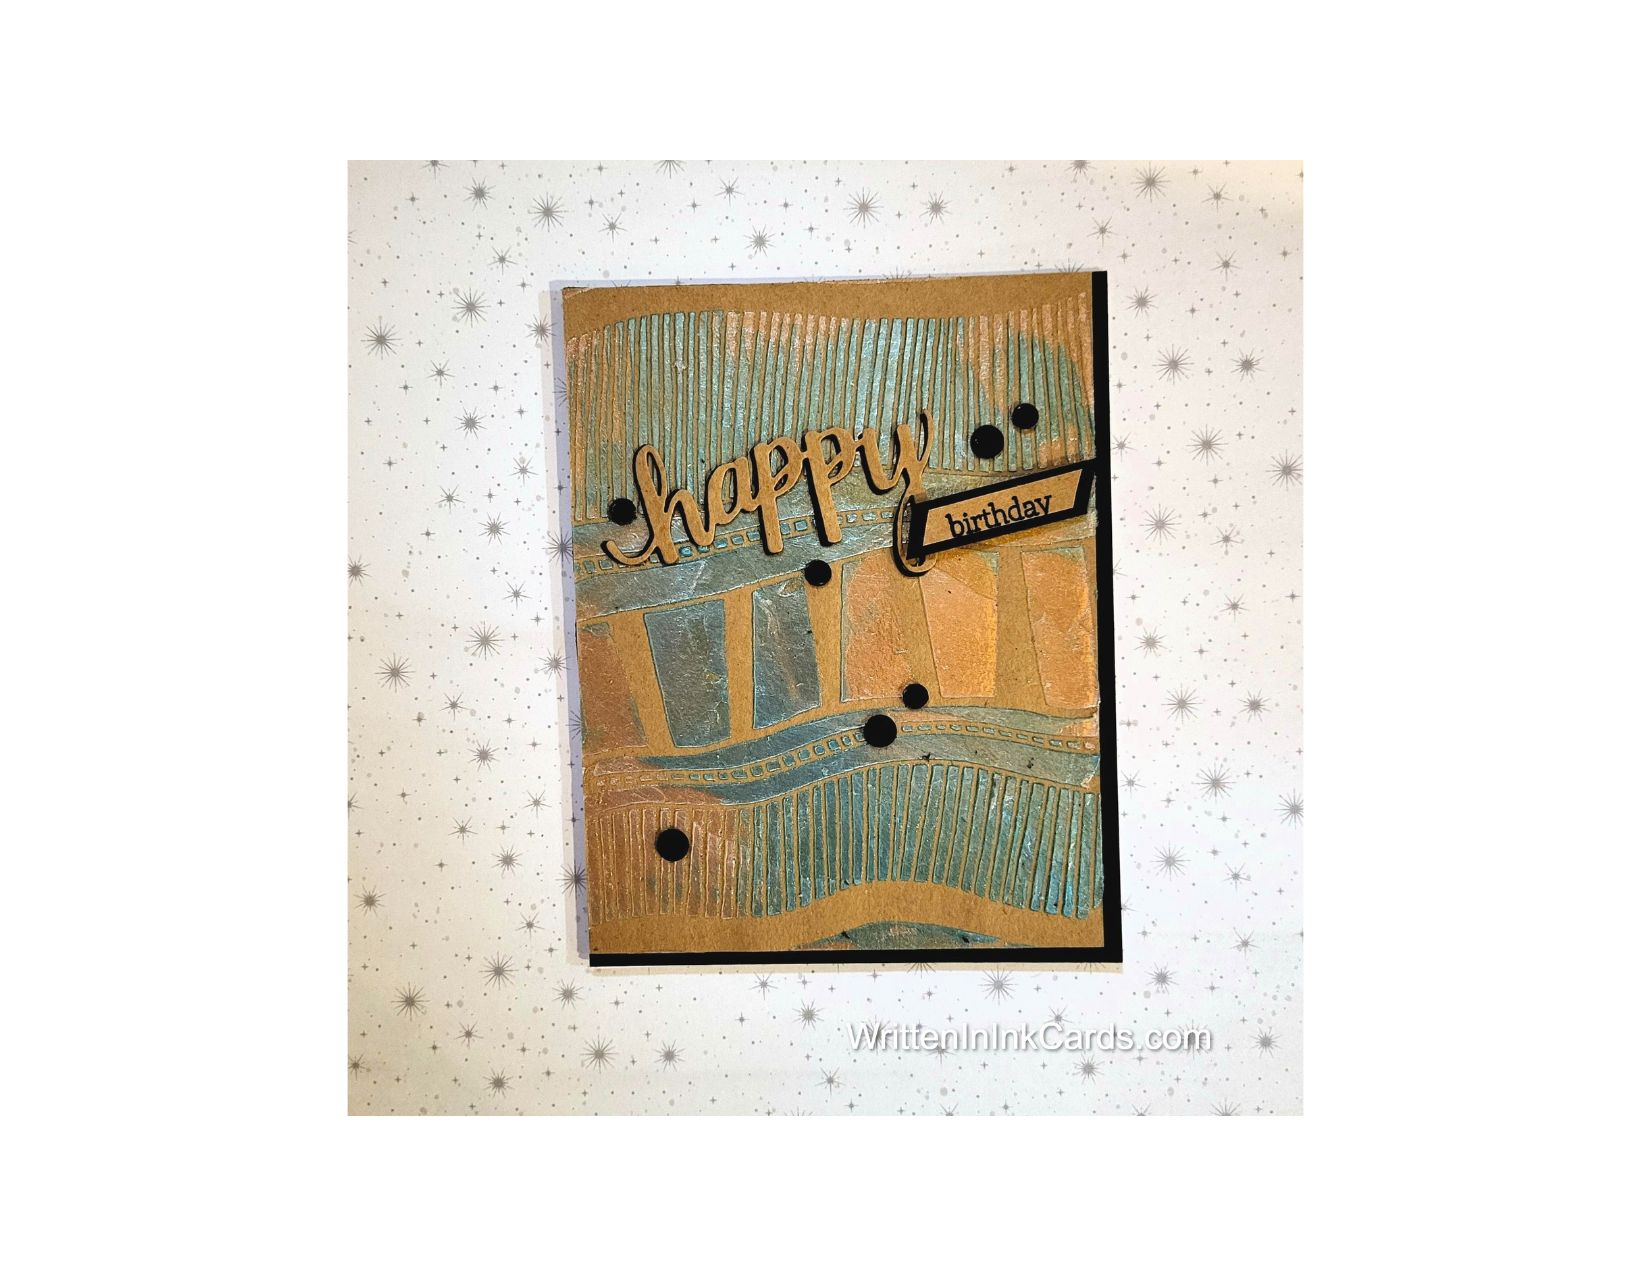
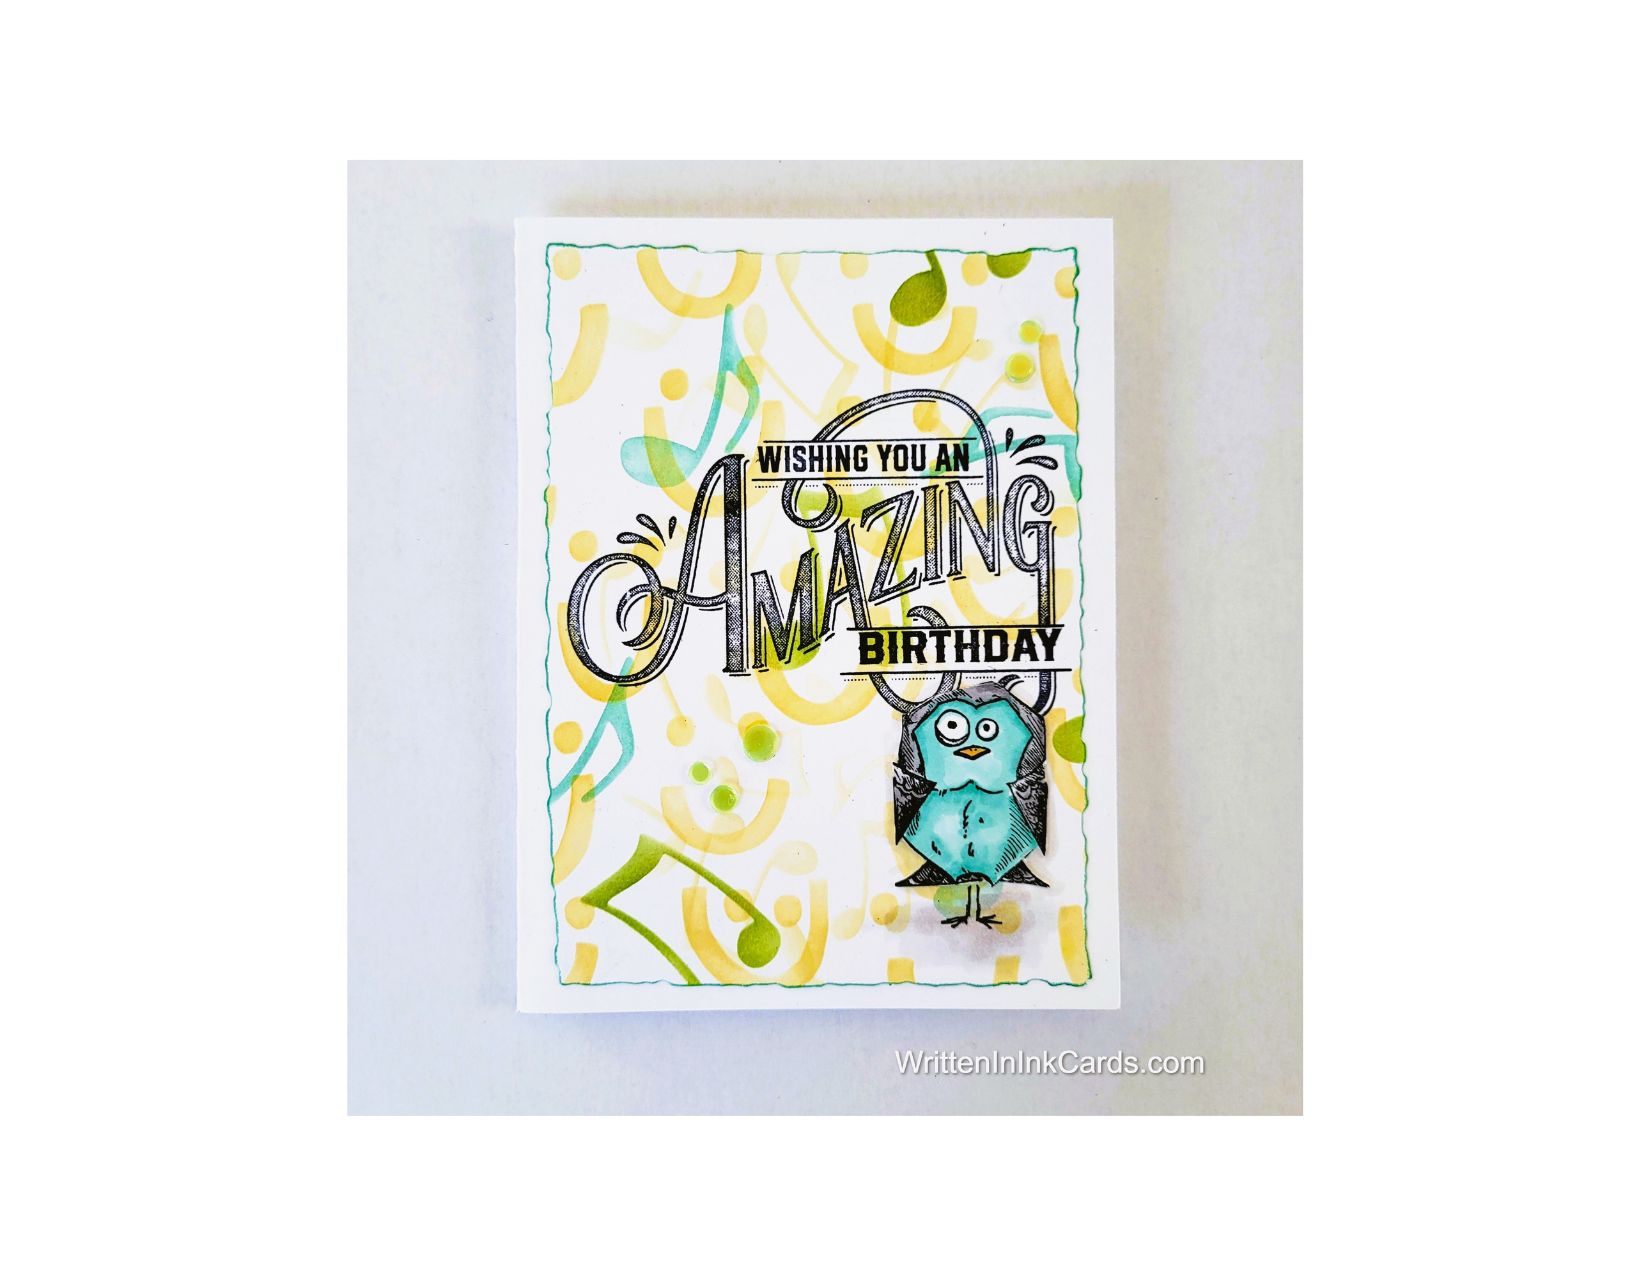
- I placed the card face on the grip mat and positioned the Music Elements stencil so that the left-hand side of the stencil was centered on the card face. I used a soft yellow ink across the exposed areas.
- I used blue and green inks to add additional detail with the large notes on the right of the stencil, randomly changing colours and which note was used.
- I replaced it with the Smiley Faces stencil. I used dark yellow across all exposed areas.
- I put the card face into the stamp positioner and used Versafine Onyx to add the large sentiment.
- I sprinkled the sentiment with clear embossing powder, and set it with my heat gun.
Other:
- I had previously stamped/coloured/fussy cut the bird – I pulled him out of my Ready To Go binder.
- I used a Deckled Edge die to cut the card face down to size, and then ran the edges of this piece over the blue ink pad, creating definition.
Assembly
- I glued the card face onto the card base, and added the bird below the sentiment as shown.
- I used a fineliner to add legs and feet to the bird, and added shadow under the bird with a gray alcohol marker.
Final Thoughts:
I love the fun vibe brought by this card.
Supplies: (and links where possible)
I have listed the products I have used and where to purchase them. It’s a huge marketplace, and in most instances, there are multiple sources and many alternatives to choose from.
Stencil:
Music Elements: A Colorful Life Designs
Smiley Faces: A Colorful life Designs
Clear Embossing Powder, Wow, R&R Scrapbooking
Stamps:
Sentiment: Stampin’ Up! (retired)
Bird: Stampers Anonymous Crazy Birds and Things, Amazon
Dies: Deckled Edge die: Stampin’ Up! (retired)
Fineliners, Amazon
Ink: Stampin’ Up!
Blending Brushes: Stampin’ Up!
Versafine Onyx, Simon Says Stamp
Memento Ink: Stampin’ Up!
Alcohol Markers:
Stampin’ Blends: Stampin’ Up!
Copics: Wallacks
Adhesive: Tombow Aqua, Michaels
Card Base & Card Face: Accent 100 lb., Amazon
Do you have any comments or thoughts on this design? Drop me a line in the Comments Section below – I’d love to hear from you!
You can also use the Comments Section to be notified when I release new work.