
Would you like to experiment with a design like this? You’ll find a supply list below, including a link to the stencil I used from A Colorful Life Designs. Follow the link and use discount code ChrisFan10 to save 10% on your entire order! (Master Creator Bundles are excluded as they already have a 20% discount built in.)
Let’s get Started:
Card Base: 5.5 x 8.5, scored and folded at 4.25
Border Layer: 5.5 x 4.25
Card Face: 5.5 x 4.25
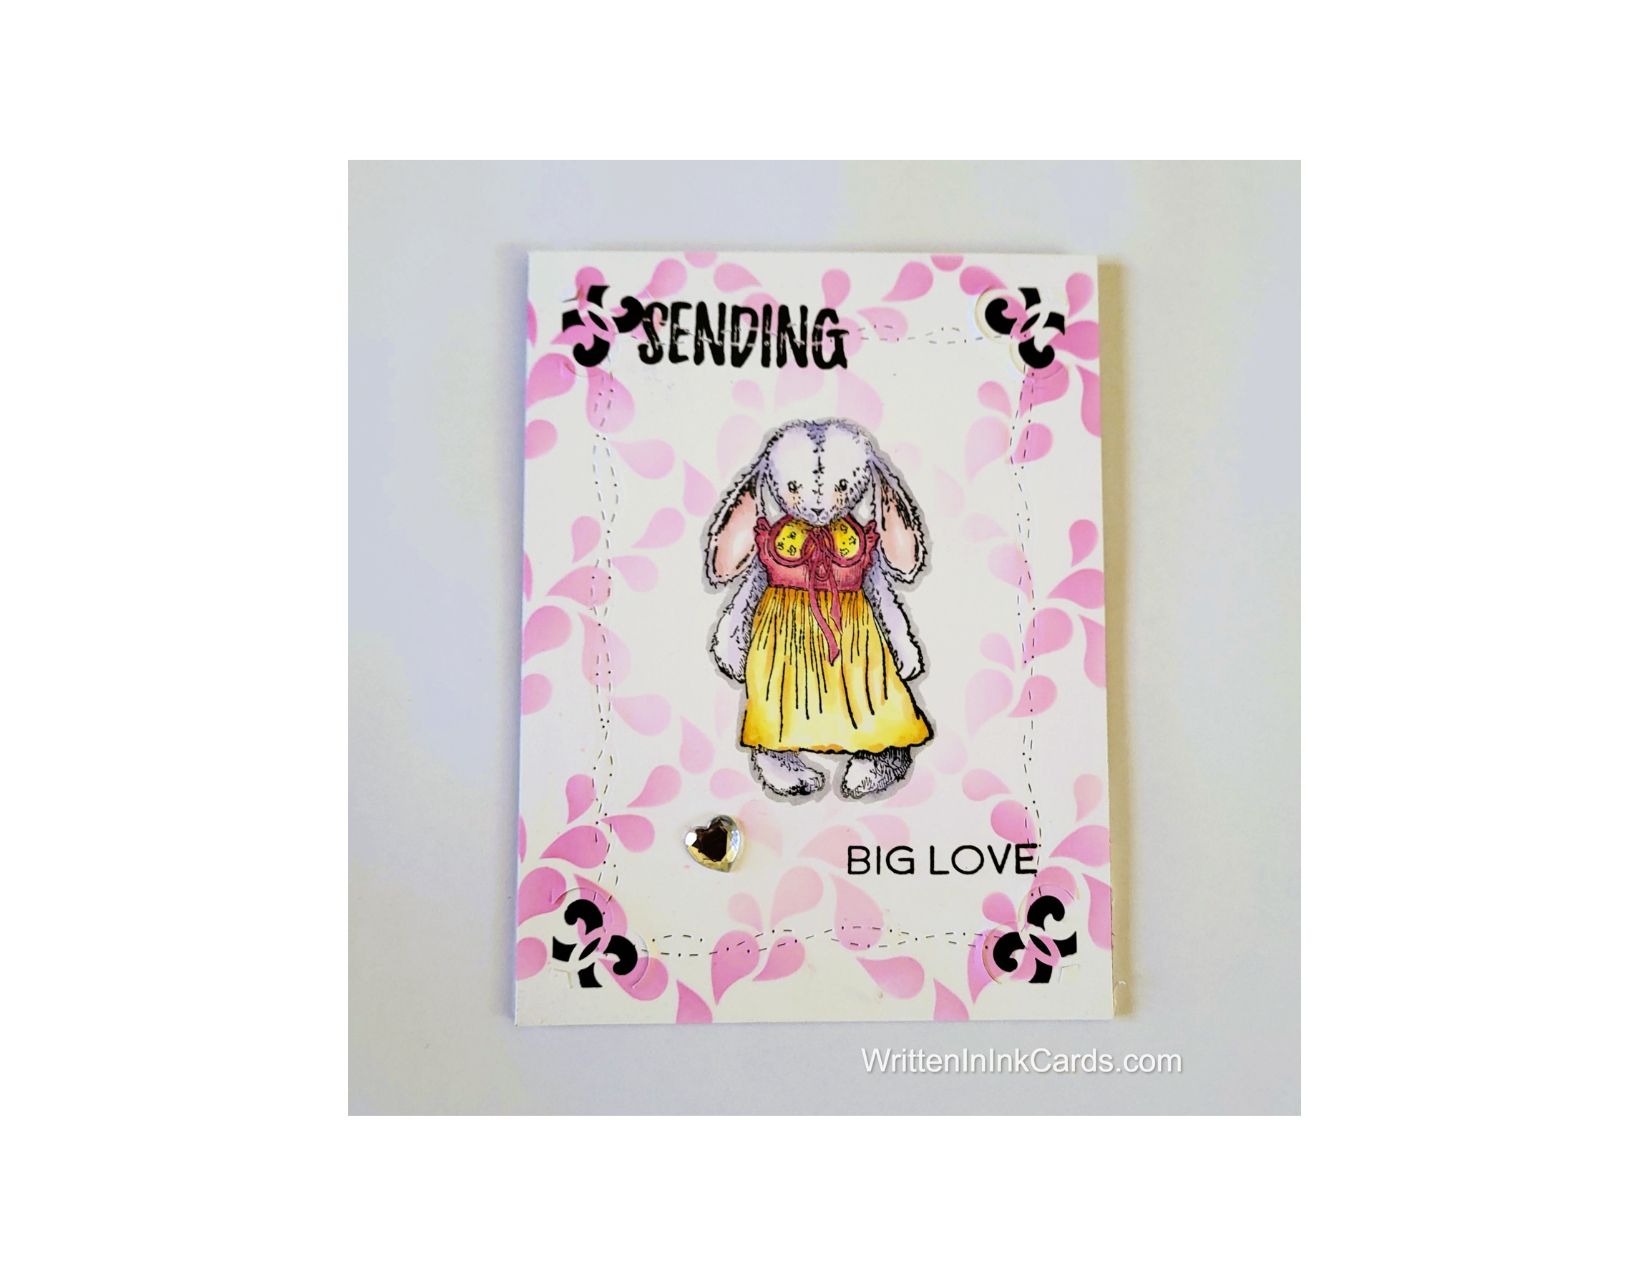
Card Face:
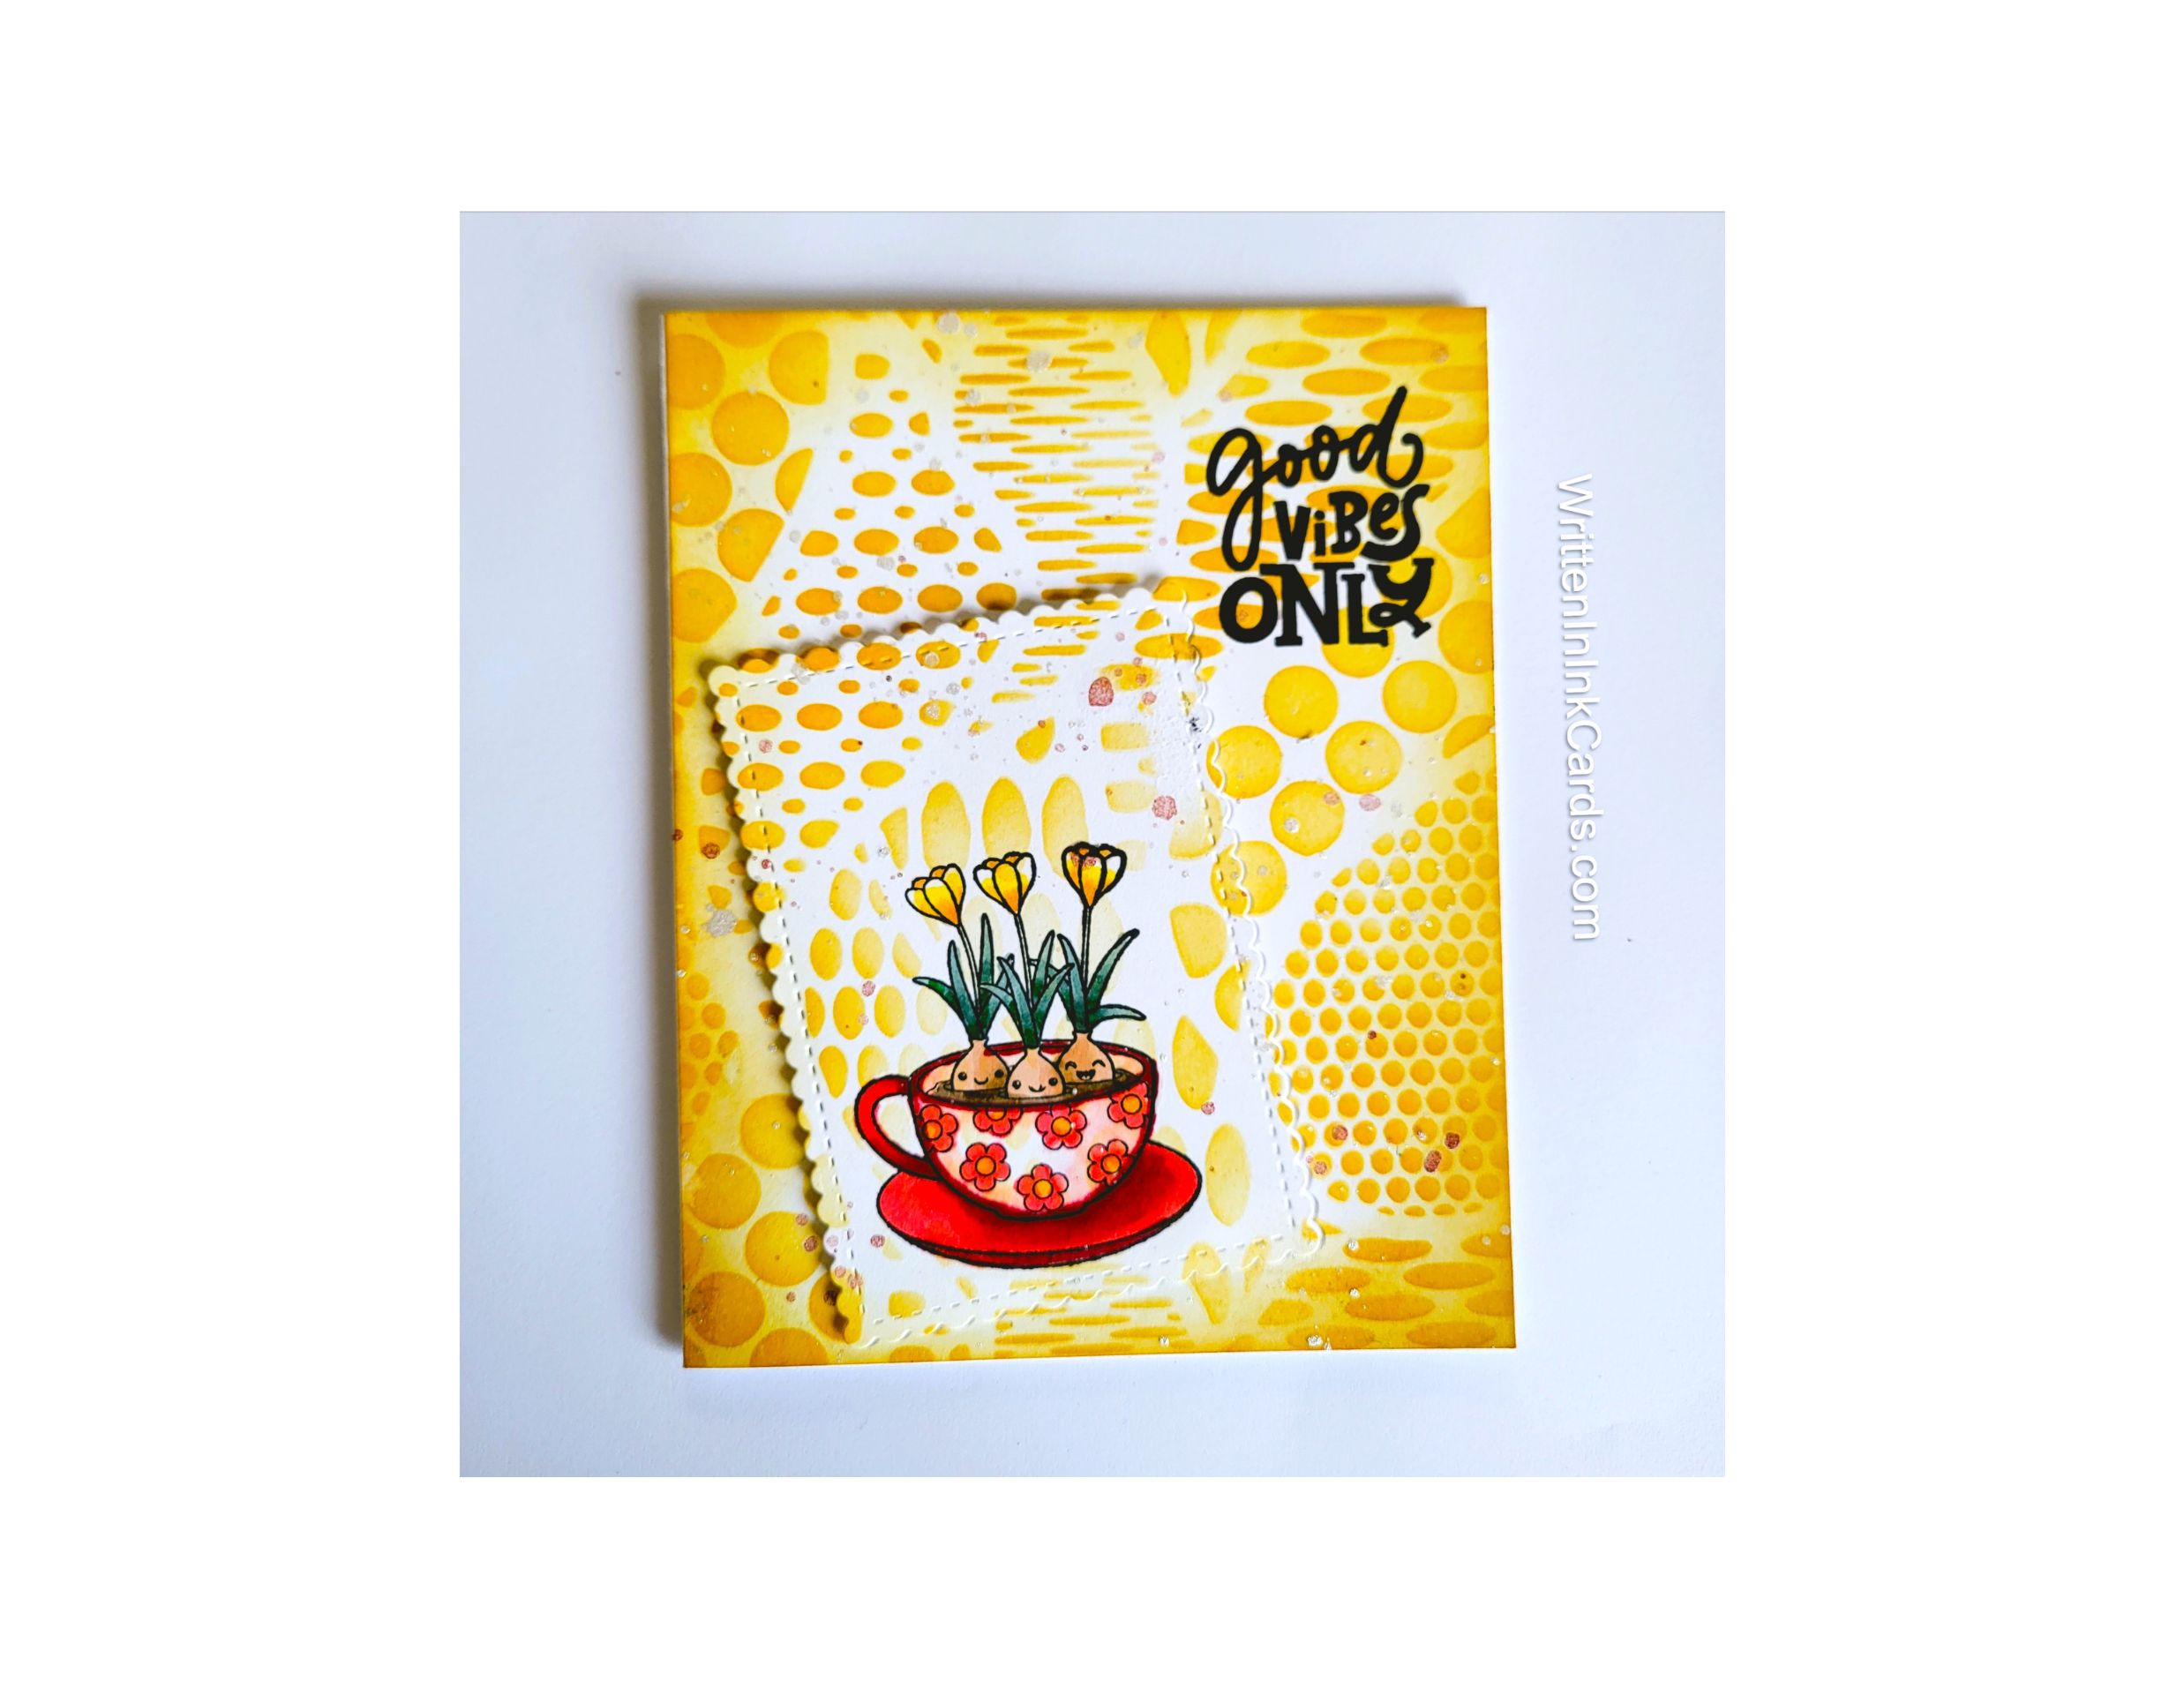
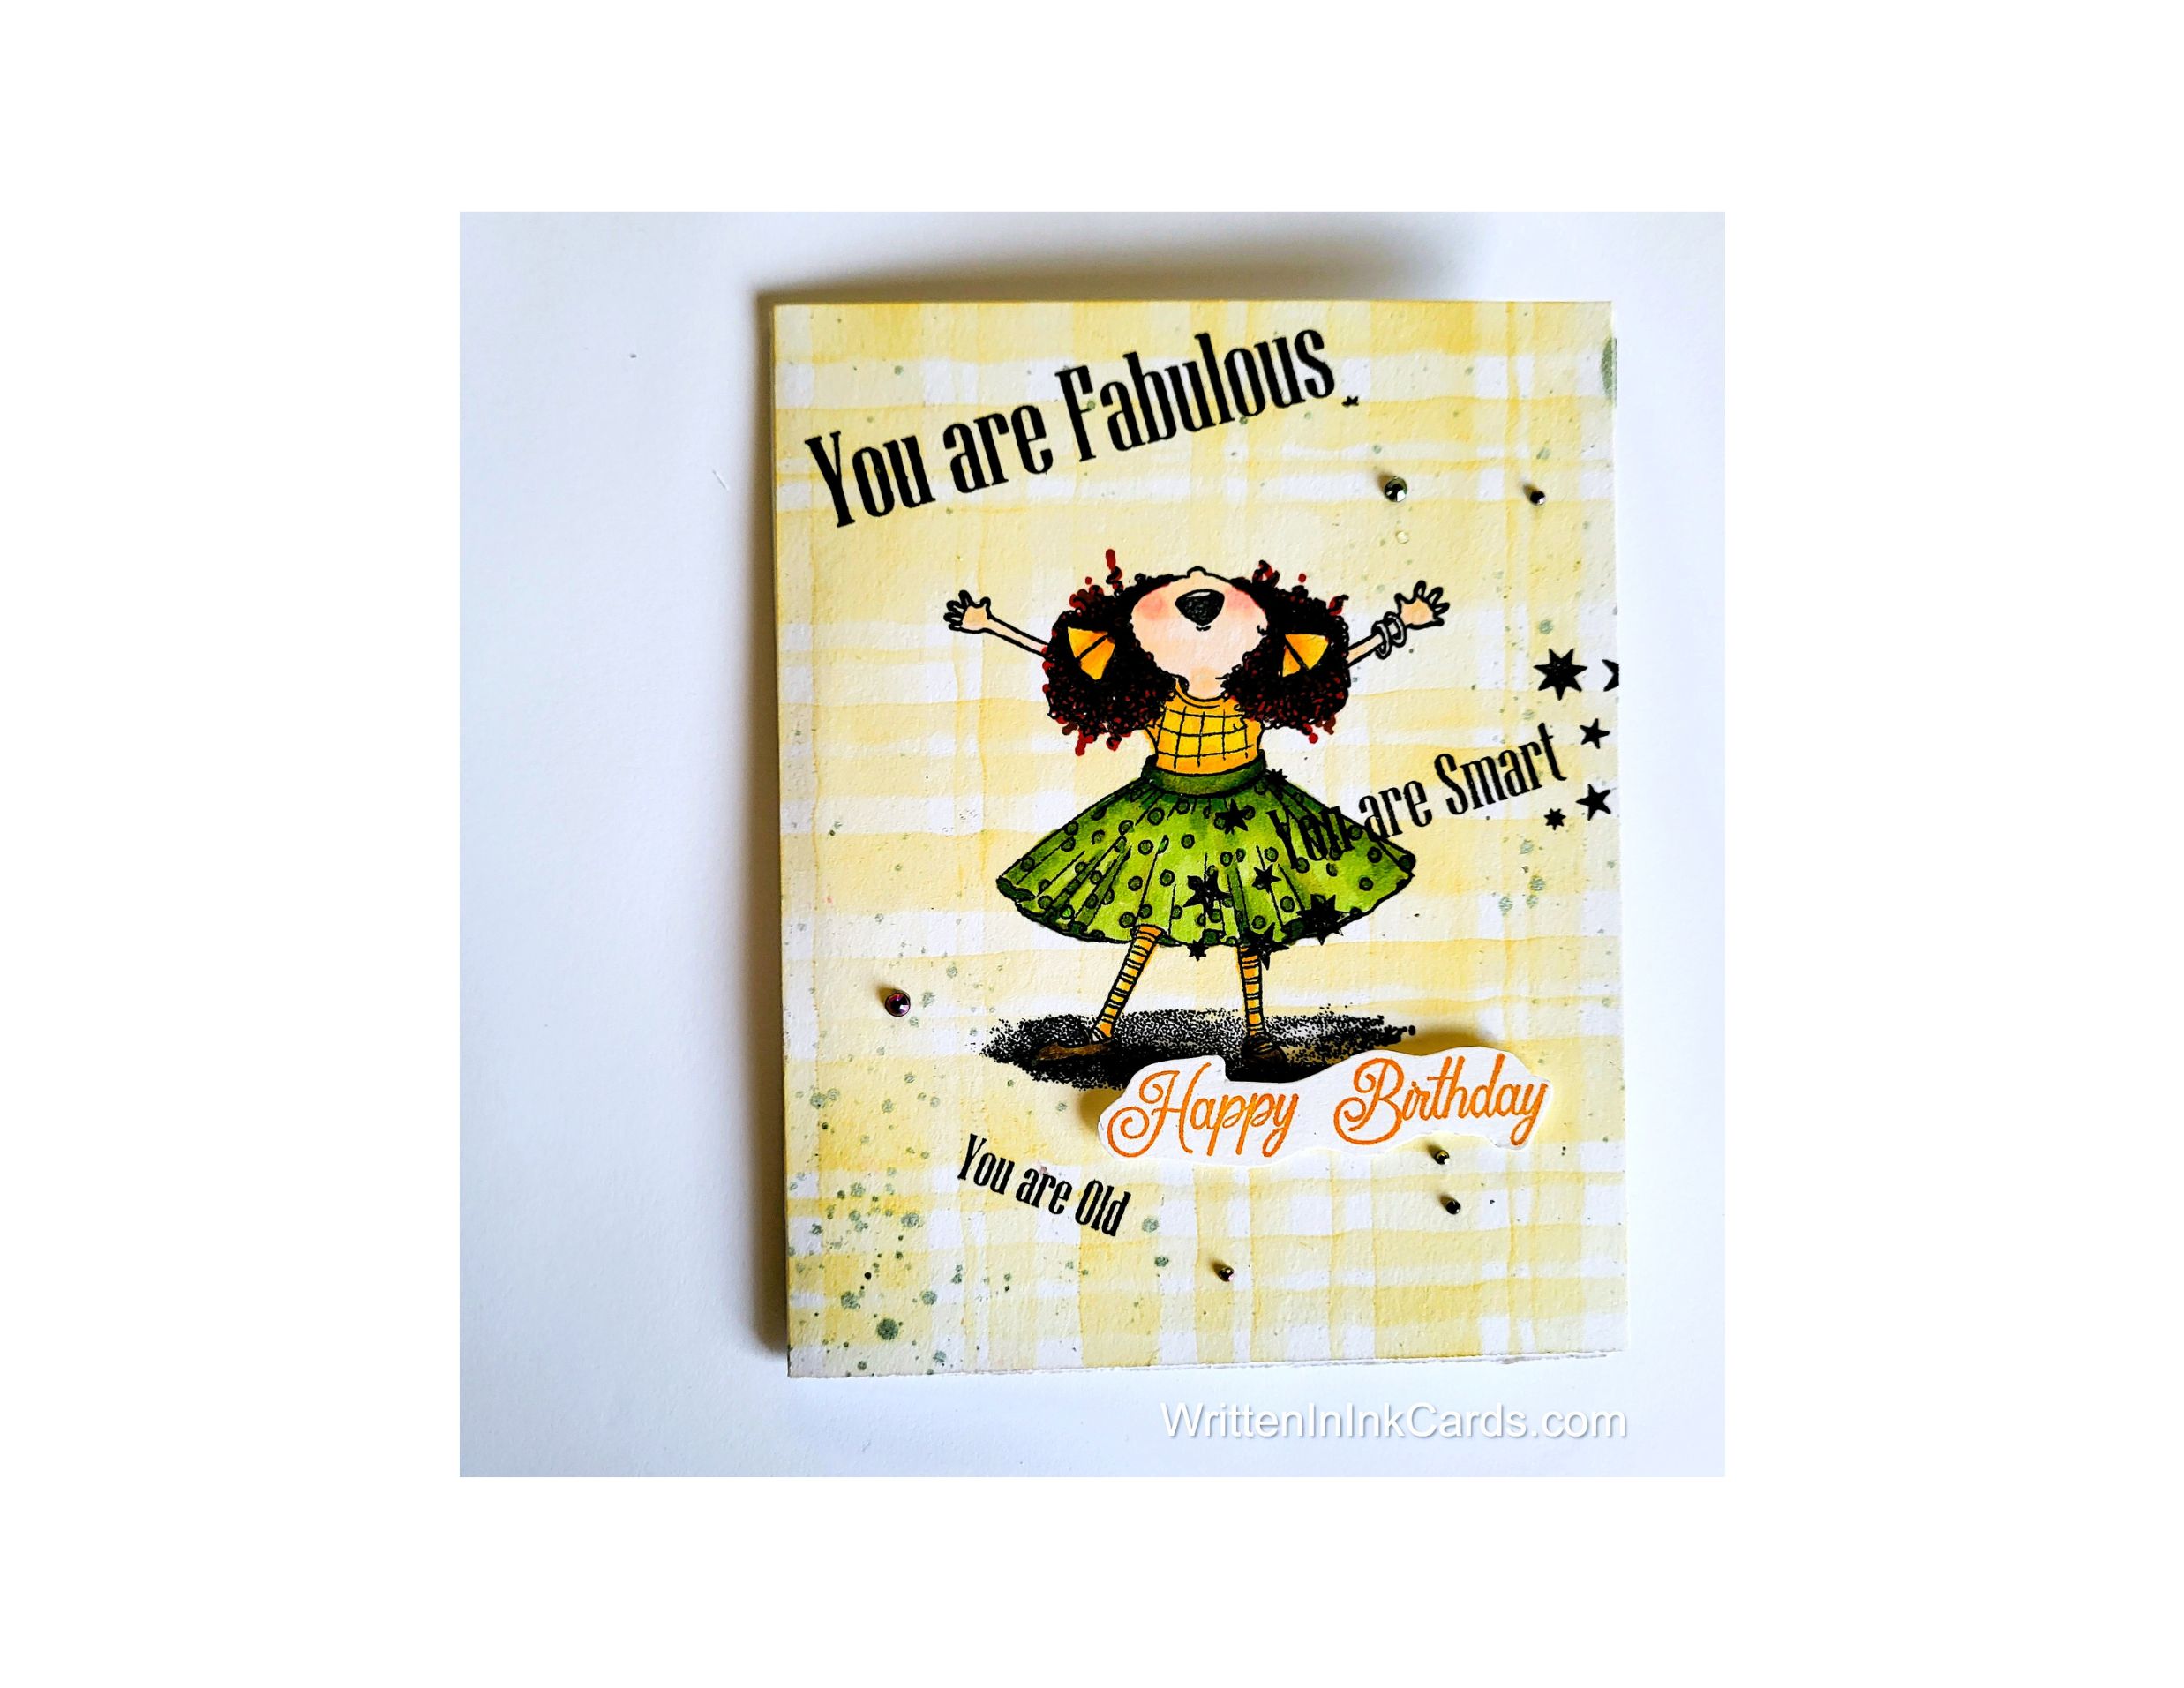
- I put the card face into the stamp positioner and stamped the bunny a couple of times with black Memento ink, centering the image.
- I coloured her in with alcohol markers (Memento ink doesn’t react to alcohol, making it perfect for this purpose).
- I put the card face onto the grip mat and positioned the stencil: I used pink ink to create the pattern around the bunny – using more ink/ more pressure around the edges and allowing the ink to fade as I neared the center.
- I added a rectangular stitched die to the card face, centering carefully. This die creates a pattern in the paper; \it is not a cutting die.
- I returned the card face to the stamping platform and added the sentiment with Versafine Onyx. This is actually one stamp: to create the separation, I had to mask off the appropriate section, and stamp the other.
- I used a punch on all four corners to create the peek-a-boo pattern.
Assembly
- I glued the black border layer to the card base, and then added the card face on top of that.
- I thought this card needed one final detail, so I added a clear heart shaped gem to the card face to finish it off.
Final Thoughts:
- This bunny is absolutely adorable, and that sentiment suits perfectly.
- If I were to re-do this card, I would position the “sending” a little further to the right – but by the time I saw the problem on this card it was too late to fix!
Supplies: (and links where possible)
I have listed which products I have used, and where they may be purchased. It’s a huge marketplace and in most instances, there are multiple sources and many alternatives to choose from.
Stencil: Droplet Grid, A Colorful Life Designs
Waffle Flower Grip Mat, 8.5 x 6.5, Scrapbook.com
Stamps:
Cuddly Girl, Nellie’s Choice, Ecstasy Crafts (out of stock)
Sentiment: Technique Junkies (out of business)
Dies: Stitched with Whimsy, Stampin’ Up! (retired)
Ink: Stampin’ Up!
Blending Brushes: Stampin’ Up!
Versafine Onyx, Simon Says Stamp
Memento Ink: Stampin’ Up!
Alcohol Markers:
Stampin’ Blends: Stampin’ Up!
Copics: Wallacks
Adhesive: Tombow Aqua, Michaels
Card Base & Card Face: Accent 100 lb., Amazon
Do you have comments or thoughts to share on this design? Drop me a line in the Comments Section below – I’d love to hear from you!
You can also use the Comments Section to be notified when I release new work
Droplet Grid by A Colorful Life Designs