
Would you like to experiment with a design like this? You’ll find a supply list below, including a link to the stencil I used from A Colorful Life Designs. Follow the link and use discount code ChrisFan10 to save 10% on your entire order! (Master Creator Bundles are excluded as they already have a 20% discount built in.)
Let’s get Started:
Card Base: 5.5 x 8.5, scored and folded at 4.25
Card Face: 5.5 x 4
Focal Image Strip: 5.5 x 1.75”
Sentiment strip: .25” x 4
Card Face:
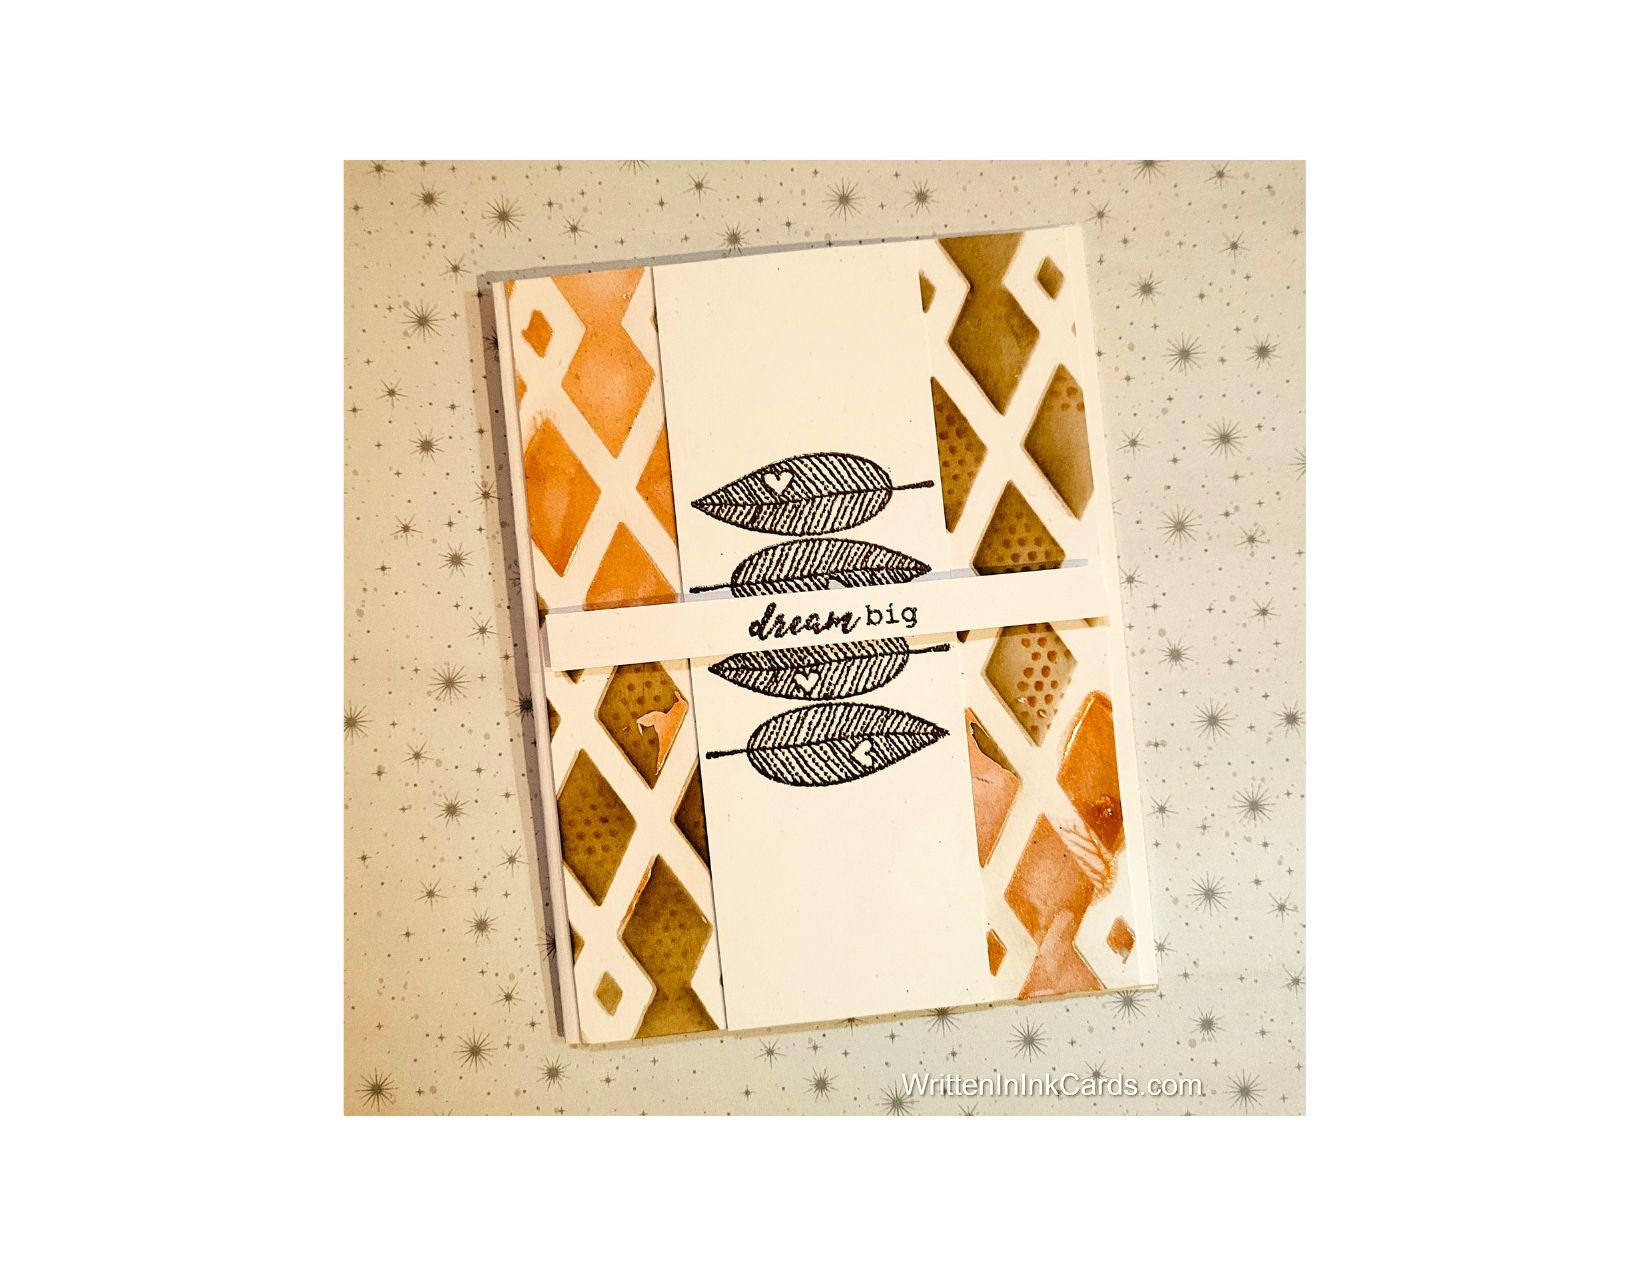
- I laid the card face onto the Grip Mat and positioned the Diamond Lattice stencil.
- I applied brown ink across all exposed areas, allowing variation in tone to provide depth and visual interest.
- I applied DIY embossing paste randomly over the card face. I carefully removed the stencil and put the card face aside to dry.
When I use embossing paste the stencil goes into water immediately to prevent the paste from drying on the stencil. This makes clean-up much faster and easier.
- Once the paste had dried, I used the Grunge Dots stencil to add dots here and there in the remaining inked portions of the pattern.
Other:
- I placed the Focal Image strip into my stamp positioner and added the leaves with dark brown ink, stamping several times to get an intense image.
- I sprinkled clear embossing powder over the image, setting it with my heat gun.
- Next I placed the narrow sentiment strip in the stamp positioner and stamped the sentiment with the same dark brown ink, again stamping multiple times to get intense colour.
- I sprinkled this with clear embossing powder too, and set it with my heat gun.
Although I used a dye based ink for both of these, stamping several times created enough saturation that the ink was wet enough for me to use the embossing powder successfully. Stamping only once wouldn’t have worked, as the ink would have dried too quickly.
Assembly
- I glued the card face onto the card base, and then added the strip with the leaves, centering both vertically.
- I put dimensional foam on the back of the sentiment and then added it to the card face, centering horizontally.
Final Thoughts:
The combination of ink and embossing paste work well with this design, and the addition of the dots provided additional depth and visual interest.
Supplies: (and links where possible)
I have listed which products I have used, and where they may be purchased. It’s a huge marketplace and in most instances, there are multiple sources and many alternatives to choose from.
Stencil:
Diamond Lattice, A Colorful Life Designs
Grunge Dots, A Colorful Life Designs
Waffle Flower Grip Mat, 8.5 x 6.5, Scrapbook.com
Versamark Embossing Ink: Simon Says Stamp
Clear Embossing Powder, Wow, Simon Says Stamp
Stamps: Falling Hearts, Unity Stamps (retired)
Ink: Stampin’ Up!
Blending Brushes: Stampin’ Up!
Adhesive: Tombow Aqua, Michaels
Card Base & Card Face: Accent 100 lb., Amazon
Do you have comments or thoughts to share on this design? Drop me a line in the Comments Section below – I’d love to hear from you!
You can also use the Comments Section to be notified when I release new work.
Diamond Lattice by A Colorful Life Designs

Grunge Dots by A Colorful Life Designs
